
For small business owners and independent apparel decorators, juggling quick turnaround with flawless results is a daily challenge. The process of applying DTF transfers demands precise preparation and professional technique to ensure sharp prints and lasting quality. A clean, organized workspace and consistent settings set the foundation for reducing costly mistakes and speeding up production, giving your heat pressing workflow the reliability you need to deliver standout products every time.
Table of Contents
- Step 1: Prepare Your Workspace and Materials
- Step 2: Set Up the Heat Press for DTF Transfers
- Step 3: Align and Position the Transfer Correctly
- Step 4: Apply Heat and Pressure with Precision
- Step 5: Peel and Inspect the Finished Transfer
Quick Summary
| Key Point | Explanation |
|---|---|
| 1. Clean and Organize Workspace | Set up a spacious, clean area for your heat press to avoid accidents and ensure efficient material handling. |
| 2. Calibrate Heat Press Settings | Adjust temperature (380-400°F), pressure, and dwell time based on material needs to ensure successful transfers. |
| 3. Precise Transfer Alignment | Use measuring tools and light tape marks to ensure perfect placement of transfers for professional results. |
| 4. Monitor Heat and Pressure | Apply hard and even pressure while maintaining consistent heat for optimal adhesion during the pressing cycle. |
| 5. Inspect After Peeling | Carefully remove the transfer and check for adhesion and color clarity to identify any defects before packing. |
Step 1: Prepare Your Workspace and Materials
Setting up a professional heat pressing environment ensures your DTF transfers look crisp and last longer. In this step, you’ll transform your workspace into an efficient transfer production zone that minimizes errors and maximizes quality.
Start by selecting a clean, flat surface that provides ample room around your heat press machine. Ideally, you want a sturdy workspace like a solid workbench or dedicated heat press table with at least 24 inches of clearance on all sides. Configuring a proper workspace prevents accidents and allows smooth material handling.
Gather all necessary materials before beginning your transfer process. Your essential toolkit should include:
- Heat press machine
- DTF transfer paper
- Clean garments or substrates
- Teflon or silicone sheets
- Heat-resistant gloves
- Lint roller
- Measuring tape
- Alignment tools
Preparing your materials involves several critical steps. Pre-press your garment for a few seconds to remove moisture and wrinkles, which helps improve transfer adhesion and quality. Professional heat pressing techniques emphasize consistent temperature, pressure, and timing as key factors in achieving professional results.
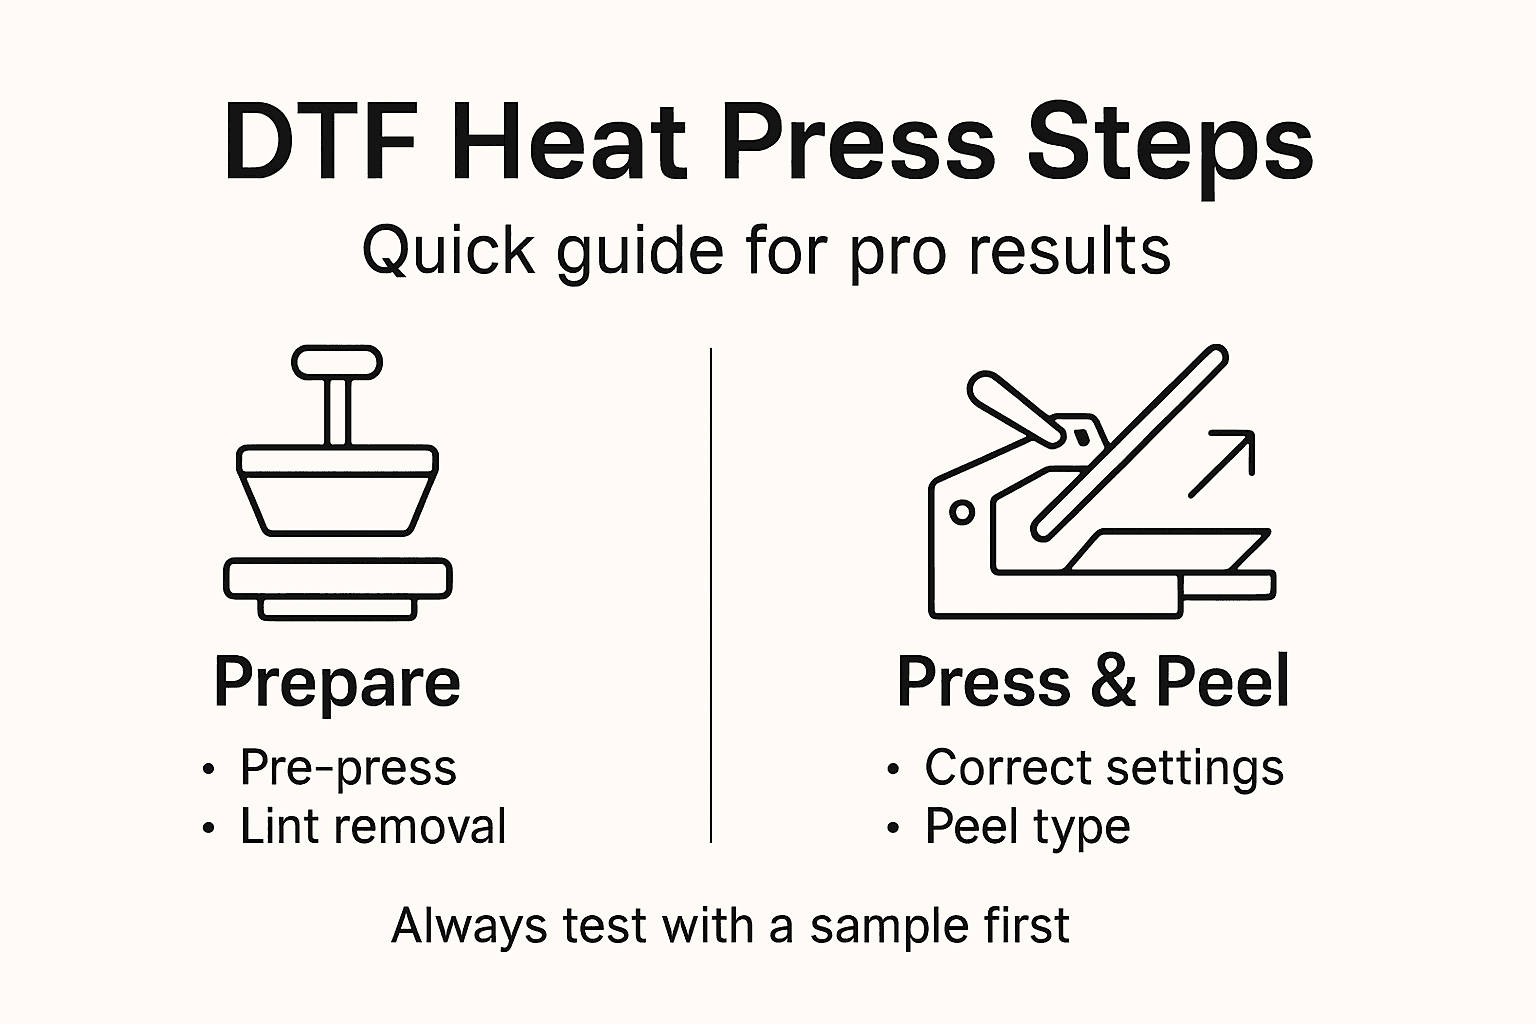
Pro tip: Keep a clean, lint-free workspace and always pre-heat your garment for 3-5 seconds to eliminate moisture and create a smooth surface for your transfer.
Step 2: Set Up the Heat Press for DTF Transfers
Successfully setting up your heat press is crucial for achieving professional-quality DTF transfers. In this step, you’ll learn how to precisely configure your machine to ensure crisp, vibrant, and durable prints that look spectacular.
Configuring your heat press requires careful attention to three critical parameters: temperature, pressure, and time. Direct-to-film printing techniques typically recommend specific settings that vary slightly depending on your transfer and substrate.
Follow these essential steps to set up your heat press:
- Turn on the machine and allow it to warm up completely
- Calibrate the temperature settings between 380-400°F
- Adjust the pressure to a medium-firm setting
- Set the transfer time between 35-60 seconds
When preparing your heat press, pay special attention to these key details:
- Verify temperature accuracy using a digital infrared thermometer
- Ensure even heat distribution across the entire pressing surface
- Check that your pressure is consistent and balanced
- Clean the heating platen before each transfer
Precise heat press configuration is the difference between a good transfer and a great one.
Most DTF transfers require slightly different settings, so always test a sample transfer first to confirm your specific machine’s optimal parameters.
Pro tip: Keep a detailed log of successful transfer settings for each type of garment and transfer material to streamline your future production process.
Here’s a summary of essential DTF heat pressing parameters for reference:
| Parameter | Typical Range | Why It Matters |
|---|---|---|
| Temperature | 380–400°F | Ensures ink adhesion |
| Pressure | Medium-firm | Promotes even transfer |
| Dwell Time | 35–60 seconds | Allows complete bonding |
| Peeling Method | Hot or cold peel | Affects final appearance |
Step 3: Align and Position the Transfer Correctly
Precise transfer alignment is the secret to creating professional-looking DTF prints that look clean and crisp. In this step, you’ll master the techniques for positioning your transfer perfectly on any substrate.
Transfer positioning techniques require careful attention to detail and a systematic approach. Your goal is to center the transfer exactly where you want it, avoiding any potential misalignment that could ruin your final product.
Follow these critical alignment steps:
- Lay out the garment on a flat, smooth surface
- Use measuring tools to find the exact center point
- Create light alignment marks with heat-resistant tape
- Dry-fit the transfer before actual pressing
When positioning your transfer, consider these key factors:
- Verify transfer orientation before applying heat
- Use ruler or alignment guide for precise placement
- Ensure the substrate is completely flat and smooth
- Check for any wrinkles or fabric bunching
Millimeter-level precision separates amateur prints from professional results.
For irregular surfaces or challenging fabrics, mechanical press positioning strategies recommend using additional support like pressing pillows or strategic taping techniques to maintain transfer stability.
Pro tip: Create a simple cardboard alignment template for repeated designs to ensure consistent positioning across multiple garments.
Step 4: Apply Heat and Pressure with Precision
Mastering the art of heat transfer requires understanding how to apply heat and pressure with surgical precision. This critical step determines whether your DTF transfer will look professional or fall disappointingly short of expectations.
Precision pressing techniques demand careful control of three fundamental parameters: temperature, pressure, and timing. Think of these like the holy trinity of heat transfer success - get one wrong, and your entire transfer could be compromised.
Follow these critical application steps:
- Lower the heat press platen smoothly and evenly
- Apply consistent pressure across the entire transfer
- Monitor the transfer during the pressing cycle
- Maintain steady, uniform contact
When applying heat and pressure, focus on these essential considerations:
- Check pressure distribution carefully
- Use a blow-out sheet to protect your garment
- Verify temperature remains constant
- Watch for any potential transfer shifting
Precision matters more than raw power in heat transfer techniques.
Mechanical pressing strategies recommend measuring pressure in psi to ensure uniform application. Professional decorators often use pressure gauges to confirm exact pound-force across the entire transfer surface.
Pro tip: Invest in a digital pressure gauge to consistently measure and calibrate your heat press, ensuring repeatable and professional results every single time.
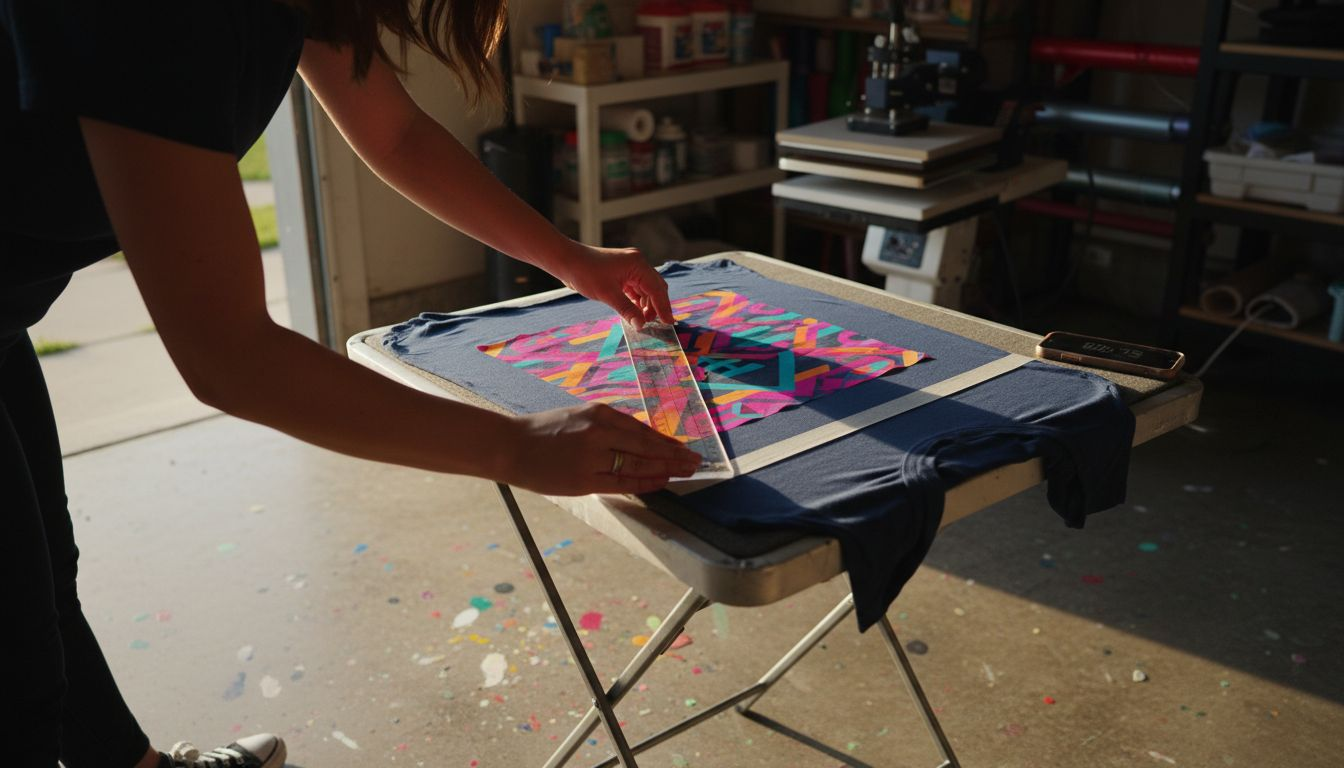
Step 5: Peel and Inspect the Finished Transfer
The final moments of your heat transfer process are crucial for ensuring a professional-looking result. Peeling and inspecting your DTF transfer requires patience, precision, and a keen eye for detail.
Proper transfer peeling techniques depend on understanding whether you’re performing a hot or cold peel. Some transfers require immediate removal, while others need cooling time to set properly.
Compare hot peel and cold peel techniques for DTF transfers:
| Method | Peel Timing | Main Advantage | Best For |
|---|---|---|---|
| Hot Peel | Immediately post-press | Faster workflow | Smooth fabrics, rapid jobs |
| Cold Peel | After full cooling | Cleaner edges, fewer marks | Textured or sensitive fabrics |
Follow these critical peeling and inspection steps:
- Wait for recommended cooling time
- Start peeling from one corner at a consistent angle
- Pull the transfer film smoothly and evenly
- Inspect the entire transfer surface immediately after peeling
During the inspection process, look for these key indicators:
- Check for complete adhesion
- Verify color vibrancy and clarity
- Look for any edge lifting or ghosting
- Examine the transfer for any wrinkles or distortions
A careful inspection can prevent reprinting and wasted materials.
Industrial quality control methods recommend comprehensive visual assessment to catch potential defects. Professional decorators know that a thorough inspection is the last line of defense against subpar transfers.
Pro tip: Keep a bright light and magnifying glass nearby to catch subtle imperfections that might be missed during a quick visual scan.
Elevate Your Heat Pressing Game with Premium DTF Transfers
Mastering heat pressing demands precision in temperature, pressure, timing, and flawless transfer alignment. If you strive for vibrant, durable results without the frustration of trial and error, your next step is using high-quality materials tailored for success. Key challenges like consistent adhesion and clean peeling become effortless with professional-grade supplies designed for perfect application every time.
Discover the difference at DTF transfers, custom apparel printing, heat transfers, t-shirt printing, high-quality prints. – Transfer Kingz. 
Experience vibrant, easy-to-apply DTF transfers that reduce setup time and boost production quality. Whether you are a hobbyist or run a large print shop, now is the time to upgrade your workflow with proven products and support from Transfer Kingz. Start your hassle-free order today and see immediate improvements in your heat pressing results. Visit DTF transfers, UV DTF Permastickers, custom printing supplies, heat transfers, bulk printing. – Transfer Kingz to explore all options.
Frequently Asked Questions
How do I prepare my workspace for heat pressing transfers?
To prepare your workspace, select a clean, flat surface that provides at least 24 inches of clearance around your heat press. Ensure you have all necessary materials handy, including DTF transfer paper, clean garments, and alignment tools, to streamline the process and minimize errors.
What are the best temperature and pressure settings for heat pressing DTF transfers?
For DTF transfers, set your heat press temperature between 380-400°F and adjust the pressure to a medium-firm setting. This configuration helps ensure proper ink adhesion and prevents poor-quality transfers.
How can I ensure my transfer is properly aligned on the garment?
To align your transfer correctly, measure to find the center of your garment and mark it lightly with heat-resistant tape. Dry-fit the transfer before pressing to make sure it is positioned accurately, which will prevent misalignments.
What is the difference between hot peel and cold peel methods for DTF transfers?
The hot peel method allows you to remove the transfer immediately after pressing, which speeds up workflow. In contrast, cold peel requires the transfer to cool fully before removal, leading to cleaner edges, making it ideal for textured fabrics.
How can I improve the quality of my DTF transfers?
To improve transfer quality, always pre-press your garment for 3-5 seconds to eliminate moisture and wrinkles. Additionally, maintain consistent pressure and evenly monitor temperature during the pressing cycle to enhance final results.
What should I do if my DTF transfer does not properly adhere?
If your DTF transfer does not adhere well, first check the temperature and pressure settings, as incorrect settings can cause issues. Then inspect your garment for any moisture or wrinkles, and make sure to follow the recommended pressing time.
Recommended
- Heat Press Application: Boosting Apparel Decoration Results – Transfer Kingz
- Role of Heat Presses in DTF: Achieving Vibrant Results – Transfer Kingz
- 7 Essential DTF Transfer Application Tips for Small Businesses – Transfer Kingz
- How to Apply DTF Transfers for Flawless Apparel Prints – Transfer Kingz
- Sublimation Transfer Process: Achieve Professional Prints Easily – SubliBlanks Limited
0 comments