
Production delays and unexpected quality issues can quickly frustrate any small shop aiming for standout apparel. For North American creators, efficient DTF application methods can make all the difference in meeting customer demand while limiting waste. This guide walks you through every key step for achieving professional, long-lasting DTF transfers, from workspace setup to durability testing, so your custom garments leave a lasting impression.
Table of Contents
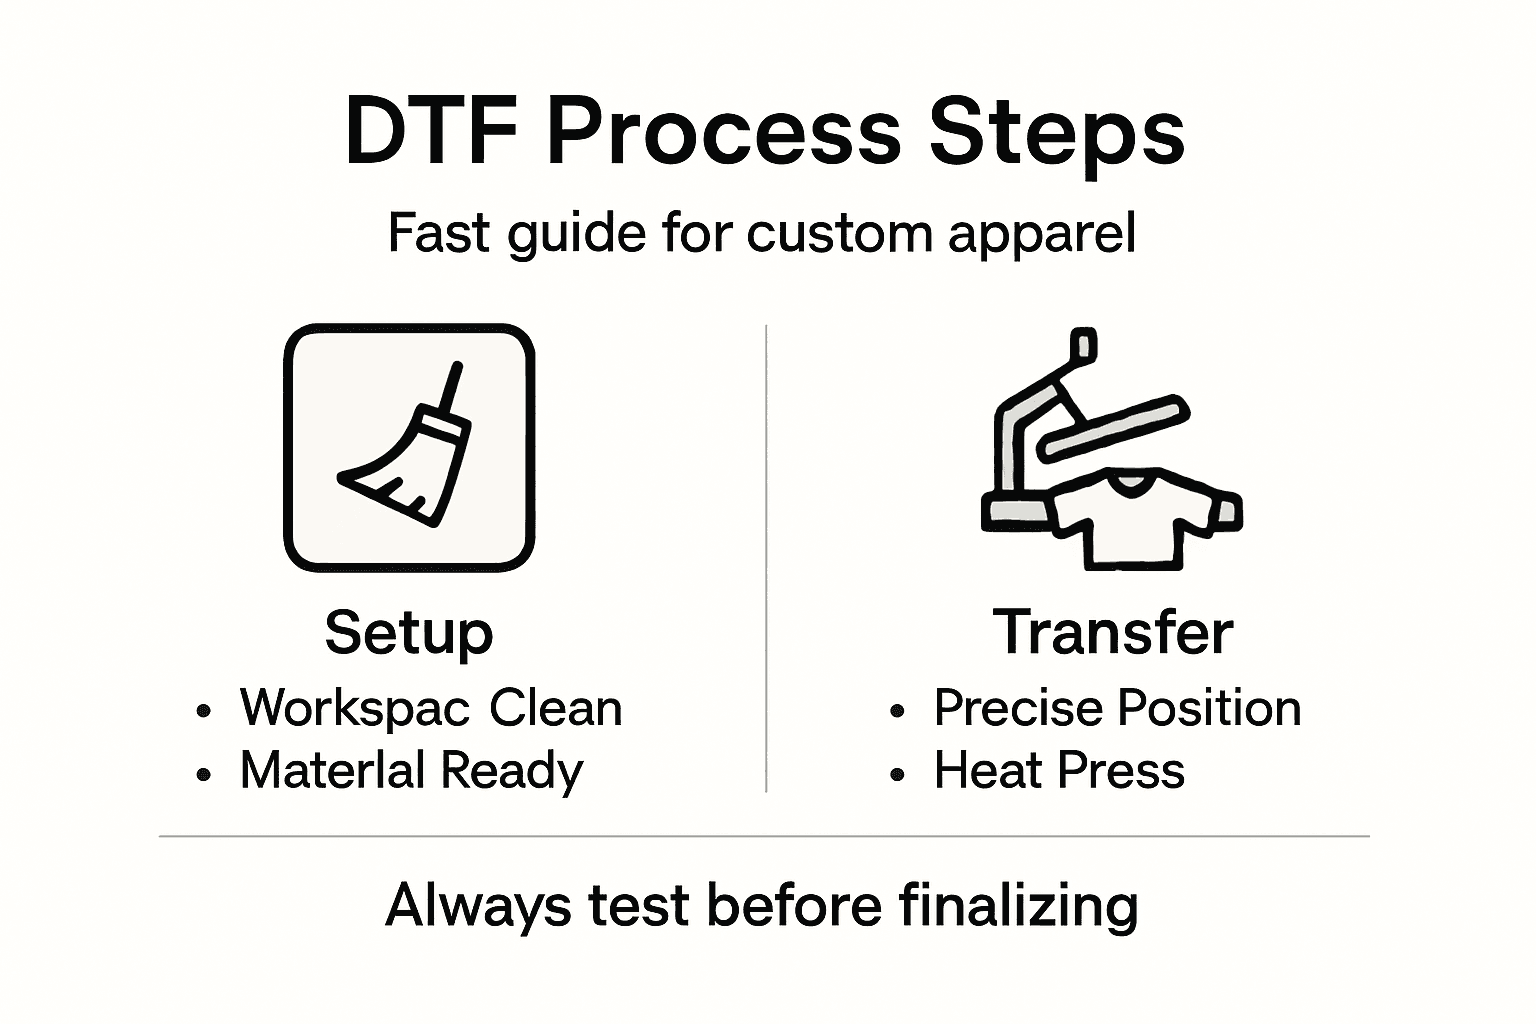
- Step 1: Prepare Your Workspace And Materials
- Step 2: Position DTF Transfer On Garment
- Step 3: Set Heat Press Settings And Apply Transfer
- Step 4: Peel Film And Inspect Transfer
- Step 5: Test Durability And Finalize Product
Quick Summary
| Key Point | Explanation |
|---|---|
| 1. Set Up a Clean Workspace | An organized workspace minimizes errors and enhances transfer quality. Ensure areas are dust-free and tools are accessible. |
| 2. Measure and Position Precisely | Accurate placement of the DTF transfer is crucial for a professional appearance; measure and mark the center of the garment. |
| 3. Follow Correct Heat Press Settings | Set heat press temperature between 300°F and 325°F, applying even pressure for 10 to 15 seconds for optimal transfers. |
| 4. Peel with Care | Be patient while peeling the transfer film; inspect the design thoroughly to ensure quality before proceeding. |
| 5. Test Durability Post-Transfer | Conduct thorough wash tests to guarantee transfer durability and design integrity before finalizing the custom apparel. |
Step 1: Prepare your workspace and materials
Setting up a clean and organized workspace is critical for achieving professional DTF transfer results. Before diving into your custom apparel project, you’ll want to create an environment that supports precision and efficiency.
Start by selecting a well-ventilated area with a stable, flat work surface that’s at least 3x3 feet. This gives you plenty of room to spread out your materials and equipment. Gather your essential tools beforehand, including:
- Heat press or commercial grade iron
- Teflon sheets for protecting your designs
- Clean work surface or cutting mat
- Sharp scissors or precision cutting tool
- Transfer film from Transfer Kingz
- Lint roller or clean cloth
- Ruler or measuring tape
A clean workspace isn’t just about organization - it’s about reducing potential errors and ensuring high-quality custom apparel.
Ensure your work area is free from dust, pet hair, and other contaminants that could interfere with your transfer application. Lay out a clean work surface and arrange your tools within easy reach. If you’re using a heat press, make sure it’s plugged in and preheating to the correct temperature for your specific DTF transfer materials.
Pro tip: Keep a small trash bin nearby and wear lint-free gloves to minimize potential contamination during your DTF transfer process.
Step 2: Position DTF transfer on garment
Precisely positioning your DTF transfer is the key to achieving a professional and polished look for your custom apparel. This critical step determines how your design will ultimately appear on the final garment, making accuracy and attention to detail paramount.
Begin by laying your garment flat on a clean, hard surface with the area for transfer facing up. Use a DTF application method that ensures minimal wrinkles and maximum smoothness. For optimal placement, follow these guidelines:
- Measure and mark the center point of your intended transfer area
- Use light pencil marks or heat-resistant tape for positioning
- Ensure the garment is completely smooth and free of wrinkles
- Position the transfer film with the printed side facing down
Precision in placement can make the difference between an amateur and a professional-looking custom garment.
Carefully align your transfer using measurement tools like a ruler or alignment grid. For shirts, typically center the design 3-4 inches below the collar. Different garment types might require slight adjustments. Double-check alignment before applying heat to prevent misplacement.

Pro tip: Use a test piece of similar fabric to practice positioning and heat transfer techniques before working on your final garment.
Step 3: Set heat press settings and apply transfer
Successfully applying a DTF transfer requires precision in your heat press settings and technique. Understanding the exact temperature, pressure, and timing can make the difference between a professional-looking design and a disappointing result.
According to heat press configuration guidelines, you’ll want to follow these critical parameters:
- Set heat press temperature between 300°F and 325°F
- Apply medium to firm pressure
- Press for 10 to 15 seconds
- Use a protective Teflon sheet to prevent scorching
Precise heat press settings are the secret to achieving vibrant, long-lasting DTF transfers that look professionally produced.
Position your transfer carefully on the garment, ensuring it’s smooth and centered. Place the protective Teflon sheet over the transfer to distribute heat evenly and prevent direct contact between the heat press and the transfer film. Press firmly and consistently, applying even pressure across the entire design area.
Pro tip: Always perform a test print on a similar fabric scrap to dial in your exact heat press settings before working on your final garment.
Here’s a quick reference for common DTF transfer heat press errors and their solutions:
| Issue | Likely Cause | Solution Suggestion |
|---|---|---|
| Incomplete transfer | Low temperature or pressure | Increase temperature or pressure |
| Scorched or dull print | Excessive heat | Lower press temperature |
| Lifting edges | Insufficient pressing time | Press for a few more seconds |
| Color fading after washing | Improper curing | Follow recommended cooling steps |
| Wrinkles under transfer | Garment not smoothed | Pre-press and smooth garment |
Step 4: Peel film and inspect transfer
Peeling the transfer film is the critical moment where you’ll reveal your custom design and assess its quality. This step requires patience and a careful approach to ensure your DTF transfer looks professional and vibrant.
After pressing, you’ll need to determine whether you’re using a cold peel or hot peel method. Transfer film techniques vary depending on the specific film and manufacturer recommendations. Follow these key inspection steps:
- Allow the garment to cool slightly if using cold peel method
- Lift film corner gently at a 45-degree angle
- Pull film smoothly and consistently
- Check for complete transfer coverage
- Inspect design for any imperfections or gaps
A careful, deliberate peel reveals the true quality of your DTF transfer - don’t rush this crucial moment.
Look closely at your transfer, examining the edges, color vibrancy, and overall adhesion. The design should appear crisp and fully integrated into the fabric with no visible lifting or uneven areas. If you notice any issues, you may need to reapply with adjusted heat press settings.
Pro tip: Keep a bright light source nearby during inspection to help you spot even the smallest imperfections in your DTF transfer.
Step 5: Test durability and finalize product
The final stage of your DTF transfer process involves rigorous testing and quality assurance to ensure your custom apparel meets professional standards. This critical step transforms your design from a simple transfer to a market-ready product that can withstand regular wear and washing.
To thoroughly evaluate your transfer, conduct a comprehensive durability assessment using custom apparel testing methods. Your evaluation should include:
- Wash test multiple times at recommended temperature
- Check for color fastness and transfer integrity
- Examine transfer edges for potential lifting
- Stretch fabric to test transfer elasticity
- Inspect design under different lighting conditions
A truly professional DTF transfer maintains its quality through repeated use and washing.
Pay special attention to the transfer’s performance under stress. Simulate real-world conditions by subjecting the garment to various movements, stretches, and washing cycles. Document your findings meticulously, noting any changes in color, adhesion, or overall design quality.
This table summarizes key steps for final DTF transfer quality checks:
| Checkpoint | What to Inspect | Why It Matters |
|---|---|---|
| Visual Coverage | Even color, no gaps | Ensures complete design |
| Edge Adhesion | No lifting or peeling | Prevents early wear |
| Elasticity Test | Stretches without crack | Confirms durability |
| Color Fastness | No fading after wash | Assures long-lasting results |
Pro tip: Create a sample test log to track your transfer’s performance across multiple wash and wear cycles, helping you refine your technique and identify potential improvements.
Elevate Your Custom Apparel with Premium DTF Transfers from Transfer Kingz
Struggling to master the delicate steps of DTF application from workspace setup to heat press precision? Achieving flawless, vibrant, and durable prints takes more than just technique — it demands the right materials designed for success. Transfer Kingz offers high-quality DTF transfers engineered to simplify your workflow and boost your custom apparel projects to professional levels. With trusted products that perfectly complement each phase of your process, you can avoid common pitfalls like incomplete transfers or color fading.

Discover our range of DTF transfers, custom apparel printing, heat transfers, t-shirt printing, high-quality prints and take advantage of our quick turnaround and no minimum order requirements. Whether you are a hobbyist or a production shop, our reliable materials and expert guidance give you the confidence to nail placement, heat press settings, and peeling every time. Visit Transfer Kingz now to explore premium products and detailed resources that empower your creativity and guarantee stunning results. Ready to transform your DTF transfers into lasting wearable art? Get started today with the best printing supplies from our shop.
Frequently Asked Questions
What tools do I need to start the DTF application process for custom apparel?
To begin the DTF application process, you will need a heat press or commercial-grade iron, Teflon sheets, a cutting tool, transfer film, and a lint roller. Gather these essential tools to prepare your workspace effectively and ensure a smooth application process.
How do I position the DTF transfer on the garment accurately?
To position the DTF transfer correctly, lay your garment flat and measure the center point of the transfer area. Use light pencil marks or heat-resistant tape to ensure the transfer is aligned properly before applying heat, achieving a professional look in your final product.
What temperature and pressure setting should I use for the heat press during the DTF application?
Set your heat press temperature between 300°F and 325°F and apply medium to firm pressure for 10 to 15 seconds. Following these settings helps ensure that your DTF transfer adheres properly and looks vibrant on the garment.
How do I determine whether to use a cold peel or hot peel method after pressing the DTF transfer?
The choice between cold peel and hot peel depends on the specific transfer film you are using, so refer to the manufacturer’s guidelines. Carefully lift a corner of the film at a 45-degree angle to check for even transfer coverage without rushing this crucial moment for the best results.
What steps should I take to test the durability of my DTF transfer after application?
To test the durability, conduct a wash test to evaluate color fastness and the integrity of the transfer after several washes. Inspect the design for any lifting or fading during wear to ensure your custom apparel can withstand regular use and maintain its quality over time.
How do I ensure my workspace is ready for the DTF application process?
Before starting, create a clean and organized workspace that measures at least 3x3 feet with a stable, flat surface. Remove dust, pet hair, and contaminants to minimize potential errors and enhance the quality of your custom apparel.
Recommended
- Defining Custom Transfers: Transforming Apparel Printing – Transfer Kingz
- How dtf shirt transfers are Revolutionizing Custom Apparel – Transfer Kingz
- DTF Application: Achieving Flawless Custom Apparel – Transfer Kingz
- DTF Print Workflow Guide for Custom Apparel Success – Transfer Kingz
- How to Style Men’s Designer Sweatshirts for Any Occasion – The Regimental Store Ltd
0 comments