

Most DTF transfer cracking comes down to one of two things: a cure that never fully finished, or an adhesive layer built too thick to flex with the fabric. Before you touch your press settings, run three checks in this order: bend the cured film off the garment to see if it sheds powder or snaps along the fold, weigh or eyeball the powder coverage against a known-good sheet, and confirm your press and oven temperatures with a separate thermometer rather than trusting the display.
Here’s a quick-fix sequence to run before you decide anything is unfixable:
- Cold-fold a scrap of the cured transfer. Grainy shedding means under-cure; a hard snap means over-cure.
- Compare powder density under a bright light against a transfer that hasn’t failed.
- Re-verify press temperature and dwell time with an infrared thermometer, then run one test press on scrap fabric.
Pro Tip: Test the cured film before it ever touches a garment. Peeling a shirt to check adhesion wastes a $3 blank; a bend test costs you nothing but ten seconds.
Key Takeaways
Most DTF transfer cracking traces back to an incomplete cure or an adhesive layer built too thick, and both are catchable with a bend test before a shirt is ever pressed.
| Point | Details |
|---|---|
| Check cure before anything else | Bend a cured film off-garment; grain means under-cure, a hard snap means over-cure. |
| Powder amount drives thickness cracking | Compare coverage against a known-good sheet before adjusting press settings. |
| Verify temperature independently | Press and oven displays drift, so confirm readings with a separate thermometer. |
| Wait 24 hours before first wash | Early washing exposes bonds that haven’t fully set, especially on stretch fabrics. |
| Transfer Kingz supplies pre-tested stacks | Order custom DTF transfers with no minimums to skip in-house cure and powder testing. |
Table of Contents
- Why Does DTF Transfer Cracking Happen in the First Place?
- What Causes Most DTF Cracking and Peeling Problems?
- How Do You Diagnose the Root Cause of Cracking?
- Can You Fix a Cracked Transfer, or Do You Need to Reprint?
- Prevention Checklist for Cracking-Resistant DTF Transfers
- What Washing and Care Instructions Reduce Cracking?
- What Are the Best Starting Heat-Press Settings for DTF Transfers?
- Sources
Why Does DTF Transfer Cracking Happen in the First Place?
Cracking happens when the adhesive layer loses its ability to flex with the fabric underneath it. A DTF transfer is really two layers stacked together: a thin printed ink film on top, and a thicker hot-melt TPU adhesive powder underneath that does the actual bonding to the shirt. The ink film rarely cracks on its own. The adhesive layer is what controls whether the whole print can stretch, fold, and recover without fracturing.
Three process errors create brittle points in that adhesive layer, and each leaves a different fingerprint:
- Under-cure leaves the powder as a layer of fused grains instead of one continuous elastic film. That grain boundary is a structural weak point that fractures under flex or washing.
- Over-cure turns the adhesive glassy and brittle, often with a slight yellow tint, and it will crack right on the cured film before it even reaches a garment.
- Uneven powder distribution builds thick, rigid patches next to thin, weak ones, so the same print fails in two different ways depending on where you look.
Transfer Kingz notes that DTF transfers, applied correctly, can hold up through 50 or more wash cycles without cracking. Falling well short of that is almost always a process signal, not bad luck.
Pro Tip: Cracks that follow a fold line, like the chest or shoulder seam, point to an adhesive flexibility problem. Cracks scattered across the whole image usually mean too much powder built the layer too thick.
What Causes Most DTF Cracking and Peeling Problems?
Cracking failures cluster into five categories, and knowing which one you’re in narrows your fix fast.
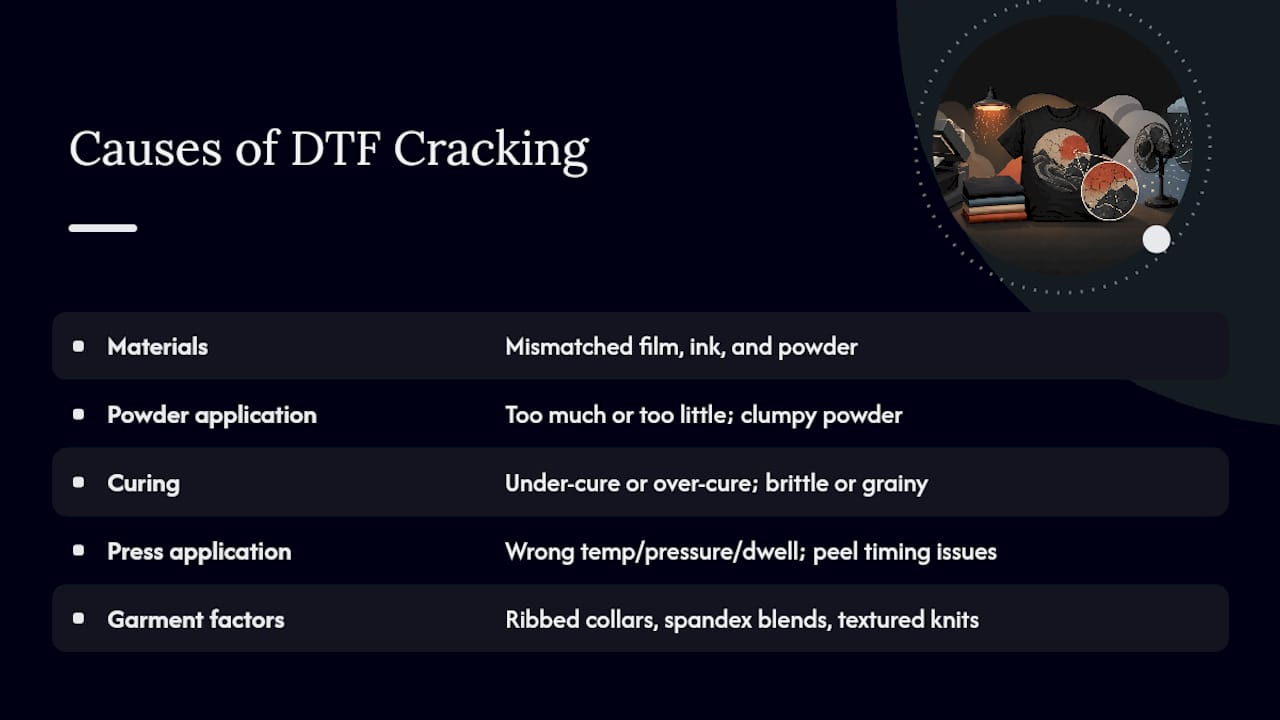
Materials. Mismatched film, ink, and powder combinations behave unpredictably even when each component is fine on its own. Moisture-damaged powder that’s clumped from humidity exposure is a frequent, invisible culprit.
Powder application. Too much powder builds an adhesive layer that sits proud of the fabric and turns structurally rigid; too little produces lifting or wash-away rather than cracking. Clumpy or unevenly stored powder compounds both problems.
Curing. Under-cure leaves grainy, fused particles that fracture at the boundaries. Over-cure produces a glassy, brittle finish that cracks on its own before the shirt ever gets worn.
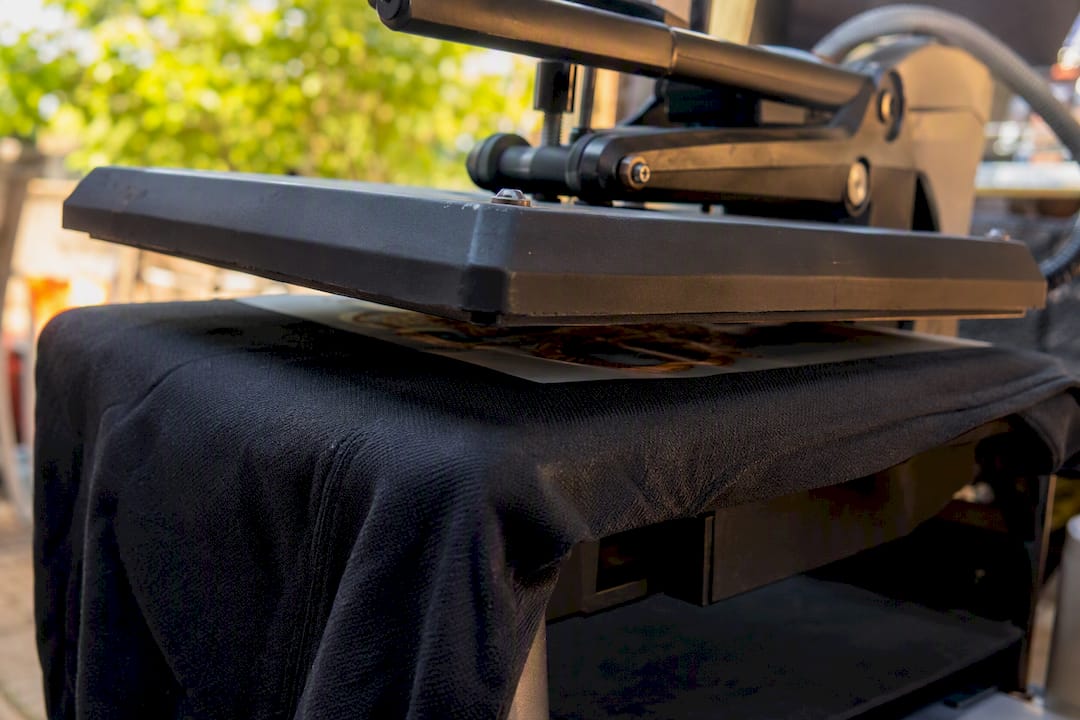
Press application. Wrong platen temperature, uneven pressure, and inconsistent dwell time are all common triggers. Insufficient heat or pressure often creates only a surface bond instead of true penetration into the fabric fibers, which looks perfectly fine right off the press and fails weeks later. Peel discipline matters too: pulling a hot peel too early, or a cold peel too late, can distort the still-soft adhesive.
Garment factors. Ribbed collars, spandex blends, and other high-stretch fabrics put more mechanical strain on a transfer than a stable cotton tee ever will. Seams and heavily textured knits also create uneven pressure contact during the press cycle.
Post-care. Washing before the adhesive has fully set exposes shallow bonds that haven’t had time to cure at the fiber level. Hot water, harsh detergents, and fabric softener all accelerate this failure.
A useful way to think about it: ink, film, powder, and cure aren’t independent parts you tweak one at a time. They’re a single system that has to be validated together, and changing one without retesting the rest is how “it worked last month” turns into a stack of customer complaints.
How Do You Diagnose the Root Cause of Cracking?
Work through these checks in order. Each one is cheap, and skipping ahead means you might fix the wrong variable and never know why the problem went away, or didn’t.
- Look at the crack pattern first. Fold-line cracking points to a cure or flexibility issue. Cracking spread evenly across the design points to layer thickness or excess powder.
- Run the bend/fold test on a cured film that hasn’t touched fabric yet. A properly cured adhesive creases into a matte, continuous layer without shedding. Grain means under-cure; a snap along the fold means over-cure.
- Check powder quantity against a sheet from a batch that never cracked. Hold both up to strong light and compare density and evenness.
- Verify temperature independently. Press and oven displays drift over time, and a reading that’s low by even 10 to 15 degrees is a common, invisible cause of sudden cracking when nothing else on the floor has changed.
- Check pressure and platen flatness. Worn foam pads or a platen that isn’t level create localized weak zones, so cracking in one specific spot instead of the whole print often traces back here.
- Rule out the garment last. If cure, powder, and press all check out, press a known-good transfer onto the same fabric. If that one fails too, the substrate itself is the problem.
This mirrors the diagnostic order most experienced print shops follow: cure first, powder second, press third, garment last. That sequence isn’t arbitrary. It moves from the cheapest, most common failure to the rarest.
Can You Fix a Cracked Transfer, or Do You Need to Reprint?
If the cracking is structural, meaning the adhesive itself has already fractured, re-pressing will not restore flexibility. A cracked bond stays cracked. Reprinting is the right call once you’ve confirmed that.
That said, a few things are worth trying before you write off a batch:
- Try a second finishing press at a slightly lower temperature and shorter dwell on any transfer that shows only minor edge lifting, not full cracking.
- Spot-test the fix on a sacrificial garment or scrap area before committing to a full production run.
- If the bend test shows under-cure, adjust oven time or temperature and reprint a small batch rather than the full order.
- If it shows over-cure, dial back cure time or temperature slightly and retest.
- If materials are the suspect, switch to a finer-grain or higher-grade powder, or confirm your film and ink are actually rated for the powder you’re using, then run a fresh test-lot.
Pro Tip: Change exactly one variable at a time and write down what you changed. Adjusting cure time and powder amount in the same test run means you’ll never know which fix actually worked.
Prevention Checklist for Cracking-Resistant DTF Transfers
The most reliable way to stop cracking before it starts is to treat your material stack and your cure process as controlled variables, not settings you eyeball. Once a combination of film, ink, powder, and cure profile is validated, changing any single piece means retesting the whole stack again.
A few production controls matter more than people expect:
- Store hot-melt powder sealed and dry. Even small moisture uptake causes clumping and uneven adhesion that shows up later as brittle spots.
- Use a consistent, fine-grain powder rather than switching grades between orders.
- Rotate powder stock so older bags get used before they sit through a humid season.
- Verify platen temperature with a digital thermometer on a schedule, not just when something goes wrong.
- Maintain press pads and check platen flatness; a worn pad creates the same localized failure as bad pressure settings.
- On heavy-stretch or ribbed garments, avoid one giant solid ink block. Break the design into smaller elements or leave breathing gaps so the print flexes with the fabric instead of against it.
| Failure Mode | Root Cause | Control That Prevents It |
|---|---|---|
| Grainy film, early cracking | Under-cure | Bend test before every shift, verify oven temp |
| Glassy, brittle film | Over-cure | Reduce cure time/temp, retest with bend fold |
| Cracking across whole image | Excess powder | Standardize powder weight per sheet size |
| Localized crack in one spot | Worn pad or uneven platen | Inspect pads monthly, check platen flatness |
Pro Tip: Keep one reference job on file, a design and stack combination you know performs well, and run a small test-lot against it every time you introduce a new roll of film or bag of powder.
What Washing and Care Instructions Reduce Cracking?
Simple care rules extend print life more than almost any production tweak. Tell customers to wash in cold or warm water, use a gentle detergent, turn the garment inside out, and skip bleach and fabric softener where possible. Fabric softener and high heat both accelerate adhesive aging, which is exactly what cracking is.
Timing matters too. Waiting at least 24 hours before the first wash gives the adhesive time to finish setting at the fiber level, especially on garments that went straight from press to bag.
Drying deserves the same attention as washing. Air drying or a low-heat dryer setting protects the print; high dryer heat is functionally another cure cycle the adhesive was never meant to survive twice.
A short care card or hangtag line does most of the work:
- Do: wash cold or warm, turn inside out, air dry or tumble low.
- Don’t: use bleach, fabric softener, or high heat in the dryer.
- Don’t: wash within the first 24 hours after pressing.
What Are the Best Starting Heat-Press Settings for DTF Transfers?
Start conservative, then tune to your exact film, ink, and powder stack; no single number works across every brand combination.
| Stage | Starting Range |
|---|---|
| Oven/powder cure | About 320°F for 2 to 3 minutes |
| Press temperature | About 320°F |
| Press pressure | Medium to firm, even across the platen |
| Dwell time | 10 to 15 seconds |
| Peel method | Cold peel for most film/powder stacks |
Treat this as a baseline to validate, not a fixed recipe. Confirm every batch with a bend test and a real wash cycle before you commit to a full production run, and check the platen readout against an independent thermometer the same way you would in the diagnostic steps above.
What Transfer Kingz Learned Testing Film and Powder Stacks
Validate your cure on a spare film before touching your press settings at all. That single habit catches most cracking problems before a single shirt is ruined.
Transfer Kingz runs three checks internally whenever a new film or powder stack comes into rotation:
- Bend test on cured film to confirm a continuous, non-grainy layer.
- Independent thermometer check on the platen, not just the display.
- A sacrificial wash test, five cycles minimum, before greenlighting a full order run.
A stack passes when the bend test shows a matte, flexible fold with no shedding, the platen reads within a few degrees of the display, and the wash-tested sample shows no cracking after five cycles. Any one of those failing means the stack goes back for adjustment before production starts.
The Order That Actually Saves You Time and Fabric
Checking cure before touching press settings, and press settings before blaming the garment, is the sequence that keeps a five-minute fix from turning into a wasted afternoon of guesswork. Skipping steps to save time almost always costs more time later.
Run the bend test and a sacrificial wash test on your next batch before you change anything else, then standardize whatever combination passes.
Get Pre-Tested DTF Transfers Without the Trial and Error
Transfer Kingz solves the exact problem this guide walks through: instead of running your own cure tests, powder comparisons, and sacrificial wash cycles, you order transfers already validated against these failure points. Every sheet ships from a stack that’s been checked for cure consistency, powder grade, and press compatibility before it ever reaches your shop.

If you’re a small shop or decorator tired of guessing at oven times and powder amounts, custom DTF printing with no minimum order gets you production-ready sheets with application guidance included, so you’re troubleshooting less and pressing more. For businesses in Texas looking for regional turnaround, the Texas DTF transfer service covers shipping and pickup options built around fast delivery. Upload your design, pick your sheet size, and place an order today.
Sources
- DTF Cracking: A Diagnostic Order of Operations
- Why DTF Transfers Crack: 2026 Durability & Repair Guide — Dtf Bank
- Why DTF Prints Crack After Washing: Bonding Failures, Cure Window, and Material Mismatch — DTFPROTECH
- Why DTF Prints Crack or Peel After Washing — Care Guide
0 comments