
TL;DR:
- Effective DTF quality control relies on proper materials, repeatable processes, and careful oversight.
- Troubleshooting involves monitoring each production phase, from film cleaning to wash tests, to identify issues early.
- Consistent documentation and ongoing audits help maintain high-quality, repeatable DTF transfer results over time.
Investing in DTF transfers and still getting peeling edges, faded colors, or brittle prints after a single wash? You’re not alone. Many small shops and decorators lose money on reprints simply because quality control gets treated as an afterthought rather than a built-in process. The good news is that consistent, professional results don’t require expensive new equipment. They require the right materials, a repeatable process, and a sharp eye at every stage. This guide walks you through the exact quality control methods that separate reliable DTF operations from ones that constantly fight defects.
Table of Contents
- Essential tools and materials for DTF quality control
- Step-by-step DTF transfer quality control process
- Common DTF quality issues and troubleshooting
- Ongoing monitoring and ensuring repeatability
- Why most DTF quality control guides fall short—and what actually works
- Take your DTF transfer results to the next level
- Frequently asked questions
Key Takeaways
| Point | Details |
|---|---|
| Quality tools matter | Using certified inks, premium films, and proper equipment is essential for reliable DTF results. |
| Process is everything | Following a detailed, stepwise quality control process reduces costly transfer mistakes. |
| Routine checks prevent defects | Regular monitoring and tracking keep DTF transfer quality high and consistent over time. |
| Troubleshoot early | Quick identification and correction of defects saves rework and maintains brand reputation. |
Essential tools and materials for DTF quality control
After understanding what’s at stake with poor quality, let’s start by reviewing the right tools and materials needed for effective DTF quality control.
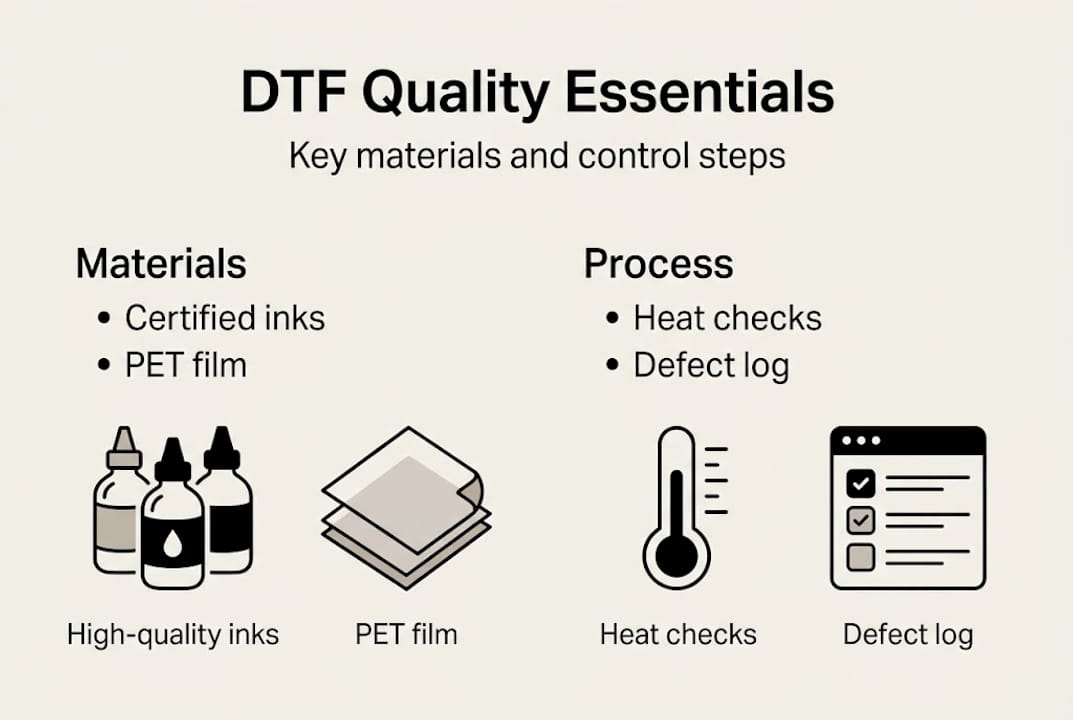
Your quality control process is only as strong as the materials feeding into it. Skimping on supplies to save a few dollars per batch almost always costs more in wasted film, failed transfers, and unhappy customers. High-quality materials like OEKO-Tex certified inks, TPU powder, and premium film combined with controlled curing prevent brittleness and defects before they start.
Here’s a quick-reference breakdown of the core tools every shop needs:
| Tool/Material | Purpose | What to look for |
|---|---|---|
| DTF printer | Lays down ink on film | Calibrated heads, consistent output |
| OEKO-Tex certified inks | Color and adhesion | Certification label, no harsh chemicals |
| TPU hot-melt powder | Bonds transfer to fabric | Fine, even grain, certified source |
| Premium PET film | Print substrate | Smooth coating, no bubbles |
| Heat press | Applies transfer | Even platen pressure, digital temp control |
| Spectrophotometer | Color accuracy measurement | Matches Pantone or brand standards |
Beyond the table above, your shop setup should include these must-have items:
- Lint roller and anti-static wipes for media prep
- Calibration test sheets for weekly printer checks
- Digital thermometer to verify heat press surface temp
- Wash-test garments for post-print validation
- Defect log sheets or tracking software
For a more structured approach, the DTF quality checklist from Transfer Kingz gives you a ready-to-use format. You can also review industry standards for DTF printing to benchmark your current setup against what professional decorators follow.
Pro Tip: Never source inks or powders from unverified suppliers just to cut costs. Non-certified supplies are a leading cause of transfer rejection, color inconsistency, and customer complaints that could have been avoided entirely.
Step-by-step DTF transfer quality control process
Once you have the right materials, follow this proven process to control quality at every stage of DTF transfer.
Quality control isn’t a single check at the end of a print run. It’s a series of deliberate actions before, during, and after each batch. Controlled curing and attention to material quality ensure optimal adhesion and prevent brittle results. Here are the recommended steps in order:
- Clean the film media using a lint roller and anti-static wipe before loading.
- Verify design file specs: resolution at 300 DPI minimum, correct color profile (sRGB or CMYK as required).
- Run a calibration print to confirm nozzle health and color accuracy before the full batch.
- Apply TPU powder evenly immediately after printing while ink is still wet.
- Cure the powder in an oven or heat tunnel at the correct temperature (typically 250 to 300°F) for the recommended time.
- Inspect the cured transfer visually for powder bleed, missing ink, or edge lifting.
- Press a test garment using calibrated heat press settings before running the full order.
- Perform a stretch test on the test garment to check adhesion flexibility.
- Run a wash test on at least one sample per batch to verify durability.
This table summarizes each phase, common issues, and what to do when something goes wrong:
| Phase | Common issue | Corrective action |
|---|---|---|
| Pre-print | Dust on film | Re-clean with anti-static wipe |
| Powder application | Uneven coverage | Adjust powder volume and shaking method |
| Curing | Brittle transfer | Increase cure time or check oven calibration |
| Pressing | Poor adhesion | Verify temp, pressure, and dwell time |
| Post-print | Color shift | Recalibrate printer and check ink levels |
For a deeper look at workflow sequencing, the DTF transfer workflow guide covers timing and sequencing in detail. If you’re setting up a new operation, the DTF transfer setup guide is a solid starting point.
Common DTF quality issues and troubleshooting
Even with robust processes, issues can arise. Here’s how to spot and fix them fast.
Rushed curing and poor material selection are leading causes of transfer defects. Knowing how to identify a defect quickly and trace it back to its root cause saves you time, film, and garments.
Here are the most common symptoms and their likely causes:
- Peeling edges: Under-cured powder or insufficient heat press dwell time
- Color fading after washing: Low-quality inks or incorrect cure temperature
- Cracking on stretch: Over-cured powder or wrong TPU powder grade
- Powder bleed (fuzzy edges): Too much powder applied or poor shaking technique
- Ghosting or double image: Film shifted during pressing or incorrect peel timing
- Ink bleeding into fabric: Excess ink saturation or wrong film coating type
Safety warning: Do not overheat transfers above the manufacturer’s recommended temperature, and never under-cure to save time. Both are major failure risks that result in defective products reaching your customers.
When you spot a recurring defect, don’t just fix the symptom. Trace it back to the process step where it originates. If poor adhesion keeps showing up across multiple batches, that’s a signal to review your entire pressing protocol, not just the last job. The DTF troubleshooting guide walks through root cause analysis for persistent problems.
Pro Tip: Keep a simple defect log for every batch. Record the date, material lot, settings used, and defect type. After a few weeks, patterns emerge that point directly to the weak link in your process. The DTF troubleshooting tips resource can help you interpret those patterns faster.
Ongoing monitoring and ensuring repeatability
To guarantee results long-term, focus on ongoing monitoring and replicable systems.
Systematic monitoring and adherence to proven QC steps are essential for consistent high-quality DTF results. A single good batch doesn’t mean your process is locked in. Repeatability comes from documented systems, not memory.
Here’s a recommended audit schedule to keep your process tight:
- Before every batch: Check film cleanliness, ink levels, and heat press calibration.
- Daily: Run a nozzle check print and review defect log from the previous session.
- Weekly: Perform a full calibration print, wash test on a sample, and review defect trends.
- Monthly: Audit all material certifications, replace worn press pads, and update your settings log.
- Per new material lot: Test new film or ink batches with a sample run before committing to a full order.
Here’s a sample metrics table to track your QC performance over time:
| Metric | Target | Action if missed |
|---|---|---|
| Defect rate per batch | Under 2% | Review curing and press settings |
| Color accuracy (Delta-E) | Under 3.0 | Recalibrate printer and check ink |
| Wash test pass rate | 100% | Audit material quality and cure time |
| Customer reprint requests | Zero per month | Escalate to full workflow review |
For a deeper look at what quality benchmarks actually mean in practice, DTF quality explained breaks down the metrics in plain language.
Pro Tip: Document every setting change you make, including temperature adjustments, dwell time tweaks, and powder volume changes. When a future batch fails, you’ll know exactly what changed and can reverse it without guessing.
If your operation serves clients with specific compliance requirements, such as OEKO-Tex certified final products or brand color standards, build those requirements directly into your monitoring checklist. That way, compliance isn’t a separate task. It’s built into every batch.
Why most DTF quality control guides fall short—and what actually works
Most DTF quality guides are written in ideal conditions. They assume you have a fully staffed shop, consistent material supply, and time to run every test before every batch. Real shops don’t work that way.
The truth is that time pressure and material supply gaps cause more defects than equipment limitations ever will. We’ve seen operations with mid-range printers consistently outperform shops with premium machines, simply because they documented every batch and trained their team to follow the same steps every time.
Investing in better consumables, specifically certified inks and quality film, delivers more return than buying a new printer. And taking five minutes to photograph each QC pass creates a visual record that speeds up troubleshooting when something goes wrong later.
The shops that maintain the best quality aren’t the ones with the most gear. They’re the ones with the most discipline. If you want a practical starting point, our proven DTF checklist gives you a real-world framework built for daily shop use, not just theory.
Take your DTF transfer results to the next level
If you’re ready to apply these quality control methods with full support, here’s how Transfer Kingz can help.
Applying rigorous QC methods is far easier when you start with transfers that are already produced to a high standard. Transfer Kingz combines best-in-class materials with expert production processes so your pressing results are consistent from the first transfer to the last.

Whether you’re running a small local operation or scaling up high-volume orders, Transfer Kingz offers regional expertise including DTF transfers in Dallas and DTF transfers in Texas with fast turnaround and no minimums. If you want to understand how the technology itself is changing the industry, how DTF shirt transfers are revolutionizing custom apparel is worth a read before your next order.
Frequently asked questions
What causes DTF transfer prints to peel or crack?
Rushed processes lead to defects like brittleness and poor adhesion. The main causes are under-cured powder, low-quality film or ink, and heat press settings that are off on temperature or dwell time.
How do I test the durability of a DTF transfer?
Stretch and wash tests are the standard methods for checking durability after curing and pressing. Post-print validation should include both tests on at least one sample per batch before releasing the full order.
Which materials are essential for DTF quality control?
You need OEKO-Tex certified inks, premium PET film, TPU hot-melt powder, a calibrated printer, and a heat press with digital temperature control. High-quality materials prevent defects like poor adhesion and color inconsistency from the start.
How often should I check my DTF transfer process?
Quality should be monitored before and during every batch, with a full audit at least once a week. Consistent monitoring and regular audits are what separate shops with repeatable results from those constantly chasing defects.
0 comments