
Setting up DTF transfer printing presents a real challenge when every minute and detail counts for small business owners and independent designers. Reliable color accuracy, efficient workflows, and crisp results are not just wish-list items, they are essential for growing your custom apparel brand. By focusing on proven setup techniques and premium materials, you can protect your creative vision, achieve durable prints, and save valuable production time for every custom order.
Table of Contents
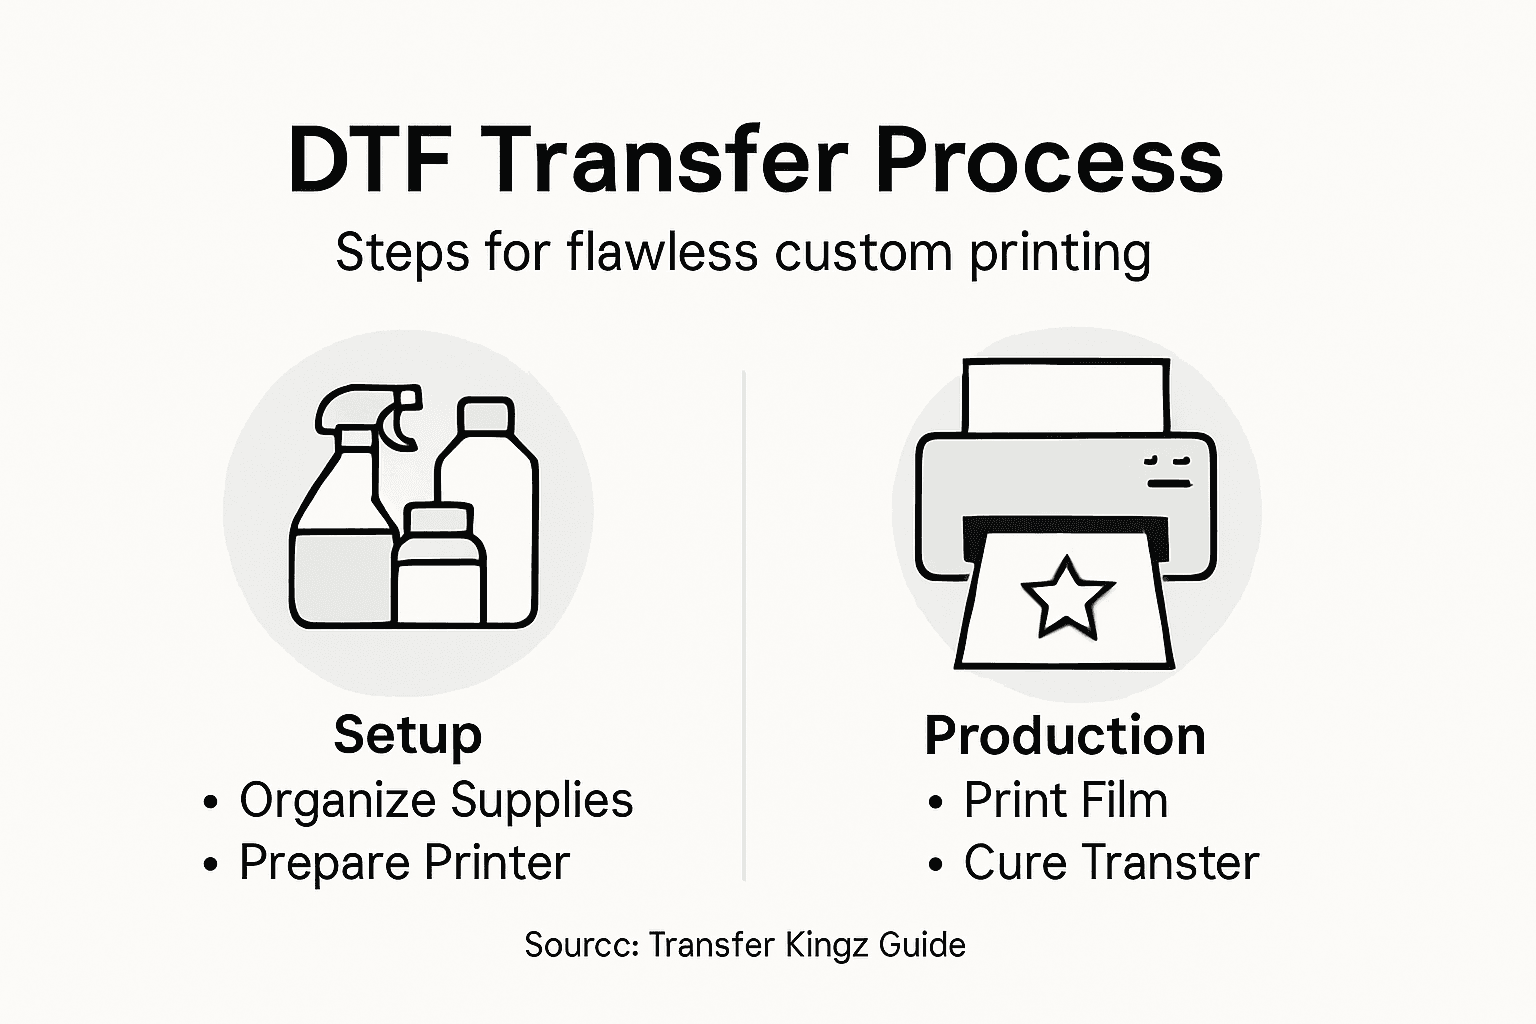
- Step 1: Prepare Workspace And Gather DTF Transfer Supplies
- Step 2: Configure Printer For Optimal DTF Film Output
- Step 3: Print And Cure DTF Transfers With Premium Inks
- Step 4: Apply Transfers To Garments Using Proper Heat Settings
- Step 5: Verify Print Quality And Ensure Long-Lasting Results
Quick Overview
| Key Insight | Explanation |
|---|---|
| 1. Maintain a clean workspace | A tidy environment prevents dust and ensures transfer quality. Organize all materials for easy access. |
| 2. Properly configure your printer | Accurate calibration affects print quality. Follow manufacturer guidelines to prevent issues like color inconsistency. |
| 3. Use high-quality DTF inks | Premium inks ensure vivid colors and longevity. Select inks suited for your transfer film for best results. |
| 4. Apply transfers with precision | Correct heat and pressure settings are crucial. Test temperatures on fabric scraps before final application. |
| 5. Conduct thorough quality checks | Inspect for color vibrancy and adhesion strength before delivery. This ensures the final product meets professional standards. |
Step 1: Prepare workspace and gather DTF transfer supplies
Setting up your workspace and collecting the right supplies are critical first steps for achieving professional DTF transfer results. Before you dive into printing, you’ll want a clean, organized environment with all necessary equipment within easy reach.
Start by choosing a well-ventilated area with a stable work surface. Your workspace should include a dedicated zone for your DTF printer, heat press, and transfer materials. Key supplies you’ll need include:
- DTF printer (specialized for direct-to-film transfers)
- High-quality DTF transfer film
- White and color DTF inks
- Powder shaker for adhesive powder application
- Heat-resistant gloves
- Transfer tape
- Lint roller
- Clean microfiber cloths
- Workspace protection like silicone mats
When selecting supplies, focus on top-quality DTF transfer materials that ensure consistent print quality. Invest in professional-grade equipment to minimize potential printing issues and achieve crisp, vibrant transfers.
Professional tip: Always keep your workspace meticulously clean to prevent dust or debris from compromising transfer quality.
Pro tip: Organize your supplies in clear, labeled containers to streamline your workflow and reduce setup time for each print job.
Step 2: Configure printer for optimal DTF film output
Configuring your DTF printer correctly is essential for achieving high-quality, vibrant transfers that meet professional standards. This step involves precise calibration and settings adjustment to ensure your printer produces consistent, sharp images on transfer film.
Start by reviewing your printer’s specifications and understanding the unique requirements of direct-to-film printing technology. Key configuration steps include:
- Perform a nozzle check to verify print head functionality
- Adjust print head alignment for precise image placement
- Select appropriate ICC color profiles for your specific film and ink
- Set ink density to optimize color saturation
- Configure print resolution for maximum detail
Pay close attention to your printer’s calibration settings. Proper configuration helps prevent common issues like color inconsistency, blurry edges, or uneven ink distribution. Each printer model has unique calibration requirements, so consult your manufacturer’s guidelines for specific instructions.
Precision in printer configuration directly impacts the quality of your final DTF transfer.
Pro tip: Create and save multiple printer profiles for different film types to quickly switch between transfer materials without manual recalibration.
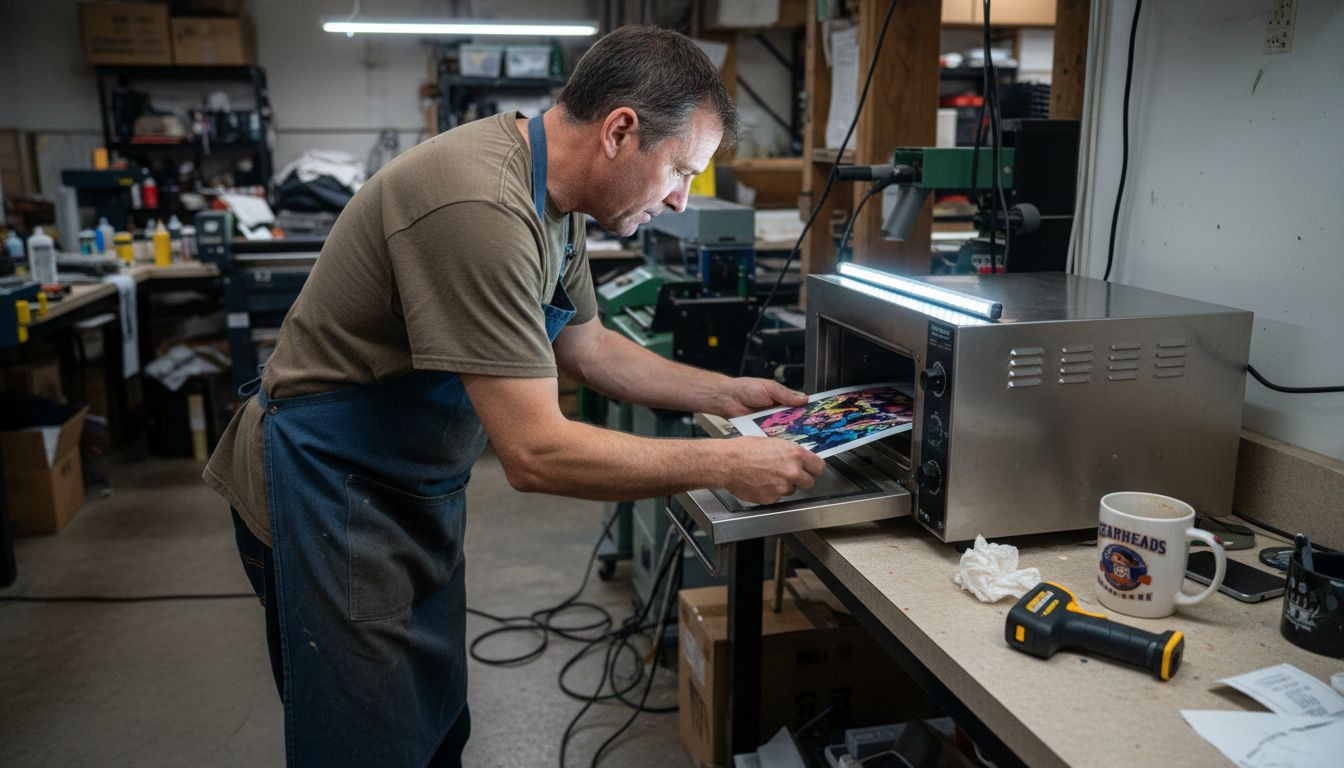
Step 3: Print and cure DTF transfers with premium inks
Successfully printing and curing DTF transfers requires precision, quality materials, and careful technique. This critical step transforms your digital design into a vibrant, durable transfer ready for application on various substrates.
Begin by selecting high-quality DTF inks that ensure color accuracy and longevity. Your printing process should include these key steps:
- Load premium DTF transfer film
- Calibrate ink density settings
- Enable white ink underbase for dark garments
- Apply adhesive powder evenly
- Select appropriate print resolution
Curing is equally crucial for transfer durability. You have two primary methods: using a curing oven or a heat press. For a heat press, set temperatures between 110-120°C and apply pressure for 60-90 seconds. Conveyor or flash dryers work best at 100-110°C for 2-3 minutes. Consistent temperature and duration are essential to melt the adhesive powder and create a wash-resistant transfer.
Here’s a quick comparison of DTF curing methods for best results:
| Curing Method | Typical Temperature | Time Needed | Best For |
|---|---|---|---|
| Heat Press | 110-120°C | 60-90 seconds | Small-scale production |
| Curing Oven | 100-110°C | 2-3 minutes | Bulk transfers |
| Conveyor Dryer | 100-110°C | 2-3 minutes | High-volume operations |
| Flash Dryer | 100-110°C | 2-3 minutes | Speed curing of batches |
Proper curing transforms a good print into a professional-grade transfer.
Pro tip: Invest in a temperature gun to precisely monitor and verify your curing temperatures for consistently perfect transfers.
Step 4: Apply transfers to garments using proper heat settings
Transferring your DTF design onto fabric requires precision and careful technique to ensure a professional, long-lasting print. The application process is critical in transforming your digital artwork into a vibrant, durable garment decoration.
Begin by following DTF transfer application steps with meticulous attention to heat settings and technique. Your transfer application workflow should include:
- Pre-press the garment to remove moisture
- Position transfer printed side down on fabric
- Use parchment paper as a protective layer
- Apply consistent heat and pressure
- Select appropriate temperature based on fabric type
Heat press temperatures typically range from 110-150°C, with most transfers requiring 10-12 seconds of pressing. Different fabrics demand slight variations in temperature and duration. Cotton typically requires around 130°C, while synthetic blends might need lower temperatures to prevent damage. After initial pressing, allow the transfer to cool completely before handling.
Use this summary to understand fabric-specific DTF transfer settings:
| Fabric Type | Recommended Temp | Press Duration | Special Notes |
|---|---|---|---|
| 100% Cotton | ~130°C | 10-12 seconds | Allows vibrant colors |
| Poly/Cotton Mix | 110-120°C | 10-12 seconds | Avoid overheating blends |
| 100% Polyester | 110°C | 10 seconds | Use lighter pressure |
Precise heat application transforms a good design into a professional, wash-resistant print.
Pro tip: Always perform a test press on a similar fabric scrap to dial in your exact temperature and timing settings before applying the final transfer.
Step 5: Verify print quality and ensure long-lasting results
After completing your DTF transfer, a thorough quality inspection is crucial to guarantee professional-grade results that will withstand multiple wash cycles and maintain vibrant appearance. Your final verification process determines the overall success of your custom printing project.
Utilize DTF transfer troubleshooting techniques to evaluate your transfer’s quality across multiple dimensions. Key inspection criteria include:
- Check color vibrancy and accuracy
- Inspect transfer edge definition
- Test transfer adhesion strength
- Verify no visible printing defects
- Assess overall design clarity
Pay special attention to potential issues like uneven color distribution, adhesive powder clumping, or incomplete ink coverage. Conduct a wash test by laundering a sample transfer under recommended conditions to simulate real-world wear. Professional print shops typically perform multiple quality checks to ensure consistent, high-quality output.
Meticulous quality verification separates amateur prints from professional-grade transfers.
Pro tip: Create a quality control checklist and document your inspection process to continuously improve your DTF transfer technique and identify recurring issues.
Master Flawless Custom Printing with Expert DTF Transfers
Struggling to set up the perfect workspace or achieve vibrant, durable prints with your DTF transfers Our detailed guide addresses key challenges like printer calibration, ink selection, and heat press settings to help you create professional results every time. Whether you are a small business owner or a hobbyist looking to elevate your apparel printing game Transfer Kingz supports your journey with premium supplies and expert solutions.
Discover our extensive collection of DTF transfers, custom apparel printing, heat transfers, t-shirt printing, high-quality prints – Transfer Kingz designed for flawless application and vibrant color longevity.

Take control of your custom printing projects today by choosing Transfer Kingz for reliable, affordable, and professional-grade DTF transfer materials. Visit our Home page – Transfer Kingz to explore ordering options and get access to educational support that will help you avoid common printing pitfalls. Start creating prints that stand out and last by visiting https://www.transferkingz.com/ now.
Frequently Asked Questions
What supplies do I need for DTF transfer setup?
You’ll need a DTF printer, high-quality DTF transfer film, white and color DTF inks, and an adhesive powder shaker, among other items. Gather all necessary equipment and materials in a clean, organized workspace to streamline your printing process.
How do I configure my DTF printer for optimal output?
Start by performing a nozzle check and adjusting the print head alignment for precise image placement. Then, set the appropriate ICC color profiles and ink density to enhance color saturation for your specific film and ink type.
What are the steps for printing and curing DTF transfers?
Load premium DTF transfer film into your printer and calibrate the ink settings. After applying an even layer of adhesive powder, cure the transfers using a heat press, ensuring to monitor the temperature and duration carefully for the best results.
How do I apply DTF transfers to garments correctly?
Pre-press the garment to eliminate moisture, position the transfer printed side down, and use parchment paper as a protective layer. Apply consistent heat and pressure based on the fabric type to ensure proper adhesion and durability of the transfer.
How can I verify the print quality of my DTF transfers?
Inspect the transfer for color vibrancy, edge definition, and adhesion strength. Conduct a wash test to simulate real-world conditions and identify any potential issues with transfer quality before finalizing your project.
What should I do if I encounter printing defects in my DTF transfers?
Review your transfer for uneven color distribution or adhesive powder clumping. Troubleshoot by checking printer settings and conducting quality control checks, adjusting parameters as needed to minimize defects in future prints.
0 comments