
Most American independent apparel designers discover that nearly 60 percent of DTF transfer errors stem from workspace or equipment issues. Whether you print from a bustling studio in New York or a cozy garage in Berlin, simple setup mistakes can derail design quality and productivity. This practical guide pinpoints troubleshooting steps and actionable strategies so you can spot problems, refine your process, and achieve professional results with every custom apparel project.
Table of Contents
- Step 1: Assess Equipment and Workspace for DTF Success
- Step 2: Inspect Film and Ink Supplies for Quality Assurance
- Step 3: Correct Application Settings for Optimized Transfers
- Step 4: Test DTF Transfers and Identify Print Issues
- Step 5: Refine Techniques to Eliminate Common DTF Errors
- Step 6: Verify Finished Prints for Consistent Quality
Quick Summary
| Key Takeaway | Explanation |
|---|---|
| 1. Create Controlled Environment | Maintain a stable temperature around 70°F with 45-55% humidity to prevent printing defects. |
| 2. Use Quality Supplies | Ensure that films and inks are inspected for consistency to achieve professional transfer results. |
| 3. Optimize Print Settings | Adjust RIP software settings for image mirroring and ink density to enhance transfer quality. |
| 4. Conduct Thorough Testing | Create test prints on various fabrics to uncover adhesion and color issues before large runs. |
| 5. Document for Continuous Improvement | Maintain detailed logs of print settings and outcomes to identify patterns and refine techniques. |
Step 1: Assess Equipment and Workspace for DTF Success
Your DTF transfer journey starts with creating the right environment and selecting appropriate equipment. Understanding how to set up your workspace can dramatically improve print quality and prevent frustrating mistakes before they happen.
Starting with your printer, focus on compatibility and specifications. DTF printing requires specialized equipment, so choose models designed for direct to film transfers. Certain Epson SureColor printers work exceptionally well when properly converted. Your workspace needs precise temperature and humidity control to prevent print defects. Aim for a consistent environment around 70 degrees Fahrenheit with 45 to 55 percent relative humidity.
Local exhaust ventilation helps control powder exposure and maintains a clean working area. Position your heat press, printer, and powder application system to create an efficient workflow. Ensure you have adequate lighting and a dust-free surface. Calibrate your heat press carefully to guarantee accurate transfers with even pressure distribution.
Pro tip: Invest in a dedicated workspace with a stable temperature and minimal air movement to achieve the most consistent DTF transfer results.
Step 2: Inspect Film and Ink Supplies for Quality Assurance
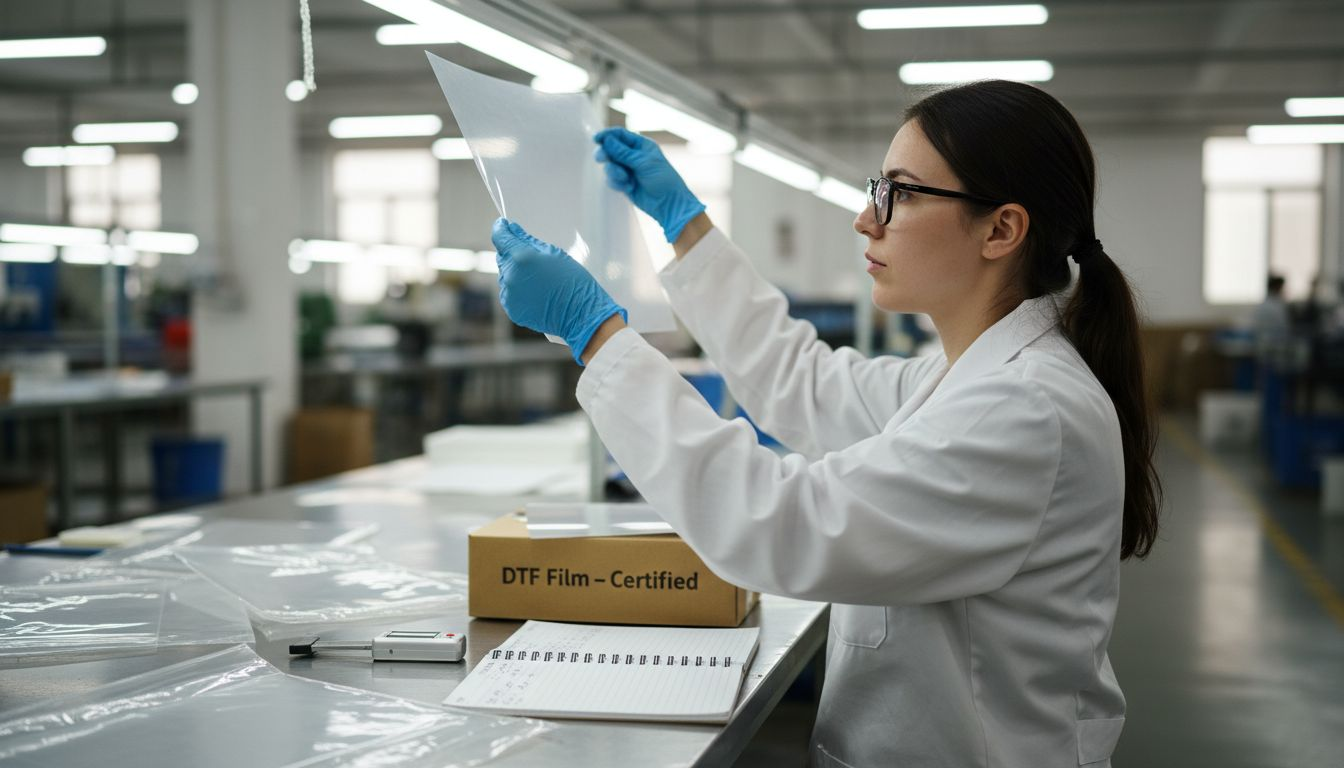
Ensuring the highest quality of your DTF transfer starts with a meticulous examination of your film and ink supplies. Your print quality directly depends on the consumables you choose and how carefully you inspect them before beginning your project.
Certified PET films designed for DTF printing are critical for achieving professional results. Examine each film sheet for consistent thickness, transparency, and absence of surface imperfections. White ink opacity becomes particularly important when working with darker substrates. Look for inks with high pigment concentration that provide crisp color reproduction and strong adhesion. Pay special attention to your white ink formula since it forms the foundation of your transfer.
Check your thermoplastic polyurethane powders for uniform particle size and clean composition. Each powder batch should match your specific ink type to guarantee proper curing and transfer. Store your supplies in a cool, dry environment away from direct sunlight to preserve their quality. Rotate your stock regularly to ensure you are always working with the freshest materials.
Pro tip: Invest in a digital micrometer to precisely measure film thickness and maintain consistent transfer quality across multiple print runs.
Here’s a summary of key workspace and supply factors impacting DTF print quality:
| Factor | Why It Matters | How to Optimize |
|---|---|---|
| Room Environment | Prevents print defects | Control temperature, humidity |
| Printer Compatibility | Ensures proper ink transfer | Select DTF-ready models |
| Film/Ink Quality | Affects color and adhesion | Inspect, use certified supplies |
| Powder Selection | Impacts curing/transfer | Match ink type and test batch |
| Lighting & Cleanliness | Reveals defects early | Use bright, dust-free surfaces |
Step 3: Correct Application Settings for Optimized Transfers
Navigating the complex world of DTF transfer settings requires precision and attention to detail. Your goal is to transform your digital design into a flawless physical transfer by mastering the subtle art of software configuration.
RIP software configuration plays a critical role in achieving exceptional transfer quality. Start by carefully adjusting image mirroring settings to ensure your design transfers correctly onto the target material. White ink channel settings demand particular attention since they form the foundation of your print. Experiment with multiple pass options to increase ink density and color saturation. Adjust print speed carefully white maintaining color fidelity the most critical parameter for professional results.
Consider your specific substrate and design when fine tuning application parameters. Darker materials might require additional white ink layers while intricate designs need lower print speeds to capture fine details. Test different configurations on sample materials to develop a personalized settings profile that consistently delivers outstanding transfers.
Pro tip: Create and save multiple preset configurations for different fabric types and design complexities to streamline your workflow and maintain consistent print quality.
Step 4: Test DTF Transfers and Identify Print Issues
Successful DTF printing requires systematic testing and keen observation to catch potential problems before they ruin an entire production run. Your goal is to develop a comprehensive testing strategy that reveals subtle transfer imperfections and helps you refine your process.
Testing DTF transfers involves precise quality control techniques to ensure flawless results. Begin by creating controlled test prints on different fabric types to assess adhesion, color vibrancy, and transfer durability. Check for common issues like poor ink curing white ink opacity problems and potential transfer peeling. Examine each test print under good lighting and run your fingers gently across the surface to detect any inconsistencies in texture or adhesion.
Develop a methodical approach to troubleshooting by documenting your test results. Create a tracking sheet that records fabric type temperature settings ink density and curing time for each test transfer. This systematic documentation will help you identify patterns and make precise adjustments to your printing parameters. Pay special attention to how different fabrics react to your transfer process and be prepared to modify your technique accordingly.
Pro tip: Maintain a dedicated test fabric log with sample swatches from each print run to track your progress and quickly diagnose recurring transfer issues.
Step 5: Refine Techniques to Eliminate Common DTF Errors
Mastering DTF printing requires continuous learning and strategic problem solving. Your journey to flawless transfers means becoming an expert at recognizing and quickly correcting potential print issues before they compromise your final product.
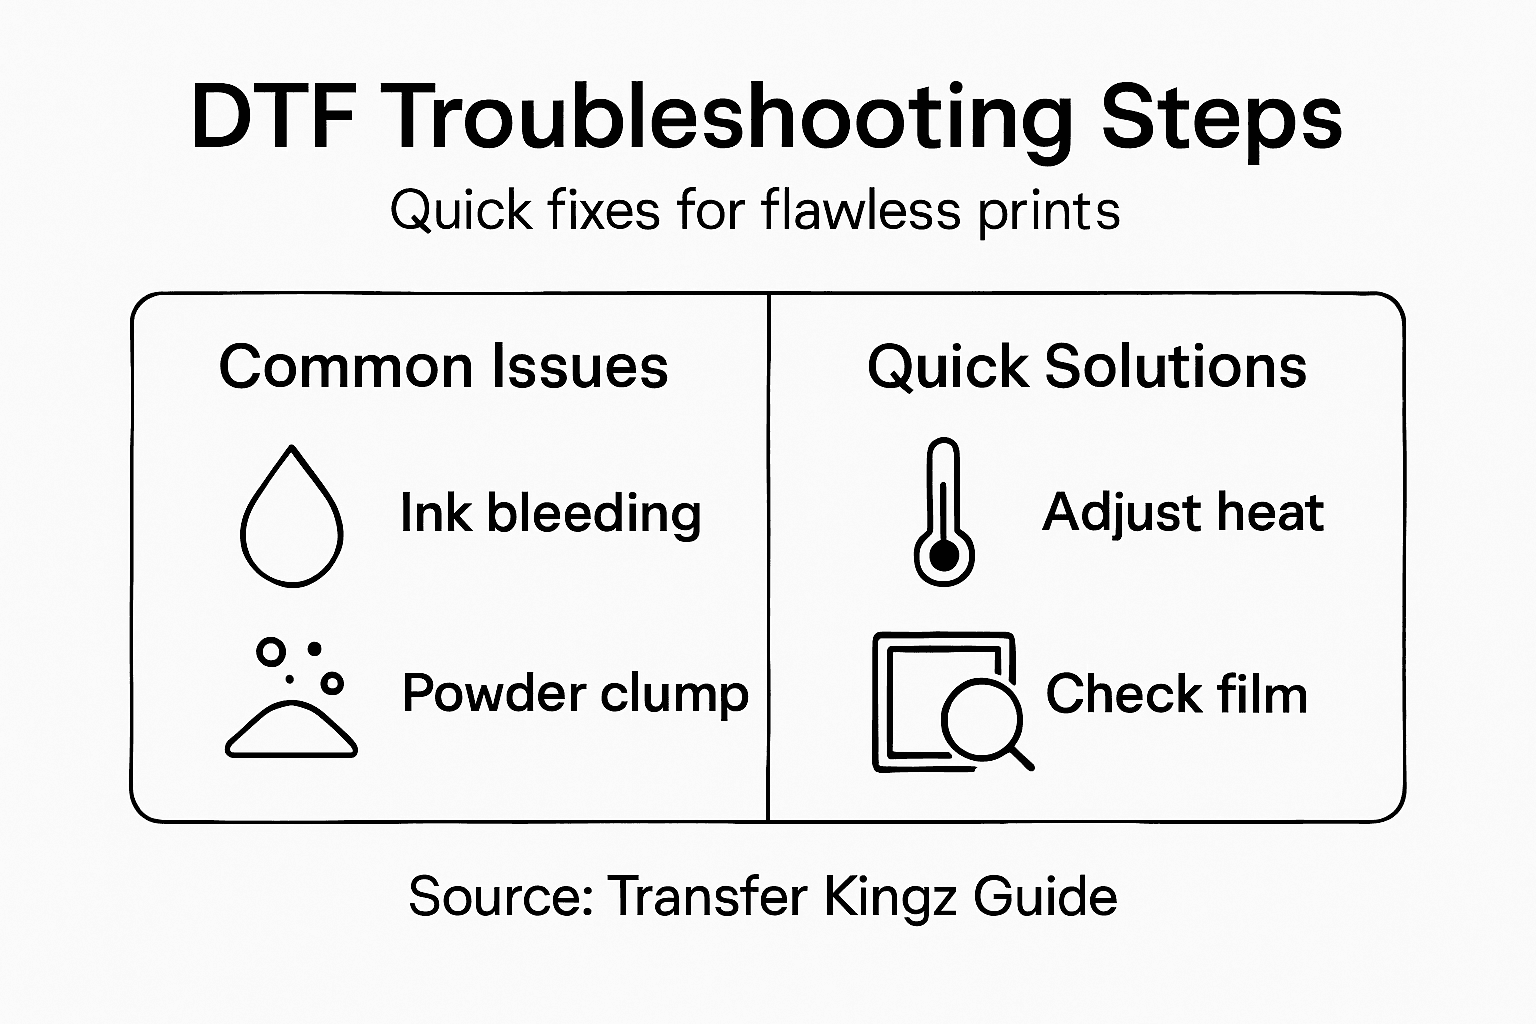
DTF printing techniques demand precision and troubleshooting skills to minimize common errors. Address ink bleeding by carefully controlling ink layering methods and adjusting print density. Tackle powder clumping through consistent distribution techniques and precise application pressure. Insufficient adhesion often results from inconsistent heat press timing pay close attention to temperature and pressure settings for each unique fabric type. Systematic environmental controls like maintaining stable room temperature and humidity levels can dramatically reduce unexpected print variations.
Operator skill and equipment maintenance play crucial roles in error reduction. Regularly calibrate your printing equipment and train yourself to recognize early warning signs of potential print defects. Develop a routine inspection process for each stage of the transfer process from initial design to final heat pressing. Understand that each fabric type may require slightly different parameters creating a need for adaptable and nuanced printing techniques.
Pro tip: Create a detailed error log documenting each print issue with specific environmental and equipment settings to build a comprehensive troubleshooting reference over time.
Compare common DTF print issues with troubleshooting strategies:
| Print Issue | Typical Cause | Troubleshooting Focus |
|---|---|---|
| Ink Bleeding | Excess ink or layering | Adjust density, control passes |
| Powder Clumping | Uneven powder application | Use consistent pressure |
| Poor Adhesion | Inconsistent heat/pressure | Calibrate heat press settings |
| Color Inaccuracy | Wrong software configuration | Refine RIP settings, sample tests |
| Texture Imperfections | Environmental fluctuations | Stabilize temperature/humidity |
Step 6: Verify Finished Prints for Consistent Quality
The final stage of DTF printing demands meticulous attention to detail to guarantee professional results. Your goal is to transform potential inconsistencies into a reliable quality control process that ensures every transfer meets your high standards.
Quality verification requires systematic inspection protocols to confirm print excellence. Conduct comprehensive evaluations by performing detailed peel tests to assess transfer adhesion strength. Examine color vibrancy under standardized lighting conditions and check for any subtle variations in print clarity. Run wash tests to determine durability and ensure the transfer can withstand repeated cleaning cycles without degrading. Focus on evaluating color accuracy fabric compatibility and overall transfer integrity across different fabric types and production batches.
Develop a structured documentation system to track print performance systematically. Create a quality control log that records specific details for each transfer including fabric type printing parameters environmental conditions and post press results. This approach allows you to identify trends analyze potential improvement areas and maintain consistent print quality across multiple production runs. Treat each print as a learning opportunity to refine your technique and build a comprehensive understanding of your DTF printing process.
Pro tip: Photograph each print from multiple angles and under different lighting conditions to create a comprehensive visual reference for quality comparison.
Achieve Flawless DTF Transfers with Expert Solutions
Struggling to eliminate common DTF printing errors like ink bleeding, powder clumping, or poor adhesion can be frustrating. This guide equips you with valuable troubleshooting techniques to enhance your workspace setup, optimize application settings, and verify print quality. Now it is time to take control of your printing process by choosing high-quality supplies and trusted services designed for consistent, professional results.
Discover the difference that premium DTF transfers, custom apparel printing, heat transfers, t-shirt printing, high-quality prints. – Transfer Kingz can make.

Don’t let print issues hold back your creativity or production efficiency. Visit Transfer Kingz today to explore a full range of top-tier films, inks, and accessories that perfectly complement your DTF troubleshooting efforts. Streamline your workflow with easy orders and no minimum purchases so you can focus on delivering flawless prints every time. Ready to elevate your printing game? Start now at DTF transfers, UV DTF Permastickers, custom printing supplies, heat transfers, bulk printing. – Transfer Kingz.
Frequently Asked Questions
What are common DTF transfer print issues and their causes?
Common DTF print issues include ink bleeding, powder clumping, poor adhesion, color inaccuracies, and texture imperfections. Identify these problems by examining each print closely and adjusting your settings, such as print density and heat press timing, to prevent recurrence.
How can I troubleshoot poor adhesion in my DTF prints?
To troubleshoot poor adhesion, double-check your heat press settings for both temperature and pressure. Aim for precise calibration to ensure each fabric type receives proper transfer treatment, adjusting based on results from initial test prints.
What should I look for when inspecting my film and ink supplies?
Inspect your film for consistent thickness, transparency, and surface quality. Ensure your inks are high in pigment concentration and free of impurities to achieve optimal print results with good adhesion and color vibrancy.
How do I fine-tune application settings for DTF transfers?
Fine-tune your application settings by adjusting variables like image mirroring, white ink channel settings, and print speed. Regularly test different configurations on sample materials to develop a customized settings profile that ensures consistent print quality.
What is the process for conducting quality control on finished DTF prints?
Conduct quality control by performing peel tests to check transfer adhesion strength and examining color vibrancy under standard lighting. Document the results to track details like fabric type and printing parameters for future reference and improvements.
How can I prevent common printing errors in DTF transfers?
Prevent common printing errors by regularly calibrating your equipment and maintaining consistent environmental conditions. Document specific settings and results for each print run, allowing you to quickly identify and adjust to recurring issues.
0 comments