
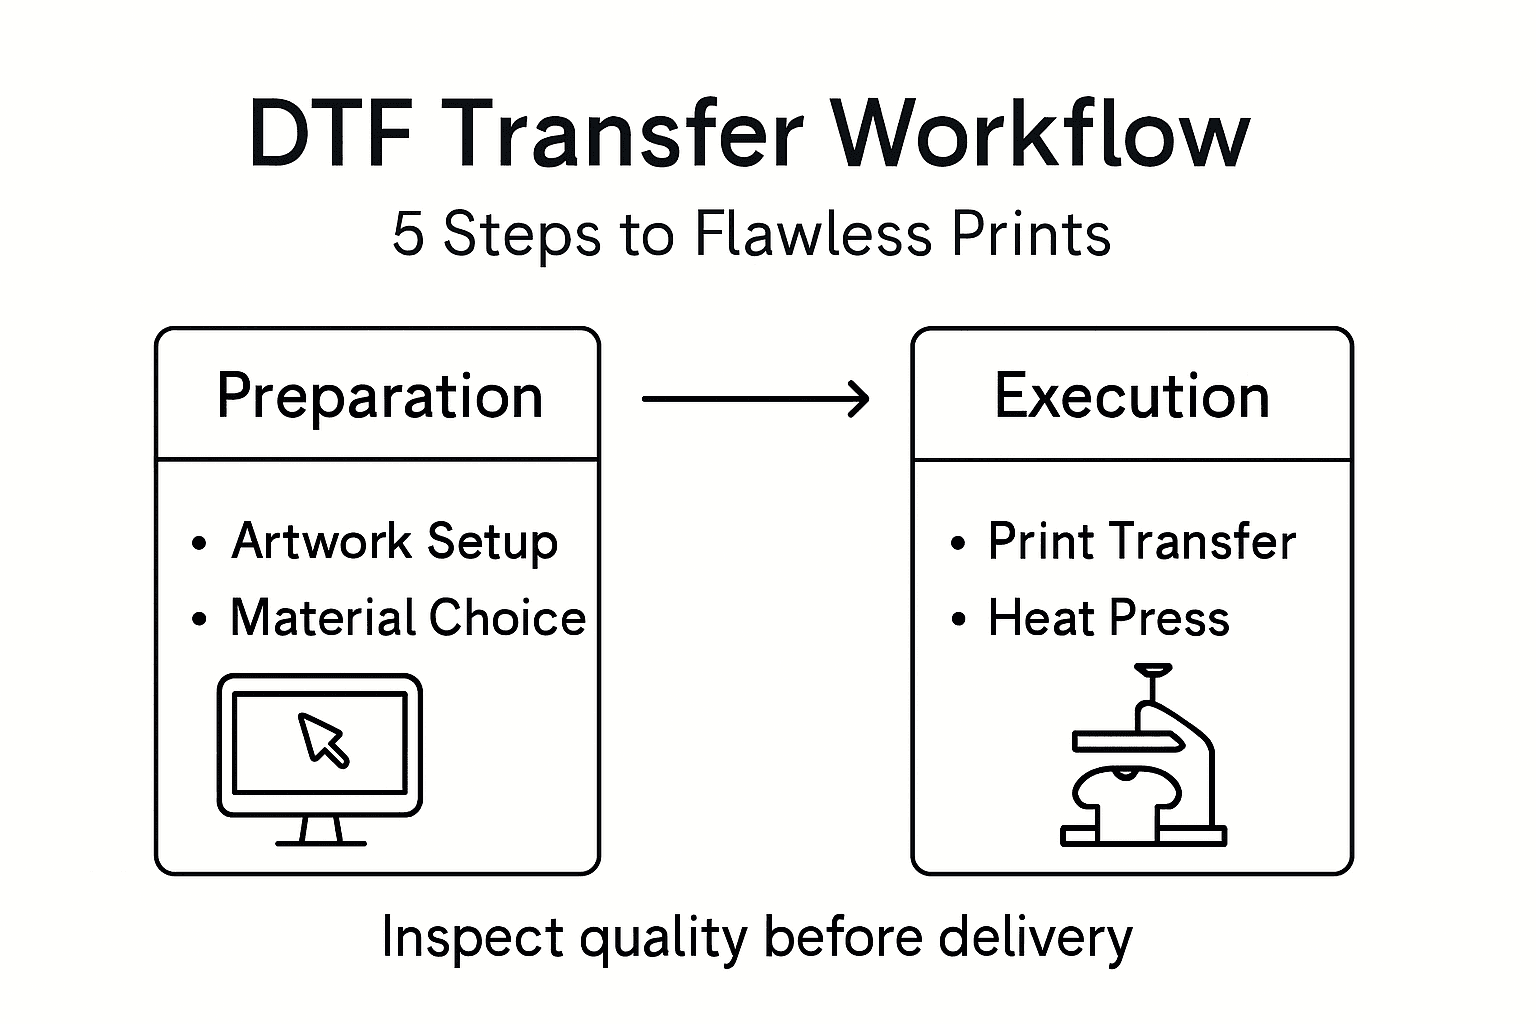
Choosing the right DTF workflow can feel overwhelming when every small detail affects how your custom apparel turns out. For independent designers and small clothing business owners, mastering each phase from preparing artwork to verifying finished quality means every piece can stand out in a crowded market. This guide uncovers key techniques for producing sharp, reliable DTF transfers, helping you prevent common issues and deliver consistently professional results on every type of fabric.
Table of Contents
- Step 1: Prepare Artwork And Select Materials
- Step 2: Optimize And Upload Designs For Printing
- Step 3: Print Transfers Using Premium Dtf Technology
- Step 4: Apply Transfers To Garments Accurately
- Step 5: Verify Quality And Durability Of Finished Products
Quick Summary
| Important Insight | Explanation |
|---|---|
| 1. Prepare High-Quality Artwork | Ensure your digital artwork is at least 300 dpi and features clear graphics for the best transfer results. |
| 2. Optimize Before Printing | Confirm file settings like CMYK color mode and layered designs to create print-ready files. |
| 3. Use Premium DTF Technology | Load high-quality inks and set appropriate printer settings for optimal transfer quality. |
| 4. Accurate Transfer Application | Carefully position the transfer and use specific heat settings for effective adhesion to garments. |
| 5. Conduct Thorough Quality Checks | Test color vibrancy, wash fastness, and adhesion strength to ensure professional standards. |
Step 1: Prepare artwork and select materials
Getting your artwork ready and choosing the right materials are critical first steps in creating flawless DTF transfers. This stage sets the foundation for a professional, high-quality custom print that will look stunning on your final product.
First, assess your digital artwork with a critical eye. Ensure your design meets these key requirements:
- High resolution (minimum 300 dpi)
- Clear, sharp graphics
- Saved in a compatible file format (PNG or PDF preferred)
- Transparent background recommended
When selecting materials, consider both the transfer film and the target textile. Different fabrics require different approaches. Cotton, polyester, and blended materials each interact uniquely with DTF transfers.
Here’s a quick comparison of how major fabric types interact with DTF transfers:
| Fabric Type | DTF Transfer Performance | Recommended Adjustments |
|---|---|---|
| Cotton | Excellent adhesion | Medium-high heat, firm pressure |
| Polyester | Good, but sensitive | Lower heat, less pressure |
| Cotton/Poly Blend | Reliable and versatile | Adjust settings to balance both fibers |
Pro tip: Always do a small test print first to confirm color accuracy and transfer quality.
Your artwork should be color-calibrated and sized precisely for your intended print area. Color management techniques can help ensure consistent, vibrant results.
Pro tip: Keep your original design files organized and backed up to streamline future printing projects.
Step 2: Optimize and upload designs for printing
Transforming your digital artwork into a perfect DTF transfer requires strategic preparation and precise technical optimization. This crucial stage bridges the gap between your creative vision and a professional-quality printed product.
To ensure your design translates perfectly, you’ll need to focus on several key technical aspects. Preparing artwork for DTF transfers involves more than just uploading an image - it’s about creating print-ready files that will render beautifully on fabric.
Start by reviewing your design with these critical optimization steps:
- Confirm resolution is at least 300 dpi
- Verify color mode is set to CMYK
- Separate design layers for white ink application
- Create clean, crisp vector or high-resolution raster graphics
- Ensure proper file format (PNG with transparency preferred)
When preparing your artwork, pay special attention to color management and design complexity. Complex designs with multiple color gradients might require additional adjustments to maintain image integrity during transfer.
Precision in digital preparation determines print quality.
Your goal is to create a design that will look sharp, vibrant, and professional when transferred onto the final textile surface.
Pro tip: Always save multiple versions of your original design file to maintain flexibility during the optimization process.
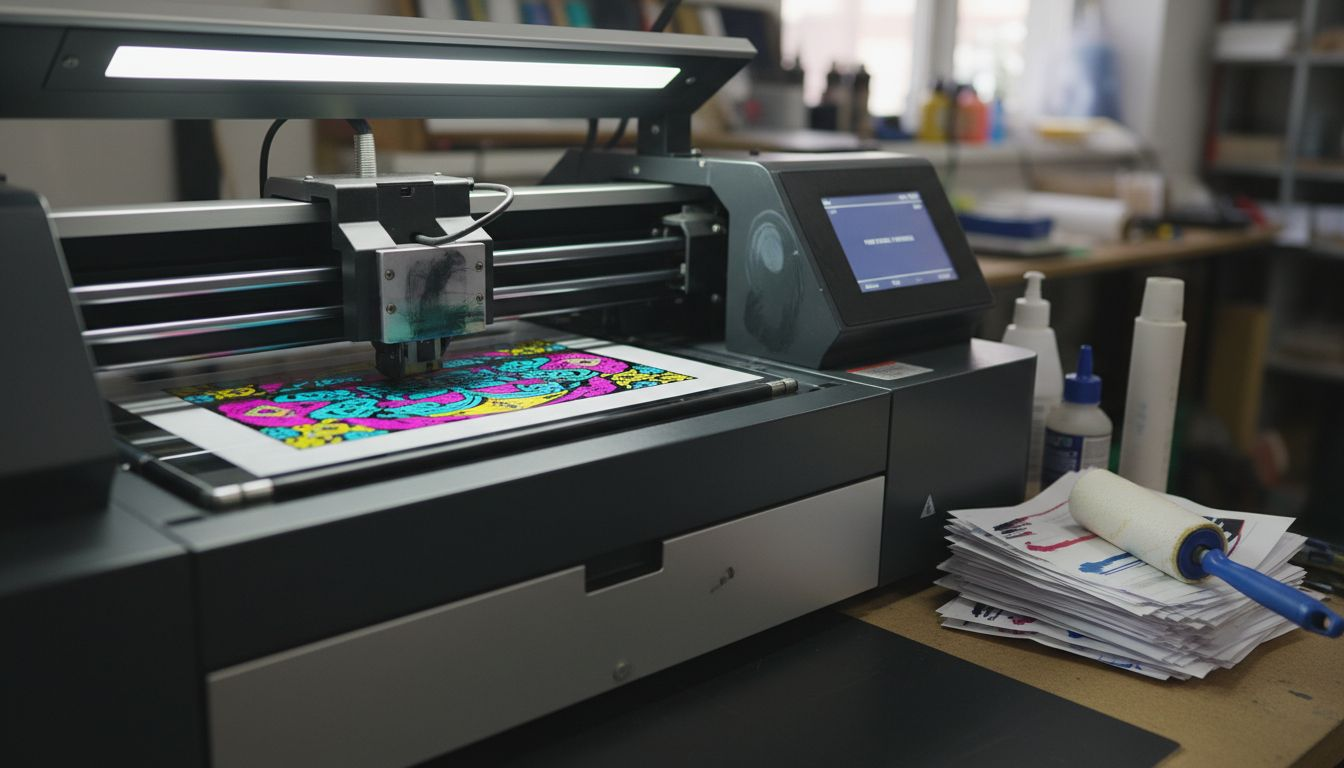
Step 3: Print transfers using premium DTF technology
Now that your artwork is optimized, it’s time to bring your design to life using premium Direct-to-Film (DTF) printing technology. This stage transforms your carefully prepared digital file into a vibrant, high-quality transfer ready for application.
DTF printing techniques require precision and attention to detail. Your printer settings will make a significant difference in the final product’s quality and durability. Start by configuring your DTF printer with these essential steps:
- Load premium white and color DTF inks
- Select appropriate film type
- Calibrate printer color profiles
- Set correct print resolution
- Adjust ink saturation levels
- Ensure proper film temperature settings
Pay close attention to ink coverage and color consistency. Your goal is a transfer that maintains crisp details and vibrant colors throughout the printing process.
Quality printing transforms good designs into exceptional transfers.
The printing stage requires careful monitoring. Watch for consistent ink distribution, smooth color transitions, and precise film adhesion to guarantee professional results.
Pro tip: Keep your printer clean and perform regular maintenance to ensure consistently high-quality transfers.
Step 4: Apply transfers to garments accurately
With your perfectly printed DTF transfer ready, the final stage of creating professional custom apparel involves precise application techniques. DTF transfer application methods require careful attention to ensure a flawless, long-lasting print.
Prepare your workspace and gather essential tools for a smooth transfer process:
- Heat press machine
- Teflon sheet or parchment paper
- Digital heat press timer
- Digital temperature gauge
- Clean, lint-free cloth
- Protective gloves
Position your transfer film carefully on the garment, ensuring perfect alignment before applying heat. The application process demands precision and consistent pressure to achieve professional results.
Proper heat and pressure are the secrets to a perfect transfer.
Start by preheating your heat press and setting the correct temperature for your specific fabric type. Different materials require unique heat and pressure settings to ensure optimal transfer quality and durability.
Pro tip: Always perform a test transfer on a similar fabric scrap to dial in your exact heat press settings before working on your final garment.
Step 5: Verify quality and durability of finished products
After completing your DTF transfer, the final critical phase involves thoroughly inspecting and testing your custom apparel to ensure professional-grade results. DTF print quality assessment requires a systematic and detailed evaluation process.
Conduct a comprehensive quality check using these key inspection criteria:
This table summarizes key quality control checks for finished DTF apparel:
| Inspection Criteria | What to Look For | Why It Matters |
|---|---|---|
| Color Vibrancy | Bright, even color throughout | Visual appeal |
| Edge Definition | Sharp, clean edges | Professional appearance |
| Wash Fastness | Design holds after wash cycles | Product durability |
| Adhesion Strength | Firm bonding to fabric | Long-lasting results |
- Check color vibrancy and consistency
- Examine transfer edge definition
- Test wash fastness and durability
- Verify adhesion strength
- Inspect for any print imperfections
- Assess overall design placement
Perform rigorous testing to guarantee your transfer meets professional standards. This means subjecting the garment to realistic wear conditions that simulate actual customer usage.
Quality control separates amateur prints from professional-grade products.
Pay special attention to how the transfer responds to stretching, washing, and repeated use. A truly exceptional DTF transfer should maintain its integrity and appearance through multiple wear and wash cycles.
Pro tip: Create a standard testing protocol with multiple wash and wear simulations to consistently validate your transfer quality.
Master the Art of Flawless DTF Transfers with Transfer Kingz
Struggling to achieve vibrant prints that last or facing challenges with artwork preparation and precise application? This workflow highlights exactly how crucial every step is—from optimizing your digital design and selecting the right film to applying transfers with expert heat press techniques. At Transfer Kingz, we understand those pain points and offer premium, ready-to-use DTF transfers designed to simplify your custom printing process and ensure professional results every time.

Discover how our high-quality inks, films, and rapid turnaround services empower small businesses, hobbyists, and production shops alike to create brilliant, durable custom apparel without the hassle. Visit Transfer Kingz now to explore our full range of products and take the next step toward flawless custom prints. Don’t wait to elevate your craft with expert digital printing solutions you can trust.
Frequently Asked Questions
How do I prepare my artwork for DTF transfers?
To prepare your artwork for DTF transfers, ensure it is high resolution (at least 300 dpi) and saved in a compatible format like PNG or PDF. Additionally, consider using a transparent background and maintaining sharp graphics to achieve the best results.
What materials do I need for a successful DTF transfer?
For a successful DTF transfer, you will need DTF transfer film and suitable textiles like cotton or polyester. Choose materials based on your design and fabric compatibility to ensure proper adhesion and durability.
What printer settings should I adjust for DTF printing?
You should adjust your printer settings by selecting the correct film type, calibrating color profiles, and setting proper print resolution and ink saturation levels. Ensuring these settings are accurate will help produce a vibrant and high-quality transfer.
How do I apply DTF transfers to garments?
To apply DTF transfers, position the transfer film on the garment and use a heat press machine at the correct temperature for the fabric type. Ensure you apply firm pressure and monitor the application time to achieve a flawless transfer.
What quality check steps should I take after completing DTF transfers?
After completing DTF transfers, conduct a quality check to assess color vibrancy, edge definition, wash fastness, and adhesion strength. Inspect for any imperfections and test the transfer’s durability through realistic wear conditions to ensure quality results.
How do I ensure my DTF prints hold up after washing?
To ensure your DTF prints hold up after washing, verify the wash fastness during your quality check and follow proper care instructions for the fabric. Perform wash tests to see how the transfer reacts, and adjust your application technique if necessary.
0 comments