

Cotton, polyester, and most poly blends accept DTF transfers reliably. Nylon, leather, and fleece work too, but need adjusted settings. Untreated silicone, heavily waxed or oiled fabrics, and most rigid coated plastics will fail with standard textile DTF; those need UV DTF instead. The single biggest limiter isn’t the fabric at all. It’s inconsistent heat and pressure at the press. A shop running even 15°F below target cure temperature can leave the powder partially melted and brittle, which cracks the first time the shirt gets stretched. If you’ve ever had a “good” transfer suddenly flake apart, this is usually why.
- Reliable: cotton, polyester, tri-blends, most nylon and fleece with adjusted settings
- Conditional: leather, heavily textured or coated fabrics, recycled-fiber blends
- Not compatible with standard DTF: silicone, waxed/oiled surfaces, rigid plastics (use UV DTF)
Pro Tip: Buy a digital pressure gauge before you buy anything else for your press setup. Eyeballing pressure is the number one reason identical settings produce different results on the same machine, week to week.
Key Takeaways
Material limitations in DTF printing come down to fabric coatings, heat and pressure consistency, and testing discipline, not the transfer film itself.
| Point | Details |
|---|---|
| Compatibility isn’t universal | Cotton and polyester work reliably; coated, waxed, or silicone-treated fabrics need testing or UV DTF instead. |
| Heat and pressure control cracking | Running roughly 15°F under target cure temperature leaves powder brittle and prone to failure. |
| Dye migration is polyester-specific | Lower cure temperature and shorter dwell time reduce staining risk on polyester blends. |
| Testing prevents costly reprints | Swatch, peel, stretch, and wash tests catch problems before a full production run. |
| Transferkingz supports validation | Sample swatches and technical guidance help shops confirm settings before committing to bulk orders. |
Table of Contents
- What Materials Accept DTF Transfers, and Which Don’t?
- Why Do DTF Transfers Fail on Certain Materials?
- What Temperature, Pressure, and Time Settings Should You Use?
- How Long Should a DTF Print Actually Last?
- How Do You Test a New Fabric Before Running Production?
- What’s the Fastest Fix for Common DTF Failures?
- Sources
What Materials Accept DTF Transfers, and Which Don’t?
The honest answer is that most woven and knit textiles take DTF transfers well, but adhesion strength and heat tolerance shift a lot from one fabric to the next. Cotton is the forgiving option: it tolerates high heat and grips the adhesive powder tightly because of how loosely its fibers are woven. Polyester is trickier. It bonds fine, but it’s prone to dye migration at high cure temperatures, where disperse dyes bleed into the print and discolor light-colored ink.
Here’s a quick scan of what you’ll run into on the shop floor:
- Cotton: Excellent adhesion, high heat tolerance, minimal risk.
- Polyester and dri-fit blends: Good adhesion, but watch cure temperature closely to avoid dye bleed.
- Nylon: Workable, but needs lower heat and often a longer dwell time.
- Fleece and terry cloth: Deep pile can trap powder unevenly. Test before running a full order.
- Leather and faux leather: Possible with reduced heat, but always sample first.
| Substrate | Typical adhesion | Quick note |
|---|---|---|
| Cotton | Strong | Handles standard settings well |
| Polyester | Good, conditional | Lower cure temp reduces dye migration |
| Nylon | Moderate | Needs reduced heat and time |
| Heavily textured (terry, shag) | Variable | Powder pooling is common; test first |
| Coated/water-repellent fabric | Poor without prep | Coating blocks adhesive contact |
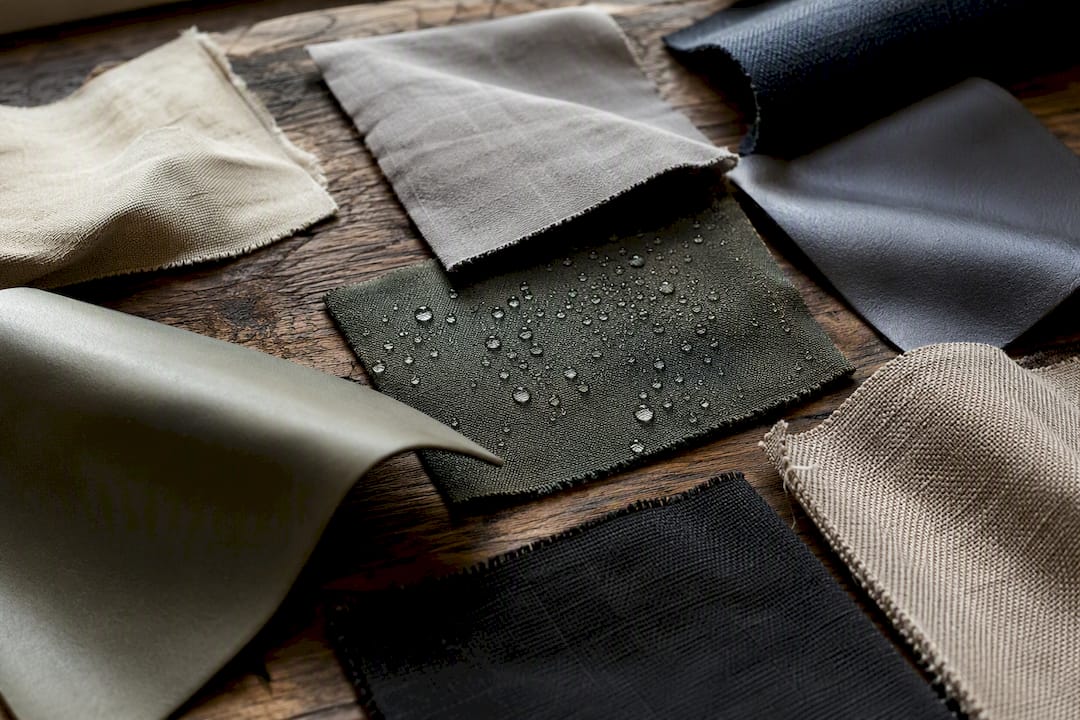
Water-repellent finishes, silicone treatments, and similar coatings are the real wildcard. They physically block the adhesive from reaching the fibers, so no amount of heat or pressure fixes it. The same goes for fabrics made from recycled or reclaimed fiber blends, since finishing chemicals vary by lot even when the label looks identical. Coated and heavily textured fabrics are exactly where most “unexplained” adhesion failures come from, and it’s also why Transfer Kingz’s own fabric compatibility guide recommends a swatch test any time you’re working with an unfamiliar textile.
Why Do DTF Transfers Fail on Certain Materials?
Every failure mode traces back to one of four root causes: poor adhesive penetration, a coating barrier, heat mismanagement, or a mechanical mismatch between the film and the fabric’s stretch. Peeling almost always means the adhesive never fully bonded to the fibers, either because of a coating or because pressure was too low to force contact. Cracking is different. That’s usually an undercured or overly rigid powder that can’t flex with the fabric when it stretches.
Dye migration is its own animal entirely, tied to polyester’s chemistry rather than the transfer itself. Reactive disperse dyes in the fabric turn gaseous under heat and travel into the ink layer, staining it pink or gray around the edges. Fabric composition changes adhesion strength, heat tolerance, and dye stability all at once, so a setting that works perfectly on one polyester blend can wreck a different one from another mill.
The powder’s TPU formulation determines how much flex the print can take before it cracks. A harder, less elastic powder might look great on day one and split at the seams after three washes.
Pro Tip: If a print cracks specifically along stretch points like the shoulder seam or side panel, suspect the powder’s elasticity before you blame anything else.
What Temperature, Pressure, and Time Settings Should You Use?
Every substrate needs its own starting point, and these numbers are exactly that: a starting point, not gospel. A common baseline is roughly typical cure temperatures around 300 degrees Fahrenheit for about 10 to 15 seconds, applied at firm, even pressure. Polyester generally runs cooler, closer to lower cure temperatures generally used for polyester to reduce dye migration risk, to limit dye migration risk. Thicker garments like hoodies need a longer dwell or a quick pre-press to drive out trapped moisture before the transfer ever touches the fabric.
Here’s what actually separates shops that get consistent results from ones that don’t:
- A digital pressure gauge, not a knob you turn “until it feels right.”
- A platen that holds temperature evenly across its surface, not just at the center.
- A logged setting for every fabric type, revisited whenever you switch film or powder rolls.
Temperature and pressure trade off against each other. Push the heat higher and you can often shorten dwell time or ease off pressure slightly, but that raises dye migration risk on polyester. Heat application variables are the most common cause of what customers describe as “bad quality” transfers, and running roughly 15°F under target cure temperature is enough to leave the powder brittle and prone to cracking.
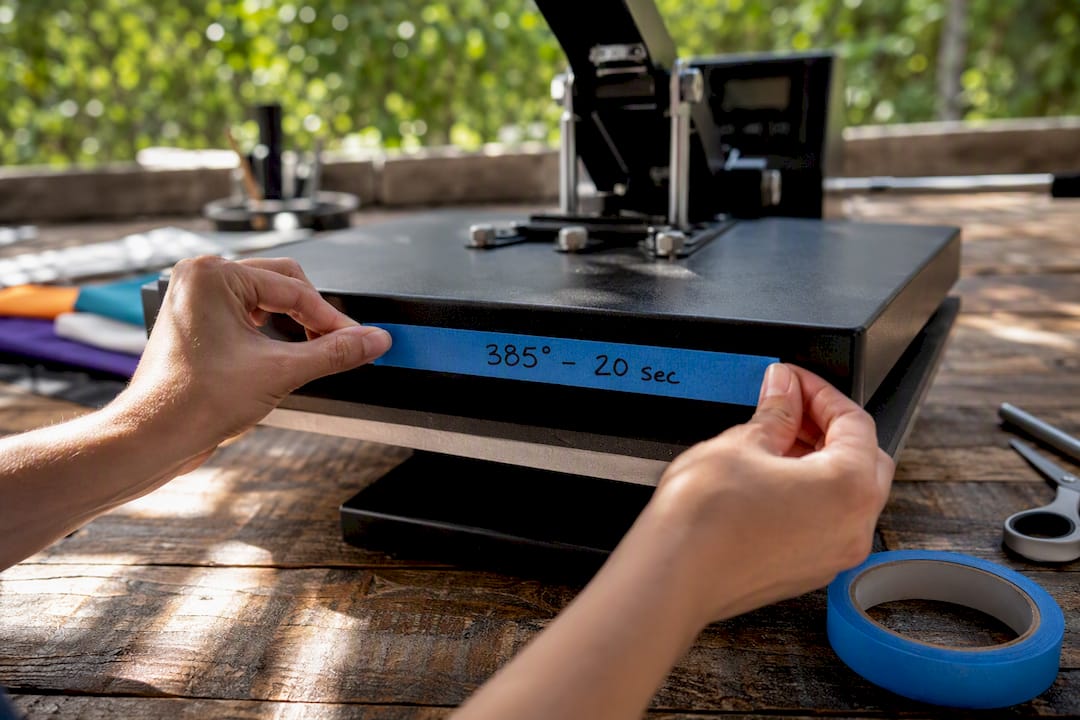
Pro Tip: Write your press settings on painter’s tape and stick it to the platen for every job. It sounds low tech. It also eliminates the “wait, what did I set this to yesterday” problem entirely.
How Long Should a DTF Print Actually Last?
Set expectations early and you’ll save yourself a dozen awkward customer emails. A properly applied, high-quality DTF transfer on cotton or a cotton-poly blend commonly holds up through dozens of home washes before you see real fading or edge lifting. That range assumes correct cure temperature and proper post-press cooling, not a rushed job pulled straight off the platen.
Care instructions matter more than most decorators admit. Cold water, a gentle detergent cycle, and low-heat or air drying all extend print life meaningfully. Bleach and high-heat tumble drying are the fastest way to shorten it, since repeated heat cycling stresses the same powder bond that a proper cure already worked hard to lock in.
A simple line to hand customers with every order: “Turn inside out, wash cold, and skip the dryer’s high-heat setting to keep your print looking sharp longer.”
- Cold wash, inside out
- Low heat or air dry
- No bleach, no fabric softener directly on the print
- Iron around the design, never directly on it
How Do You Test a New Fabric Before Running Production?
Never run a full order on a fabric you haven’t tested, even one that looks identical to something you’ve printed a hundred times. Lots vary. Finishes vary. A single swatch test takes five minutes and saves you a reprint.
- Pull a swatch from the actual roll or batch you’ll be printing on, not a similar fabric from a different supplier.
- Apply the transfer at your standard starting settings for that fiber type.
- Build a settings matrix if the first attempt looks marginal, testing two or three temperature and time combinations side by side.
- Run a peel test immediately after cooling, checking for clean release and full adhesive transfer.
- Run a stretch test, pulling the fabric at the print’s edge to check for cracking or lifting.
- Wash test the swatch five to ten cycles under normal customer care conditions and inspect for fading or peeling.
- Log the results: fabric lot, press model, exact temp/time/pressure, peel outcome, and wash performance.
Keep that log somewhere your whole team can see it, whether that’s a shared spreadsheet or a clipboard by the press. Successful DTF application depends on fabric-specific settings, and a written record beats memory every time someone new runs the press.
Pro Tip: Test every new roll of film or powder too, not just new fabric. Manufacturing batches vary more than most suppliers admit.
What’s the Fastest Fix for Common DTF Failures?
- Peeling after the first wash: Increase pressure or dwell time first; if that doesn’t fix it, try a different powder.
- Cracking on stretch: Check powder elasticity, or nudge cure temperature up slightly if it’s running cool.
- Dye migration staining the print: Lower temperature and shorten time, or pre-test with a lower-migration ink set.
- Edge lifting: Almost always a pressure problem. Check gauge readings before touching anything else.
Before you reprint anything, verify platen temperature with a separate thermometer, confirm your gauge reading, and check that the film isn’t shifting during the press cycle.
Pro Tip: The moment a fix works on a test swatch, write down the exact temp, time, pressure, and fabric lot before you scale it to a full order. That five-second habit is what separates a fluke from a repeatable process.
A Note From the Shop Floor
Fabric compatibility questions land in the Transfer Kingz inbox constantly, and the pattern is always the same: most “bad material” complaints are actually process problems. Test the swatch. Log the settings. The material almost always was fine.
Get Sample Swatches Before You Commit to a Full Run
Transferkingz gives you a way to validate a fabric before you’re stuck with a box of transfers that don’t stick, which beats guessing on a customer’s fabric and hoping for the best.

You can order small transfer samples to test your exact settings, get support from a team that answers fabric compatibility questions daily, and place production orders with no minimum quantity once your swatch test passes. If you’re printing in Texas, the Dallas DTF transfer page has local pickup options for faster turnaround, and shops across the state can check Texas-wide DTF transfer services for shipping coverage. For gang sheet building and small-batch ordering once your settings are dialed in, start at the Print Point ordering page and get your first sample sheet moving today.
0 comments