

TL;DR:
- Heat press temperature is crucial for bonding transfers permanently, but no universal setting exists.
- Proper results depend on matching temperature, time, and pressure to the transfer method and fabric, often verified with an infrared thermometer.
Heat press temperature is the single variable that determines whether a transfer bonds permanently or fails after the first wash. Understanding temperature settings for a heat press means knowing that no universal number exists. The correct setting depends on your transfer method, your fabric, and how well your machine actually delivers the heat it displays. Get this right, and your custom apparel looks sharp and lasts. Get it wrong, and you waste materials, time, and customer trust.
What are the optimal temperature ranges for different heat transfer methods?
No single standard temperature applies to all heat press work. Each transfer method activates differently, and each fabric responds to heat at its own threshold. Knowing these ranges is the foundation of any heat press temperature guide worth following.
Heat Transfer Vinyl (HTV) works best between 270°F and 320°F for 10–15 seconds. Cotton handles the higher end of that range without issue. Blended fabrics need more caution, and pure polyester demands the lowest possible setting to avoid damage.
Sublimation requires significantly more heat. Polyester and coated hard substrates need 385°F–400°F for 45–60 seconds or more. Sublimation dye only converts to gas and bonds with polyester fibers at those elevated temperatures. Drop below that range and the print looks washed out. Go over it and you risk scorching.
DTF (Direct-to-Film) transfers sit in the middle. DTF on cotton presses well at 320°F–330°F for 12–15 seconds. Polyester calls for 150°F–160°C (roughly 300°F–320°F), and nylon requires an even lower 120°F–135°C with a cold peel to protect the fabric. Transferkingz provides ready-to-press DTF transfers with application instructions that reflect these exact ranges.
The table below summarizes typical settings by method and fabric type.
| Transfer Method | Fabric | Temperature | Time |
|---|---|---|---|
| HTV | Cotton | 300°F–320°F | 10–15 seconds |
| HTV | Polyester | 270°F–285°F | 10–12 seconds |
| Sublimation | Polyester | 385°F–400°F | 45–60 seconds |
| DTF | Cotton | 320°F–330°F | 12–15 seconds |
| DTF | Polyester | 300°F–320°F | 10–12 seconds |
| DTF | Nylon | 248°F–275°F | 10–12 seconds |
Pro Tip: Always check the transfer manufacturer’s spec sheet before pressing. These ranges are starting points, not fixed rules.
Polyester fabrics are especially heat-sensitive. Their dye can sublimate at temperatures below the fabric’s melting point, bleeding into your transfer layer and ruining the print. Cotton tolerates higher heat and forgives minor setting errors far better.
How do temperature, time, and pressure interact for a clean transfer?
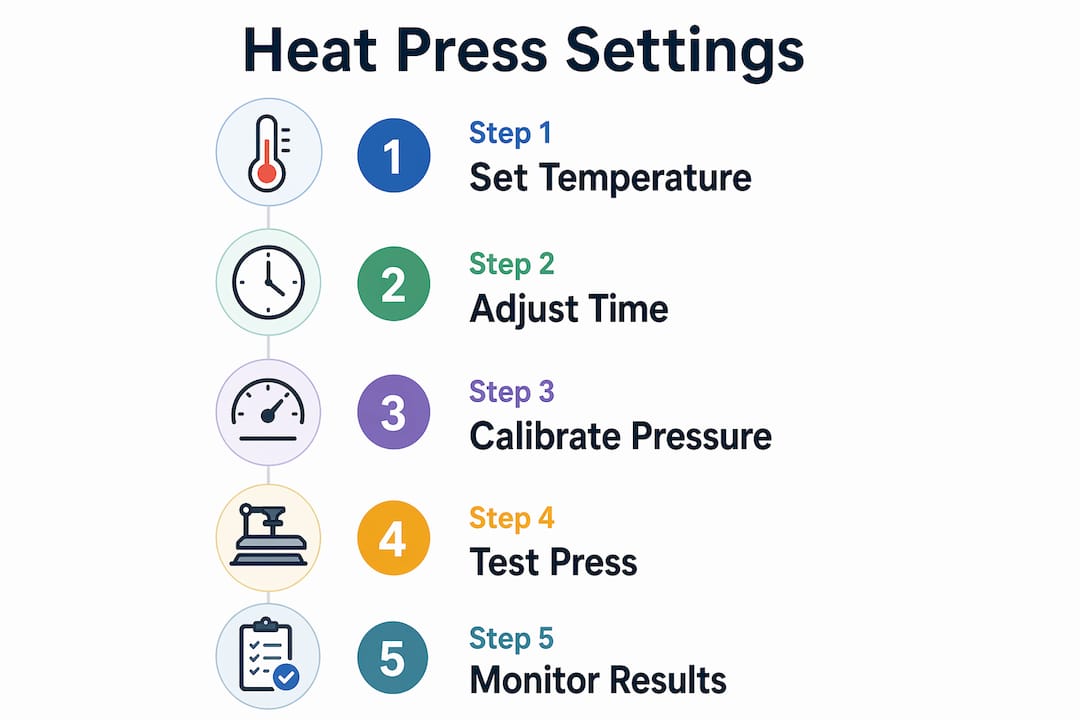
Temperature alone does not create a durable transfer. Heat, dwell time, and pressure work as a system. Change one variable and the other two need to adjust to compensate. This is the part most beginners miss, and it causes the majority of failed presses.
Temperature activates the adhesive in HTV and DTF films, or converts sublimation dye into a gas that bonds with polyester fibers. Without sufficient heat, the chemistry simply does not complete.
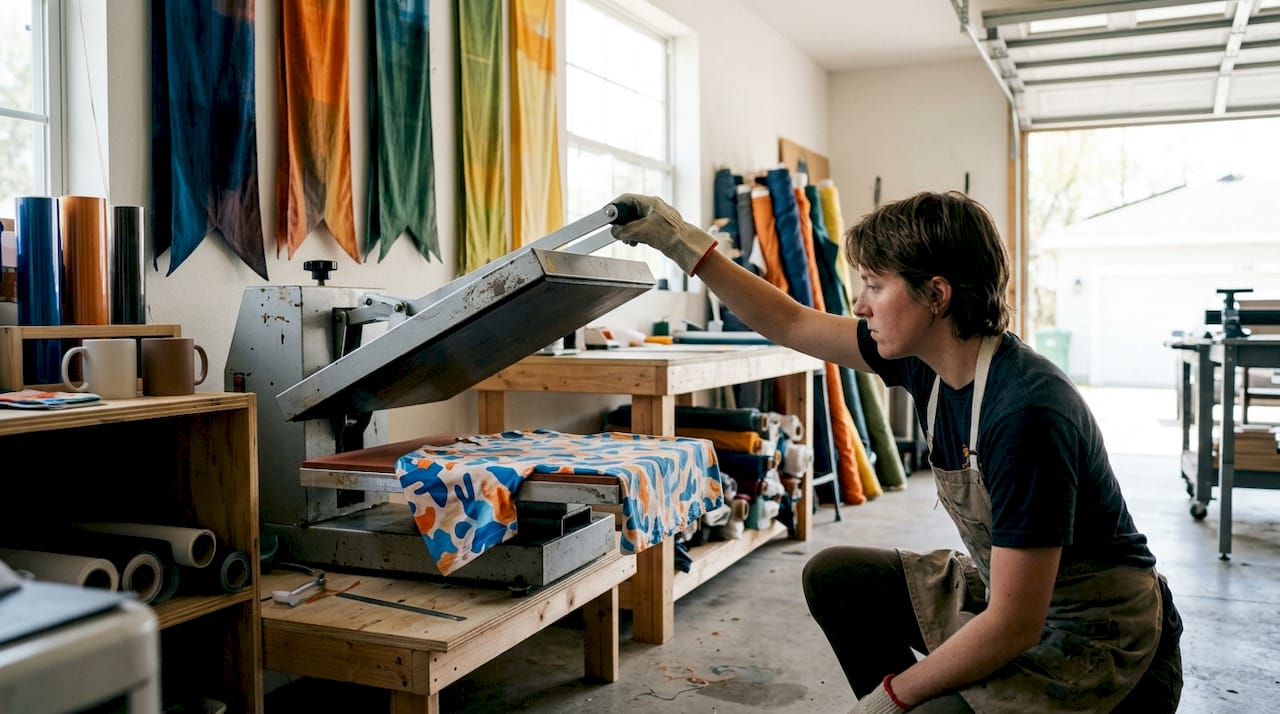
Dwell time gives that activated adhesive or dye time to penetrate the substrate. A press that is too brief leaves the transfer partially bonded. It may look fine off the press but peels within a few washes.
Pressure forces the transfer into full contact with the fabric. Without firm, even pressure, air pockets form between the transfer and the garment. Those pockets become peel points.
Improper balance between these three variables causes the most common defects: peeling, scorching, dye migration, cracking, and ghosting. Each defect points to a specific imbalance. Peeling usually means low heat or short time. Scorching means too much heat or too long a press. Ghosting on sublimation means the transfer shifted during or after pressing.
- Peeling after washing: Low temperature or insufficient dwell time
- Scorching or discoloration: Temperature too high or press time too long
- Dye migration on polyester: Heat exceeded the fabric’s safe threshold
- Ghosting on sublimation: Transfer moved before the dye fully set
- Cracking after curing: Pressure was uneven or too low during pressing
Pro Tip: When you change fabrics mid-run, do a test press on a scrap piece first. A blend that looks like cotton can behave like polyester under heat.
Pressure calibration matters as much as temperature. Too little pressure causes peeling or ghosting. Too much causes distortion or visible press marks on delicate fabrics. Most clamshell and swing-away presses have a pressure knob with no numeric scale. Learn to feel the resistance and test it on scrap material before committing to a production run.
How do you calibrate your heat press for accurate, consistent results?
Your heat press display shows the temperature of the heating element, not the surface of the platen. Those two numbers are often different. Many heat press displays report the internal sensor reading, which can run 10°F–30°F higher or lower than what the garment actually experiences. Budget machines are especially prone to this gap.
An infrared thermometer fixes this problem immediately. Point it at multiple spots across the platen surface and record the readings. Most budget presses have cold spots near the edges. Knowing where those spots are tells you where to position your transfers for consistent results.
Follow these steps to calibrate your press before starting a new project:
- Heat the press to your target temperature and let it stabilize for at least five minutes. The element cycles on and off, so readings taken too early are unreliable.
- Measure the platen surface with an infrared thermometer at the center, left edge, right edge, top, and bottom. Note any variation.
- Adjust your display setting to compensate. If the center reads 15°F below your target, set the display 15°F higher.
- Do a test press on a scrap piece of the same fabric you plan to use. Inspect the result before pressing your actual garments.
- Pre-press the garment for 5–10 seconds before applying the transfer. Pre-pressing removes moisture and wrinkles that cause steam bubbles and adhesion failures.
- Adjust incrementally based on what you observe. If the transfer peels at the edges, increase pressure slightly. If the fabric shows heat stress, drop the temperature by 5°F and test again.
Pro Tip: Pre-pressing is not optional for professional results. Moisture trapped in fabric creates steam under the transfer, which lifts the adhesive before it can bond.
Routine calibration takes less than ten minutes and prevents the kind of inconsistency that wastes an entire run of shirts. For small clothing businesses, that consistency is the difference between a profitable order and a costly redo. Check out the beginner heat press checklist from Transferkingz for a full pre-press verification routine.
Common heat press mistakes that ruin transfers
Most heat press failures trace back to a small number of repeatable errors. Recognizing them early saves materials and protects your reputation with customers.
- Pressing too hot: Scorching, melting, and permanent dye migration are the results. Polyester dye migration is a chemical reaction driven by excess heat. Once it happens, the garment is ruined.
- Pressing too cold: The adhesive never fully activates. The transfer looks bonded but separates after the first or second wash.
- Skipping the test press: Jumping straight into production without testing on scrap fabric is the fastest way to ruin an entire batch.
- Peeling the carrier sheet too early: Hot peeling a cold-peel transfer tears the ink layer. Always follow the peel instructions specific to your transfer type.
- Peeling too late on a hot-peel transfer: Waiting too long lets the adhesive re-bond to the carrier, pulling the design off the garment.
- Ignoring pressure: Temperature errors get amplified when pressure is also off. A low-pressure press at the correct temperature still produces a weak bond.
Manufacturer settings are the only reliable starting point for any project. Ignoring them risks wasted inventory and inconsistent results across an entire production run. Start there, then make small, tested adjustments based on your specific machine and materials. The best practices for heat pressing guide from Transferkingz walks through each of these failure points with specific fixes.
Key Takeaways
Correct heat press results require matching temperature, time, and pressure to your specific transfer method and fabric, then verifying those settings with an infrared thermometer before every production run.
| Point | Details |
|---|---|
| No universal temperature exists | Settings depend on transfer type and fabric; HTV, sublimation, and DTF each require different ranges. |
| Calibrate with an IR thermometer | Display readings often differ from actual platen surface temperature, especially on budget machines. |
| Pre-press every garment | Five to ten seconds of pre-pressing removes moisture that causes adhesion failures and steam bubbles. |
| Balance all three variables | Temperature, time, and pressure work as a system; adjusting one requires checking the other two. |
| Start with manufacturer specs | Manufacturer guidelines are the only reliable baseline; deviate only after testing on scrap material. |
What I’ve learned pressing hundreds of garments
The biggest mistake I see small apparel businesses make is treating their heat press display as ground truth. That number on the screen is a starting point, not a guarantee. The first thing I tell anyone setting up a new press is to buy an infrared thermometer before pressing a single garment. It costs less than one ruined shirt, and it immediately shows you whether your machine heats evenly.
The second thing I’ve learned is that small temperature differences produce clearly different results, especially in sublimation. A 10°F gap between two presses on the same design can mean the difference between a vibrant print and a dull, washed-out one. That precision feels excessive until you see it side by side.
Pre-pressing is the step most hobbyists skip because it feels redundant. It is not. Moisture causes steam bubbles that lift the transfer before the adhesive sets. I have seen perfectly good DTF transfers fail on a freshly washed shirt that was not fully dry. Five seconds of pre-pressing would have prevented it.
My advice for anyone running a small clothing business: build a calibration habit into your workflow. Check your platen temperature at the start of every session. Press a test piece when you switch fabrics. Keep notes on what settings work for each material combination. That log becomes your most valuable production asset over time.
— Anthony
Ready-to-press DTF transfers from Transferkingz
Getting your heat press settings right is only half the equation. The quality of the transfer itself determines how well those settings perform. Transferkingz produces custom DTF transfers with premium inks and films that are engineered to press cleanly at the recommended settings, with no minimum order requirement.

Whether you run a small clothing business or press garments as a hobby, Transferkingz ships ready-to-press transfers with clear application instructions so you know exactly what temperature, time, and pressure to use. Upload your artwork, set your order, and press with confidence. Visit the DTF transfers Texas page to see the full range of options available for your next project.
FAQ
What temperature should I use for DTF transfers?
DTF transfers on cotton press best at 320°F–330°F for 12–15 seconds. Polyester and nylon require lower temperatures to prevent fabric damage, typically 300°F–320°F and 248°F–275°F respectively.
Why is my heat transfer peeling after washing?
Peeling after washing almost always means the temperature was too low or the dwell time was too short. The adhesive did not fully activate, so the bond breaks down under the stress of washing.
Do I need an infrared thermometer for my heat press?
An infrared thermometer is the most reliable way to verify actual platen surface temperature. Many heat press displays show the heating element temperature, which can differ significantly from what the garment experiences.
How do I know if my heat press pressure is correct?
Correct pressure leaves a clean, even impression with no air pockets or ghosting. Too little pressure causes peeling at the edges; too much causes distortion or press marks on the fabric surface.
Can I use the same temperature for cotton and polyester?
No. Cotton tolerates higher heat and works well at 300°F–320°F for most transfer methods. Polyester requires lower temperatures to prevent dye migration, a chemical reaction where fabric dye bleeds into the transfer layer and ruins the print.
0 comments