

TL;DR:
- Custom merchandise design combines brand identity with products to boost visibility and create new revenue streams. Starting with a few core items and consistent branding ensures quality control and better market testing. Using the right fabrics, technical files, and samples helps produce high-quality products aligned with brand standards.
Custom merchandise design is the process of combining your brand identity with physical products to create items your customers want to own, wear, and share. Done right, it builds brand visibility, deepens customer loyalty, and opens a direct revenue stream outside your core service. The standard starting point for most small business owners is a focused lineup of 3–5 core products, with decorated blanks typically shipping within 10–15 business days. Knowing how to design custom merchandise means understanding every step from brand definition to production-ready files, and this guide covers all of it.
How to design custom merchandise: start with brand identity
Your brand identity is the foundation every design decision rests on. Before you pick a product or open a design tool, you need to know what your brand stands for and how it should feel to the people buying it.
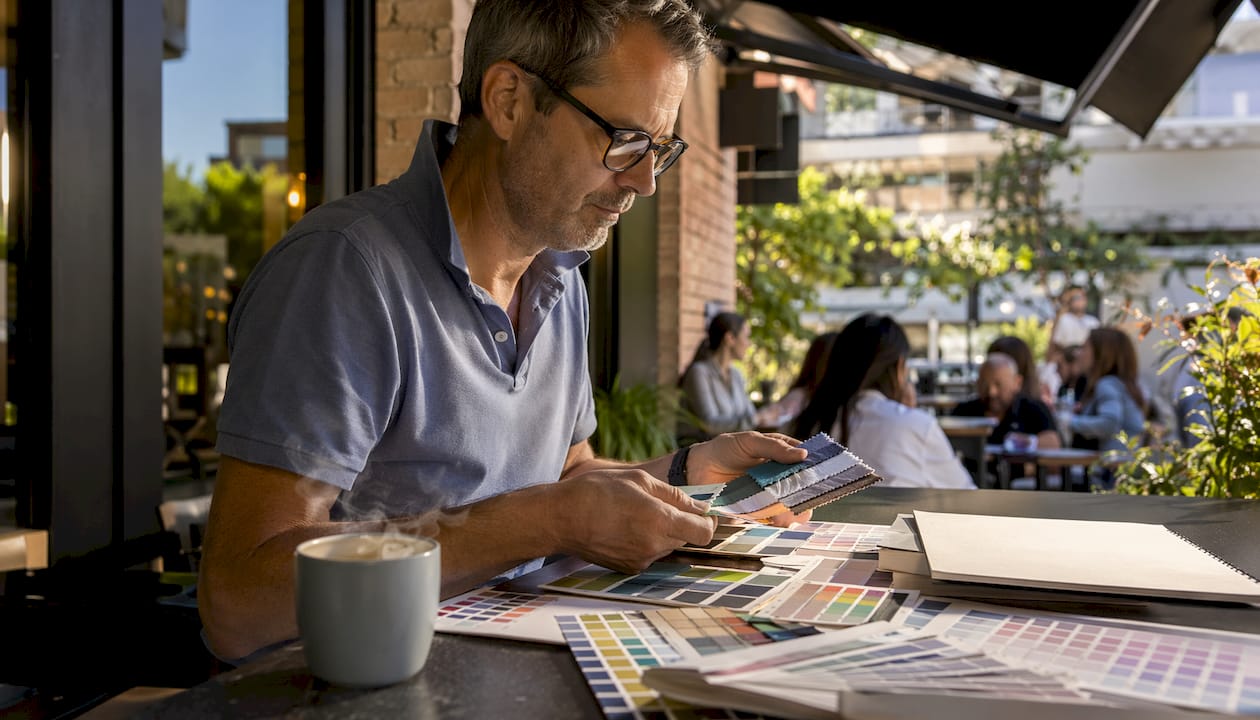
Start by writing down three words that describe your brand’s personality. A fitness brand might choose “bold, energetic, and minimal.” A handmade candle company might choose “warm, artisan, and calm.” Those three words should filter every color, font, and graphic you put on a product.
Your audience’s buying habits matter just as much as your aesthetic. A younger streetwear audience responds to oversized graphics and limited drops. A corporate wellness brand needs cleaner, more understated designs. Merchandise strategy also requires you to decide whether your merch extends your core brand or operates as a separate sub-brand with its own visual language. That decision shapes your entire design approach and how you market the products.
Consistent branding elements tie everything together. Lock in your logo, color palette, and typography before you design a single item. Changing these mid-production is expensive and confusing for customers.
- Logo: Use a version that works at small sizes, since most garment prints are 10–14 inches wide.
- Color palette: Limit yourself to 3–4 brand colors and check how they translate on fabric.
- Typography: Choose one or two fonts and use them consistently across all products.
- Tone: Decide if your copy and graphics are playful, serious, or somewhere in between.
Pro Tip: Research whether your brand colors exist as standard Pantone references. Pantone matching gives printers an exact color target and eliminates guesswork across different production runs.
What products and materials should you choose?
Starting with too many products is one of the most common mistakes small business owners make. A focused lineup of 3–5 core items lets you manage inventory, control quality, and test demand before scaling. Classic starting points include a unisex t-shirt, a pullover hoodie, a structured hat, and one premium item like a heavyweight crewneck or a tote bag.
Fabric choice directly affects print quality, and this is where many first-time merchandise designers lose money. Cotton is the preferred fabric for Direct-to-Garment (DTG) and Direct-to-Film (DTF) printing because it absorbs ink well and produces vibrant, sharp results. Polyester blends work better for athletic wear and sublimation printing, where durability and moisture-wicking matter more than color depth.
Garment color also affects your design options. Light-colored blanks give you the widest range of ink colors. Dark blanks require an underbase layer, which adds cost and can slightly soften fine details. Seasonal planning matters too. Launching a heavyweight hoodie in spring limits your sales window. Map your product releases to the calendar your customers actually shop by.
| Product type | Best fabric | Recommended print method |
|---|---|---|
| Unisex t-shirt | 100% cotton or cotton blend | DTF, DTG |
| Pullover hoodie | Cotton fleece | DTF, DTG |
| Athletic wear | Polyester blend | Sublimation |
| Structured hat | Cotton twill | Embroidery, DTF patch |
| Tote bag | Canvas cotton | DTF, screen print |
Pro Tip: Order blank samples in your chosen fabric before committing to a full production run. Feeling the weight and texture in person tells you more than any product description.
For more detail on which fabrics perform best with transfer printing, the DTF fabric guide from Transferkingz breaks down the options by material type and finish.
How do you create production-ready designs?
Design creation has three main paths: AI tools, freelance platforms, and template editors like Canva. Each has a specific role in a well-run merchandise operation. Long-term success typically combines AI tools for volume, Canva for quick text-based graphics, and professional freelancers for premium or hero designs.
Freelance platforms like Fiverr and Upwork give you access to experienced graphic designers. Outsourced design work typically costs $15–$50 per design, while AI tools can generate over 50 concepts per day. That cost gap means AI is worth using for early-stage testing, but a skilled human designer is still the right choice for your flagship products.
Technical specs are non-negotiable. Print files must meet a minimum resolution of 300 DPI, with a recommended export size of 4,500 x 5,400 pixels. Files that fall below these specs produce blurry, pixelated prints that damage your brand’s reputation.
File format depends on your production method. Here is the standard workflow:
- Identify your print method first. Screen printing requires vector files (AI or EPS format) with a limited color count. DTG and DTF printing accept full-color raster files (PNG or TIFF) at high resolution.
- Build your design at full size. Design at the actual print dimensions, not a scaled-down version. Scaling up later destroys resolution.
- Remove backgrounds. AI-generated artwork almost always needs manual background removal before it is production-ready. Use tools like Adobe Photoshop or a dedicated background remover to isolate the design on a transparent layer.
- Correct colors for print. Screen colors (RGB) look different when printed (CMYK). Convert your file to CMYK and check the color values before sending to production.
- Test legibility at multiple sizes. Complex graphics lose impact when scaled down. Print a test sheet at actual garment size and check that text and fine details remain readable.
- Get a proof before full production. Most printers offer a digital proof or a physical strike-off. Always approve one before the full run starts.
Pro Tip: When submitting files for screen printing, always provide vector artwork to avoid setup fees and file rejection. A clean vector file saves time on both sides of the production process.
For a broader look at how different printing technologies handle file requirements, the textile printing methods guide from Transferkingz is a practical reference.
How do you choose a production method and manage samples?
Two production paths dominate the custom merchandise market: decorated blanks and full custom cut-and-sew. Each serves a different business need.
Decorated blanks are pre-manufactured garments that you print or embroider your design onto. They are faster, more affordable, and require no minimum order quantities with many suppliers. The standard turnaround for decorated blanks is 10–15 business days. This path suits most small business owners launching their first merchandise line.
Full custom cut-and-sew means manufacturing garments from scratch with your chosen fabrics, construction, and labels. You get complete control over every detail, but lead times stretch to 60–90 days and minimum order quantities are significantly higher. This path makes sense once you have validated demand and are ready to invest in a premium product.
Sampling before full production is not optional. A physical sample lets you verify color accuracy, print placement, and fabric feel before you commit to a full inventory order. Skipping this step is the single most expensive mistake in merchandise production.
Common production pitfalls to avoid:
- Sending low-resolution files that get rejected or produce blurry prints
- Choosing a fabric that is incompatible with your print method
- Skipping the sample approval step to save time
- Ordering too much inventory before testing customer demand
- Ignoring garment sizing standards, which vary between manufacturers
Planning your production calendar around your launch date is critical. Work backward from your target launch, add your turnaround time, and build in at least one week for sample review and corrections. Rushing production creates errors that are expensive to fix after the fact.
Key Takeaways
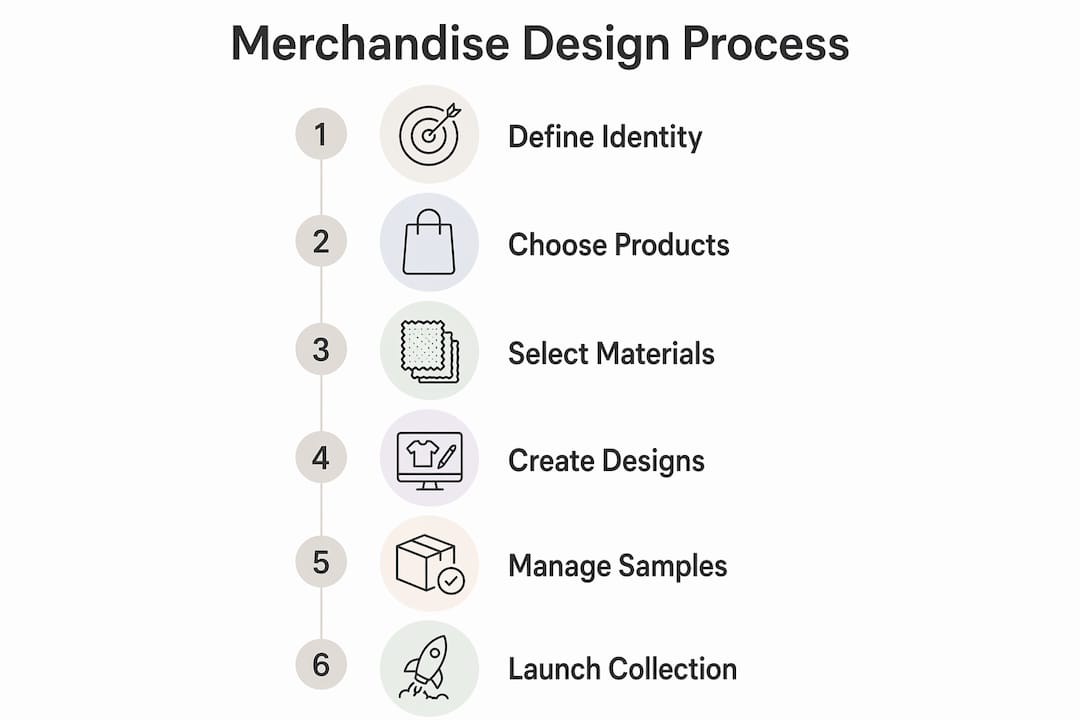
Designing custom merchandise that builds brand equity requires a clear process: define your identity, choose the right products and materials, prepare production-ready files, and validate quality through samples before committing to a full run.
| Point | Details |
|---|---|
| Start with brand identity | Lock in your logo, color palette, and typography before designing any product. |
| Limit your initial product lineup | Launch with 3–5 core items to control quality and test demand before scaling. |
| Match fabric to print method | Use cotton for DTF and DTG; use polyester blends for sublimation and athletic wear. |
| Meet technical file standards | Export designs at a minimum of 300 DPI and 4,500 x 5,400 pixels for clean print results. |
| Always sample before full production | Physical samples catch color, placement, and fabric issues before they become costly errors. |
What I’ve learned from watching small businesses launch merch
Most small business owners treat merchandise as an afterthought. They rush the design, skip the sample, and wonder why the product feels off when it arrives. The brands that build real revenue from merchandise treat it like a product launch, not a side project.
The advice I give most often is this: keep your designs simpler than you think they need to be. A logo on a quality blank, printed cleanly, will outsell a complicated graphic every time. Customers buy merchandise because they want to represent something they believe in. Your job is to make that representation feel good to wear, not to showcase every element of your brand at once.
AI tools have genuinely changed the speed of design iteration. Generating 50 concepts in a day and testing them with a small audience before committing to production is a real advantage. But AI output always needs human review and post-processing. Raw AI designs go straight to the trash pile at most print shops. Budget time for cleanup, even when the concept is strong.
One thing that surprises most entrepreneurs is how much overly branded clothing can actually work against you in certain contexts. Subtle branding often performs better than logo-heavy designs, especially for wearable items people use in professional settings. Think about where your customer will actually wear the product, not just where they will buy it.
View your merchandise line as a long-term brand asset. The first run teaches you what your audience responds to. The second run is where you start making real money.
— Anthony
Transferkingz: your production partner for detailed custom prints
Producing custom merchandise at a high standard requires a print partner who can handle intricate artwork without losing detail or color accuracy. Transferkingz specializes in Direct-to-Film transfers that deliver vibrant, durable results on a wide range of fabrics and product types.

Whether you are printing a single design or building out a full merchandise line, Transferkingz offers no minimum order requirements and fast turnaround times that fit small business production schedules. Their digital transfer film capabilities handle fine details and full-color gradients that other methods struggle to reproduce cleanly. For entrepreneurs in Texas and surrounding states, DTF printing services are available with regional speed advantages. Upload your production-ready files and get your merchandise moving.
FAQ
What file format do I need for custom merchandise printing?
Screen printing requires vector files in AI or EPS format with a limited color count. DTF and DTG printing accept high-resolution PNG or TIFF raster files at a minimum of 300 DPI.
How many products should I launch with?
Start with 3–5 core items such as a t-shirt, hoodie, and hat. A focused lineup is easier to manage, cheaper to sample, and gives you clear data on what your audience actually buys.
What is the typical turnaround time for custom merchandise?
Decorated blanks typically ship within 10–15 business days after design approval. Full custom cut-and-sew production takes significantly longer, often 60–90 days depending on the manufacturer.
Do I need a professional designer to create custom apparel?
Not always. AI tools generate concepts quickly and Canva handles text-based graphics well. For flagship or premium products, a freelance designer costing $15–$50 per design produces more polished results.
What is DTF printing and why does it matter for custom merchandise?
Direct-to-Film (DTF) printing transfers full-color designs onto fabric using a heat-applied film. It works on cotton, polyester, and blended fabrics, making it one of the most versatile methods for creating personalized products with fine detail and vibrant color.
0 comments