

TL;DR:
- Preparing files properly prevents printing errors and ensures color accuracy. Use CMYK, 300 DPI resolution, and include a white underbase note for DTF transfers. Follow recommended formats, add bleed, and double-check all settings before uploading to avoid reprints.
Get your file right before you upload, and you avoid reprints, color surprises, and back-and-forth with your print provider. The short version: export a CMYK PDF/X with embedded or outlined fonts, set your images to 300 DPI at the final print size, add 3 mm (0.125 in) of bleed on any edge-to-edge design, and for DTF transfers, include a white underbase channel and plan your gang sheet before you submit.
- Set your document to CMYK and the exact final print dimensions from the start
- Export as PDF/X-4 (or PDF/X-1a if your printer requires flattened transparency), with an ICC profile embedded
- Raster images at 300 DPI at final size; use vector (AI, EPS, SVG) for logos and line art
- Convert text to outlines or embed fonts before export
- Add 3 mm bleed; keep critical content 3–5 mm inside the trim edge
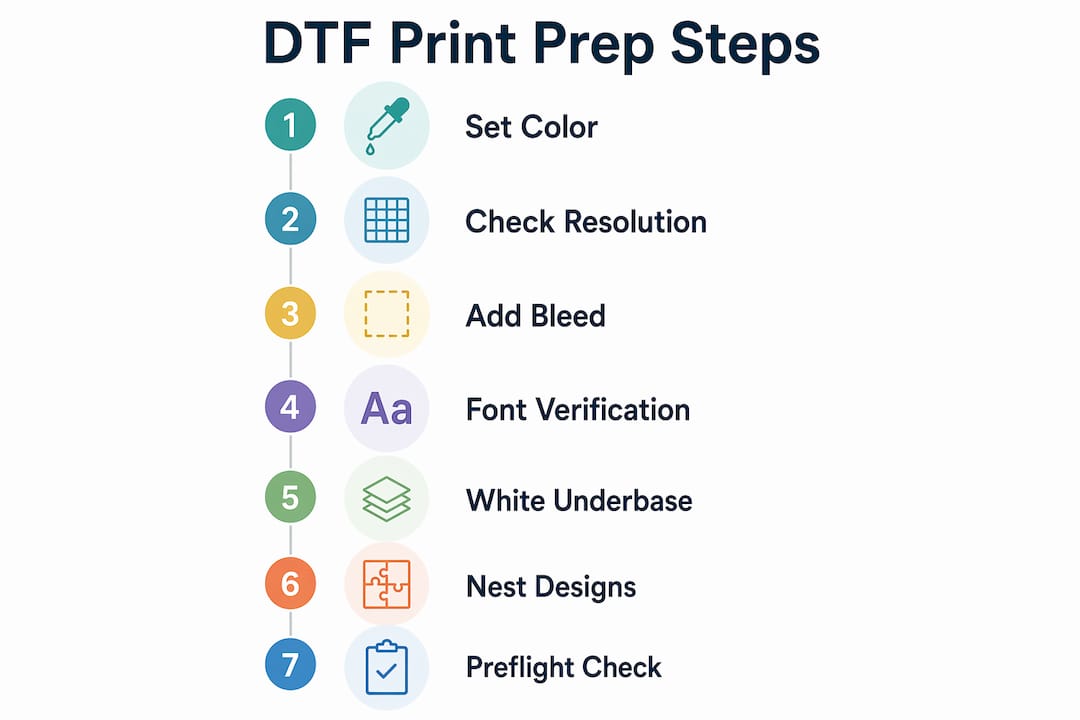
- For DTF: supply a white underbase layer or note your white generation preference, nest designs efficiently on gang sheets, and confirm ink limits with Transferkingz before uploading
Table of Contents
- What file specs actually matter for print-ready artwork?
- How do you manage color so prints match your screen?
- What are the DTF-specific artwork rules you need to follow?
- What should your preflight checklist include before uploading?
- What common mistakes cause DTF and textile print failures?
- Key Takeaways
- What running a DTF service taught me about file prep
- Useful references and where to find templates
What file specs actually matter for print-ready artwork?
The format you deliver determines how much control you hand off to the printer. PDF/X is the gold standard for a reason: PDF/X-4 supports live transparency and ICC-managed color, making it the right choice for modern workflows. PDF/X-1a is the fallback when a supplier specifically needs flattened transparency. Both embed fonts, enforce color profiles, and eliminate the most common production errors in one step.
For vector-only logos and icons, native AI, EPS, or SVG files work well. High-resolution TIFF or PSD files are appropriate for raster imagery when a PDF is not required. PNG is widely accepted for DTF uploads and preserves transparency cleanly.
| Format | Best Use | Notes |
|---|---|---|
| PDF/X-4 | Mixed layouts, text, vector, raster | Preferred; supports live transparency and ICC profiles |
| PDF/X-1a | Legacy workflows, flattened files | Use only when supplier requires it |
| AI / EPS / SVG | Vector logos, line art | Keep shapes editable until final export |
| TIFF / PSD | Raster imagery, photo-based art | No compression loss; large file sizes |
| PNG | DTF uploads, transparent backgrounds | Widely accepted; no lossy compression |
Resolution follows one rule: 300 DPI at the final print size for anything viewed up close, like a chest print on a T-shirt. Large-format signage viewed from several feet away can tolerate 150 DPI. The formula is simple: pixel width divided by print width in inches equals DPI. A 3,600-pixel-wide file printed at 12 inches is exactly 300 DPI. Upscaling a low-res file after the fact does not add real detail.
Fonts are where files quietly break. Select the explicit font variant — “Roboto Bold” rather than applying a bold style button to “Roboto” — because RIP workflows can substitute or shift spacing when they encounter styled attributes. Convert to outlines only after the final proof, since outlined text cannot be edited.
Bleed and safe area: add 3 mm of bleed on every edge that will be trimmed. Keep logos, text, and thin borders at least 3–5 mm inside the trim line. Crop marks should sit outside the bleed area, not inside it.
Pro Tip: Name your files with a consistent convention: ProductName_Size_Version_Date (e.g., LogoTee_12x14_v2_2026-06). It takes ten seconds and prevents the wrong version from going to press.
How do you manage color so prints match your screen?
Converting RGB to CMYK late in the workflow is one of the most reliable ways to get a color surprise. Set your document to CMYK from the first session, or at minimum soft-proof against the printer’s ICC profile regularly as you work. Wide-gamut RGB colors that look vivid on a backlit monitor often shift noticeably when converted at the last minute.
Monitor calibration is the step most creators skip, and it is the one that causes consistent mismatches. A hardware calibrator like a Datacolor Spyder or X-Rite i1Display creates a display profile your OS uses to show colors accurately. Without it, you are approving color on a screen that may be running warm, cool, or oversaturated relative to the actual output.
- Soft-proof in Adobe Photoshop or Illustrator using the printer’s ICC profile (request it from Transferkingz or download it from the printer’s site)
- View proofs under consistent, neutral lighting — not next to a window with shifting daylight
- For Pantone or spot colors, confirm whether the printer supports spot inks or will convert to CMYK; provide the Pantone reference number so the conversion is intentional, not automatic
- Order a physical substrate proof for brand colors and any job where color fidelity is critical
Substrate finish also affects perceived color. Gloss film increases saturation and punch for bold graphics, while matte reduces reflections and suits fine-detail work. Specify your preferred finish in the production brief so the printer does not make that call for you.
What are the DTF-specific artwork rules you need to follow?
DTF transfers have requirements that standard print prep does not cover. Get these right and your transfers adhere cleanly, cure correctly, and look sharp on the garment.
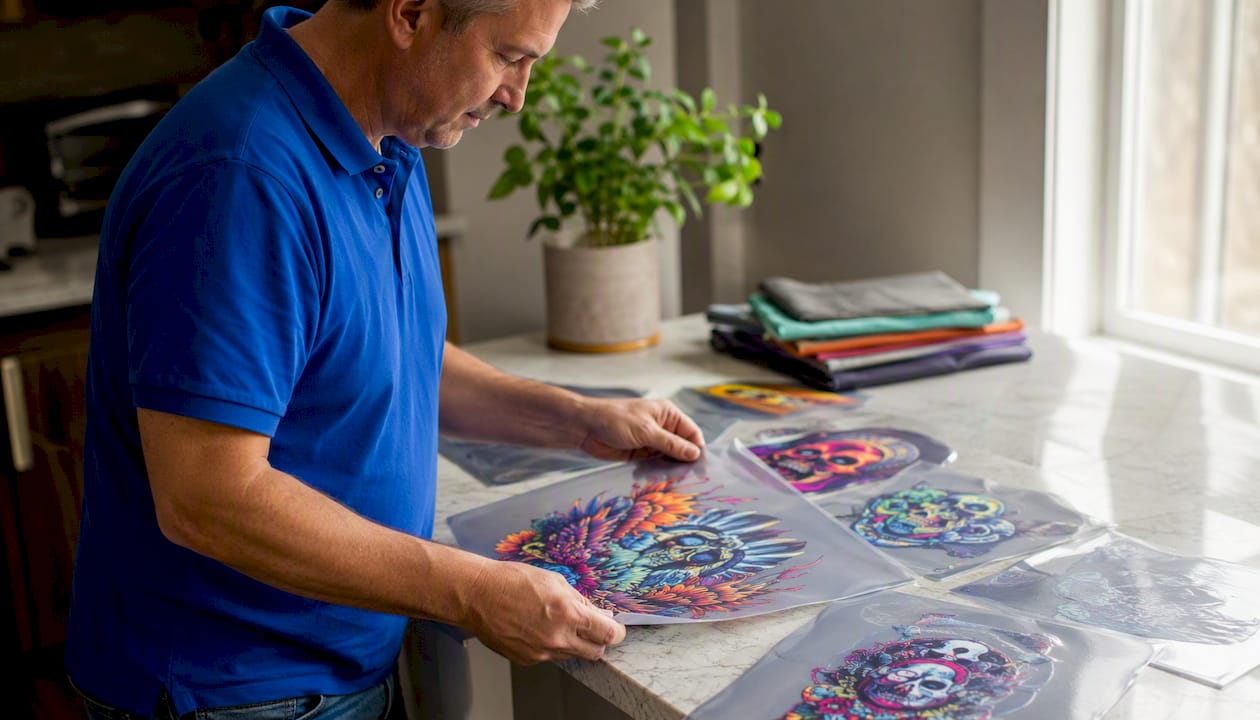
White underbase is the foundation of every DTF print on dark or colored fabric. You have two options: supply a dedicated white channel as a separate layer in your file, or note in your production brief that you want the printer to generate white automatically. Transferkingz can handle white generation, but specifying your preferred white intensity (full, reduced, or none for light fabrics) prevents guesswork. Check Transferkingz’s DTF artwork requirements for the exact layer convention they accept.
Gang sheets and nesting are how you get the most out of every sheet. Group multiple designs efficiently, leave at least 0.25 in between designs for clean cutting, and orient designs so they apply consistently. The Transferkingz gang sheet builder handles nesting automatically, but knowing the spacing rules helps you plan quantities before you build.
Ink limits matter for adhesion. Over-inking an area causes poor adhesion and longer cure times. Ask Transferkingz for the recommended total ink limit for the film and ink set you are using, and stay within it for solid-fill areas.
Halftones and gradients on textiles need attention. Subtle gradients can band on fabric if the frequency is too coarse or the resolution too low. Test any gradient-heavy design with a proof print before committing to a full run.
- Confirm white underbase preference (full, reduced, or none) in your production brief
- Set minimum 0.25 in spacing between designs on the gang sheet
- Stay within the printer’s recommended total ink limit for solid fills
- Test gradients and halftones with a proof before a full production run
- Include fabric composition (cotton, polyester, blend) and intended application method in your upload notes
Pro Tip: For designs with fine detail or thin strokes under 1 pt, ask for a test print first. DTF ink spread on textured fabric can close up hairlines that look fine on screen.
What should your preflight checklist include before uploading?
Preflight is less about software mastery and more about clear instructions to the printer. Run through this before every upload.
- Dimensions: does the document match the exact finished print size?
- Bleed: is 3 mm of bleed present on every trimmed edge?
- Resolution: are all raster images at 300 DPI at final size?
- Color mode: is the document in CMYK with an ICC profile embedded?
- Fonts: are all fonts embedded or converted to outlines?
- Layers: are unnecessary layers hidden or merged; are guides excluded from export?
- Overprint settings: check that black text is set to overprint and that no unintended overprint is applied to colored elements
- File naming: use a consistent convention (ProductName_Size_Version_Date)
- Production brief: include material type, finished size, quantity, finish preference, and white underbase notes
- Proof method: specify whether you want a digital soft proof or a physical substrate proof
For native files, link images into your layout app rather than embedding them, then use InDesign’s Package function or Illustrator’s equivalent to collect all linked assets and fonts into one folder. A brief call with Transferkingz before finalizing files for an unusual substrate or finish can prevent a reprint that costs more than the call saves in time.
For upload-ready guidance specific to Transferkingz’s portal, the design upload overview covers accepted formats and common submission errors.
What common mistakes cause DTF and textile print failures?
Most reprints trace back to a handful of recurring errors. Here is what to look for and how to fix it fast.
- Font substitution or layout shift: always embed or outline fonts; open the exported PDF on a second machine at 100% zoom to confirm nothing shifted
- Dull or shifted colors: confirm your CMYK working space matches the printer’s profile; soft-proof before export and order a substrate proof for critical brand colors
- Banding in gradients: increase raster resolution, check gradient frequency, and ask Transferkingz for recommended screening parameters for the specific film
- Adhesion or peel problems: verify curing temperature and time against the printer’s spec sheet; provide fabric composition so the printer can adjust ink limits
- Upload errors: confirm file size limits and accepted formats before uploading; clear file names with version numbers prevent the wrong file from going to press
- Unintended overprint: check overprint settings in your PDF viewer before submission; black objects set to overprint on a white background will disappear
The print-ready transfer file guide from Transferkingz covers the most common export errors decorators encounter and shows what a correctly built file looks like.
Key Takeaways
Getting artwork print-ready for DTF and textile printing requires CMYK color mode, 300 DPI resolution at final size, 3 mm bleed, embedded or outlined fonts, and a white underbase specification before every upload.
| Point | Details |
|---|---|
| Set CMYK and size first | Open your document in CMYK at the exact final print dimensions before designing. |
| Export as PDF/X-4 | PDF/X-4 embeds fonts, enforces ICC profiles, and supports live transparency for modern workflows. |
| 300 DPI at final size | Raster images must hit 300 DPI at the actual print dimensions, not the canvas size. |
| Specify white underbase | Tell your printer the white intensity you need; do not leave it to automatic generation. |
| Preflight before every upload | Check dimensions, bleed, DPI, color mode, fonts, and overprint settings on every file. |
What running a DTF service taught me about file prep
The files that cause the most reprints are rarely the complex ones. They are the simple jobs where someone assumed the printer would “just figure it out.” A white T-shirt logo with no white underbase note. A gradient that looked smooth on a calibrated monitor but banded on polyester because nobody tested it. A font that rendered perfectly in the designer’s app and substituted on the RIP because the style button, not the actual bold variant, was used.
The one habit that prevents most of these: write a two-line production brief and attach it to every order. Material, size, white underbase preference, finish. That is it. Transferkingz’s upload process is built to capture this information, and their file setup guide walks you through exactly what to include. A quick note in the order comments about curing temperature or fabric blend takes thirty seconds and can save a full rerun.
If you are ordering DTF transfers in Texas or need same-day pickup in Dallas, Transferkingz handles the production side. Your job is to send a file that does not leave anything to interpretation.
Useful references and where to find templates
- How to Prepare Artwork Files for Print — reusable checklist covering size, resolution, bleed, and export settings
- How to Prepare Signage Files for Professional Results — practical guidance on resolution and bleed for large-format output
- Transferkingz DTF Artwork Requirements — company-specific file specs and common mistakes
- Transferkingz Upload Guide — accepted formats and step-by-step upload instructions
- Transferkingz Gang Sheet Guide — spacing, nesting, and gang sheet examples
| Resource | What It Covers |
|---|---|
| Transferkingz DTF Artwork Requirements | File specs, white underbase conventions, and upload checklist |
| Transferkingz Gang Sheet Guide | Nesting, spacing, and orientation for efficient sheet use |
| Transferkingz Upload Guide | Accepted formats, file size limits, and submission steps |
| Smartphoto Artwork Checklist | General print prep: size, DPI, bleed, export format |
| Custom Signs Today File Prep Guide | Resolution and bleed for large-format and substrate printing |
Request a substrate proof from Transferkingz any time color fidelity is critical, and always include fabric composition and application method in your order notes. The printer can only work with what you give them.
0 comments