

Your artwork file is the single biggest variable in whether a DTF transfer prints sharp, survives 50 washes, and looks like a professional product. Before you upload anything to Transferkingz, run a three-point check: confirm your file is at least 300 DPI, set to CMYK color mode, and includes a transparent background with no compression artifacts. Those three steps alone eliminate the majority of reprints.
Research on first impressions shows viewers form an opinion of a design in roughly 30 seconds. For a printed transfer on a shirt or tote bag, that window is even shorter. Anthony, who authors Transferkingz’s DTF artwork guides, puts it plainly: the shop’s equipment can reproduce what you send with high fidelity, but it cannot fix a weak original.
- Check resolution: 300 DPI minimum at print size
- Confirm color mode: CMYK, not RGB
- Use a transparent background (PNG preferred)
- Remove compression artifacts before upload
- Verify bleed and white-underbase placement
Table of Contents
- Why artwork quality matters more than any other print variable
- What “high-quality artwork” actually means for a printed transfer
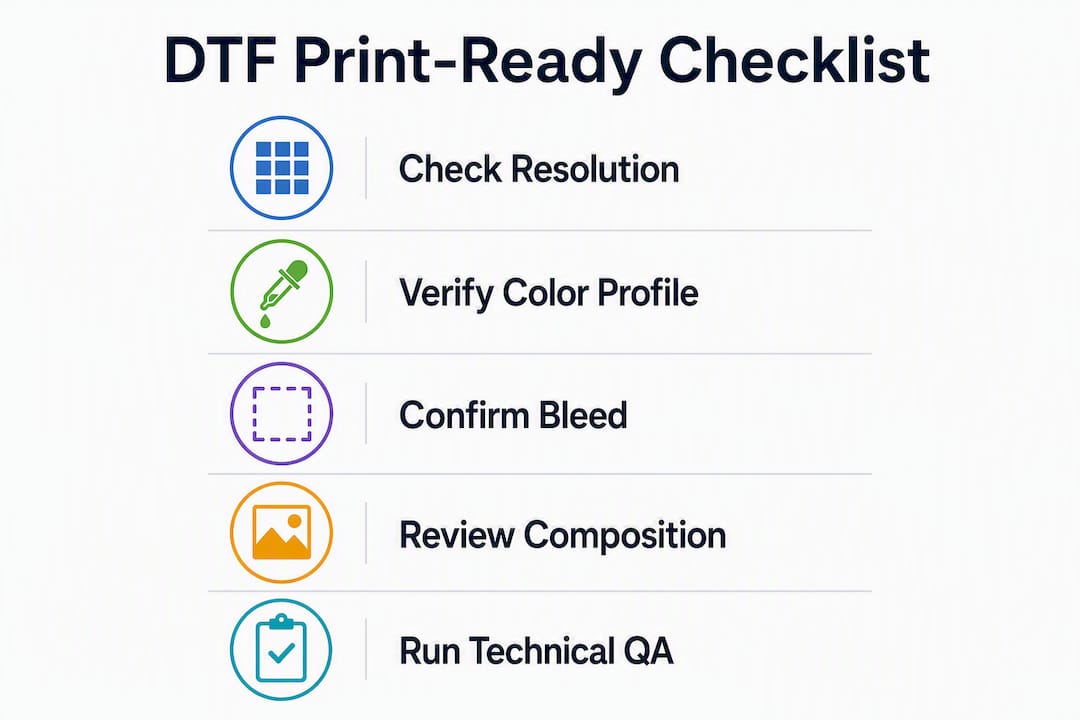
- Your DTF print-ready checklist before you upload
- The six artwork mistakes that cause reprints, and how to fix them
- How artwork prep directly affects durability and customer satisfaction
- What to upload and what to ask your provider before ordering
- Key Takeaways
- Why the shop enforces these specs
- Get your transfers printed right the first time with Transferkingz
- Useful sources and further reading
Why artwork quality matters more than any other print variable
Poor artwork costs more than a reprint. It costs you customer trust.
When a file arrives at the shop with low resolution or an RGB color profile, the production team faces a choice: print it as-is and risk a muddy result, or flag it and delay the order. Either outcome hurts. Craftsmanship in production is not a luxury standard; it is what separates a transfer that peels after two washes from one that holds through a season of heavy use.
The commercial stakes are direct. A design that looks intentional and balanced reads as higher value to the buyer wearing it, which drives repeat orders and referrals. One that looks pixelated or color-shifted does the opposite, regardless of how good the garment itself is.
Pro Tip: Before you evaluate your artwork subjectively, run it through two separate checks: one for composition and visual balance, one for technical specs. Mixing the two leads to missed problems on both fronts.
What “high-quality artwork” actually means for a printed transfer
High-quality artwork combines intentional composition, craftsmanship, and print-ready technical preparation. For DTF customers, that means passing both an aesthetic test and a technical preflight.

Aesthetic markers are about whether the design holds attention. Composition and visual balance determine whether the eye moves through the design or gets stuck. Color story matters too: a limited, intentional palette reproduces more reliably than a dozen competing hues. Finish and detail level should match the substrate. A design with fine hairline text reads beautifully on a gang sheet proof but can bleed on a rough cotton weave.
Technical markers are objective and checkable:
- Resolution: 300 DPI at final print dimensions (never upscale a 72 DPI web image)
- Color profile: CMYK with a standard profile such as U.S. Web Coated (SWOP) v2
- File format: PNG with transparency, TIFF, or print-ready PDF
- Vector paths: clean, closed paths with no stray nodes
- Fonts: converted to outlines or embedded before export
- Bleed: 1–3 mm of design extending beyond the cut line
- White underbase: a separate white layer beneath the color art for dark garments
- Transparent background: no white fill masquerading as transparency
Bleed is the extra design area outside the final cut line that prevents white edges if the cut shifts slightly. White underbase is a white ink layer printed beneath your colors on dark fabrics so the colors appear vivid rather than washed out.
Your DTF print-ready checklist before you upload
Follow this checklist exactly to avoid color surprises and reprints. Anthony’s DTF artwork requirements guide covers each spec in detail.
| Spec | Required value |
|---|---|
| Resolution | 300 DPI at final print size |
| Color mode | CMYK (RGB accepted but expect color shift) |
| File format | PNG (transparent BG), TIFF, or PDF |
| Bleed | 1–3 mm beyond cut line |
| White underbase | Separate layer; required for dark substrates |
| Max print area | Confirm with shop per sheet size ordered |
| Font handling | Convert to outlines before export |
| Background | Transparent (no white fill) |
Step checklist:
- Flatten all adjustment layers; keep the white-underbase layer separate
- Convert all fonts to outlines in Illustrator or Photoshop
- Export as PNG-24 with transparency or TIFF at 300 DPI
- Name files descriptively:
brand_design-name_300dpi_CMYK.png - Include a note on intended garment color (light vs. dark) with your order
Pro Tip: If exact color matching is critical, such as for brand logos, request a soft proof before full production. Transferkingz can confirm how your CMYK values will render on film before the full run prints.
The six artwork mistakes that cause reprints, and how to fix them
Professional printing cannot compensate for a weak source file. These are the problems the shop sees most often, ranked by how urgently they need fixing before you place an order.
- Low resolution (urgent): A 72 DPI screen-grab will print soft and pixelated. Fix: re-export from the original source at 300 DPI, or vectorize simple logos in Adobe Illustrator or Inkscape.
- Wrong color mode — RGB instead of CMYK (urgent): RGB colors shift unpredictably when converted at print time. Fix: convert to CMYK in Photoshop or Illustrator and proof the result before uploading.
- Missing or incorrect white underbase (urgent): Without a proper white layer, colors on dark garments look dull or invisible. Fix: add a white-fill layer beneath all color art and label it clearly.
- No bleed or transparent background (high priority): A white-filled background prints as a white rectangle on your garment. Fix: delete the background layer and export as PNG-24 with transparency; add 1–3 mm bleed.
- Compressed or artifacted files (high priority): JPEG compression introduces blocky artifacts that print visibly. Fix: always export final files as PNG or TIFF, never JPEG.
- Unembedded or live fonts (optional before ordering, required before print): Fonts that are not converted to outlines may substitute or reflow. Fix: select all text in Illustrator and use Type > Create Outlines before export.
For a deeper look at file format choices, Transferkingz has a dedicated guide covering PNG vs. TIFF vs. PDF trade-offs.
How artwork prep directly affects durability and customer satisfaction
Better-prepared artwork produces more durable prints. That is not a marketing claim; it is a mechanical reality of how DTF transfers bond to fabric.
Edge quality is the clearest example. A low-resolution halftone edge creates a jagged transfer boundary that begins to fray after a few wash cycles. A clean vector edge or a high-res raster edge bonds uniformly and holds its shape. Similarly, an RGB-to-CMYK conversion done at print time rather than by the designer often produces unexpected hue shifts, and customers who receive a shirt where the red looks orange tend not to reorder.
White-underbase placement is the single most impactful technical fix for adhesion on dark garments. When the underbase is sized and positioned correctly, the color layers bond to a stable white surface rather than directly to a dark fiber. Correcting underbase placement alone has resolved adhesion complaints for decorators who previously saw lifting at the edges after the first wash.
- Clean vector or 300 DPI raster edges = fewer wash-cycle failures
- Correct CMYK conversion = no surprise hue shifts at delivery
- Proper white underbase = strong adhesion on dark and colored fabrics
- Transparent background = no unwanted white rectangle on the garment
What to upload and what to ask your provider before ordering
Upload a preflighted file and confirm proofs, white-underbase handling, scaling, and intended substrate before the job runs. That one sentence covers most of what goes wrong on a first order.
What to provide with your upload:
- High-res file (300 DPI PNG or TIFF) with transparent background
- Note on garment color (light, dark, or specific color)
- Intended placement and finished print dimensions
- Pantone or hex color references for brand-critical colors
- Whether you need a soft proof before full production
Questions to ask your transfer provider:
- Do you print a white underbase automatically, or do I need to supply the layer?
- Can I get a test print or soft proof before the full run?
- What is your scaling tolerance, and will you adjust for garment shrinkage?
- What is your reprint policy if the color output differs from my proof?
- What is the turnaround time, and is same-day or next-day pickup available?
Transferkingz’s custom DTF ordering guide walks through the full order flow, including how to use the gang sheet builder and where to add substrate notes. Anthony’s file setup guide covers naming conventions and export settings step by step.
Key Takeaways
Artwork quality controls every downstream outcome in DTF printing: visual fidelity, wash durability, adhesion, and whether a customer reorders.
| Point | Details |
|---|---|
| Resolution is non-negotiable | Submit files at 300 DPI at final print size; upscaling a low-res file does not recover lost detail. |
| CMYK conversion belongs to you | Convert RGB to CMYK before upload so you control the color shift, not the press. |
| White underbase drives adhesion | A correctly sized white layer is required for vivid, durable color on dark garments. |
| Transparent backgrounds only | A white-filled background prints as a visible rectangle; export PNG-24 with transparency. |
| Proof before full production | Request a soft proof for brand-critical colors to catch shifts before the full run. |
| Transferkingz provides preflight support | Anthony’s guides and the shop’s checklist help customers catch file issues before ordering. |
Why the shop enforces these specs
Every file problem the shop catches costs time on both sides. The ones it misses cost a reprint, a delayed order, and a frustrated customer.
The most common issue is resolution. Customers frequently upload a logo exported from a website at 96 DPI, assume it looks fine on screen, and are surprised when it prints soft. The second most common is the missing white underbase on a dark-garment order. Both are entirely preventable with a two-minute preflight check.
When customers follow the checklist, orders run faster, proofs match expectations, and the finished transfer looks exactly like the design file. That is the whole point of publishing Anthony’s guides: fewer surprises for the customer, fewer flags for the shop.
If you are unsure whether your file is ready, reach out before placing the order. Transferkingz is willing to review files and flag issues before production starts.
Get your transfers printed right the first time with Transferkingz
Transferkingz prints DTF transfers with premium inks and films, no minimum order quantities, and same-day local pickup in Dallas alongside nationwide shipping. You upload a preflighted file, confirm your specs, and the shop handles the rest.

- No minimums: one transfer or a full gang sheet, same process
- Proofing available for brand-critical color matching
- Same-day pickup in Dallas; fast nationwide shipping
- Anthony’s preflight guides available at every step of the order flow
- Gang sheet builder lets you maximize sheet space and reduce cost per print
Place your order or check sheet sizes at the DTF transfers Dallas page, or browse the full Texas service options at DTF transfers Texas. Upload your file, confirm your substrate, and get a proof before the full run.
Useful sources and further reading
The following resources informed this guide and provide deeper reading on artwork quality, file preparation, and DTF ordering.
- DTF Artwork Requirements That Prevent Reprints — Anthony’s primary checklist for file specs at Transferkingz
- Guide to Transfer File Setup for DTF Prints — step-by-step export and naming guidance
- Best File Format for DTF Transfers — PNG vs. TIFF vs. PDF comparison
- What Makes Artwork High Quality? — buyer-focused overview of aesthetic and technical quality markers
- How to Evaluate Art Using a 5-Criteria System — structured self-critique framework applicable to merchandise design
- What Makes Art Feel “High Quality”? 7 Clues Your Brain Notices — visual literacy perspective on perceived quality
- Craftsmanship: Why Doing Things Well Matters in Art — on execution standards in artistic production
Contact Transferkingz directly if you need preflight help before placing your order. Anthony’s guides cover the most common file issues, and the shop team can review files on request.
0 comments