

Your core heat press temperature and time settings checklist
Get these three numbers right before you press a single garment: temperature, time, and pressure. Every failed transfer traces back to one of them being off. The heat press settings below are your starting point for the most common materials you’ll encounter.
| Material | Temperature | Pressure (PSI) | Time | Special Instructions |
|---|---|---|---|---|
| Cotton | 320–350°F | 40–50 | 15 sec | Pre-press 3–5 sec to remove moisture |
| Polyester | low to medium temperature to avoid dye migration | moderate pressure to ensure adhesion | short pressing time | Pre-press briefly to control dye migration |
| Poly-Cotton Blends | temperature set between polyester and cotton needs | moderate pressure recommended | moderate pressing time | Test on a sample piece first |
| Ceramics (Mugs) | 350°F | Firm | — | Cool 60 sec before removing |
| Caps and Hats | temperature suitable for caps and hats fabric | moderate pressure recommended | pressing time sufficient for caps and hats | Pre-press briefly; use a dedicated cap press attachment |
A few things to confirm before you close the press:
- Verify the platen has fully reached your set temperature, not just the display reading.
- Pre-press every garment for at least 3 seconds to drive out moisture.
- Check that your Teflon sheet is clean and flat, no bubbles or burn marks.
- For layered designs, always use the lowest temperature any single layer requires.
- Peel according to the transfer type: hot peel for most HTV, cold peel for DTF.
Pro Tip: Always test your settings on a fabric scrap before running production. A five-minute test saves a batch of ruined blanks.
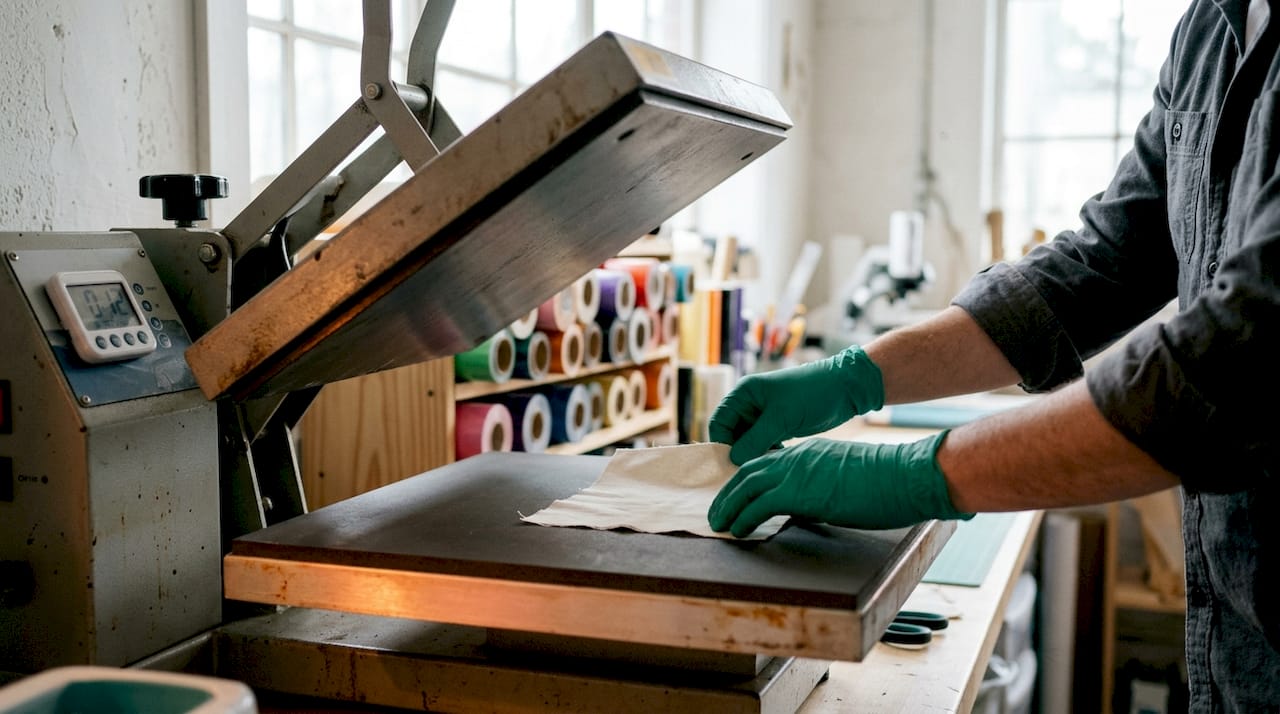
Detailed temperature, time, and pressure guidelines by material
Fabric type changes everything. Cotton can handle 350°F without complaint. Polyester starts to show dye migration above 320°F, so you keep it at 305°F and cut the time to 10–12 seconds. The material-specific guide below goes deeper than the quick-reference table above, covering transfer method differences and special handling notes.
| Material | Transfer Method | Temperature | Pressure | Time | Notes |
|---|---|---|---|---|---|
| Cotton | DTF / HTV | 320–350°F | Medium to Heavy | 10–15 sec | Pre-press 3–5 sec |
| Polyester | DTF | 280–300°F | Medium to Heavy | 10–15 sec | Low temp prevents dye bleed |
| 50/50 Blends | DTF / HTV | 320–350°F | Medium to Heavy | 10–15 sec | Test on sample |
| Smooth HTV | HTV | 305°F | Medium | 10–15 sec | Standard vinyl |
| Glitter HTV | HTV | 320°F | Heavy | 10–15 sec | Heavy pressure required |
| Glow-in-the-Dark HTV | HTV | — | Heavy | — | Longer press time |
| Ceramic Mug | Sublimation | 350°F | Firm | — | Cool before peeling |
| Sublimation Tumbler | Sublimation | — | Firm | — | Use mug wrap attachment |
Pressure matters more than most people realize. Too light and the transfer won’t bond; too heavy on a delicate polyester and you crush the fibers or cause shine. For most flat garment pressing, medium to heavy pressure works across DTF and HTV applications. Ceramics and tumblers need firm, consistent contact for the full duration.
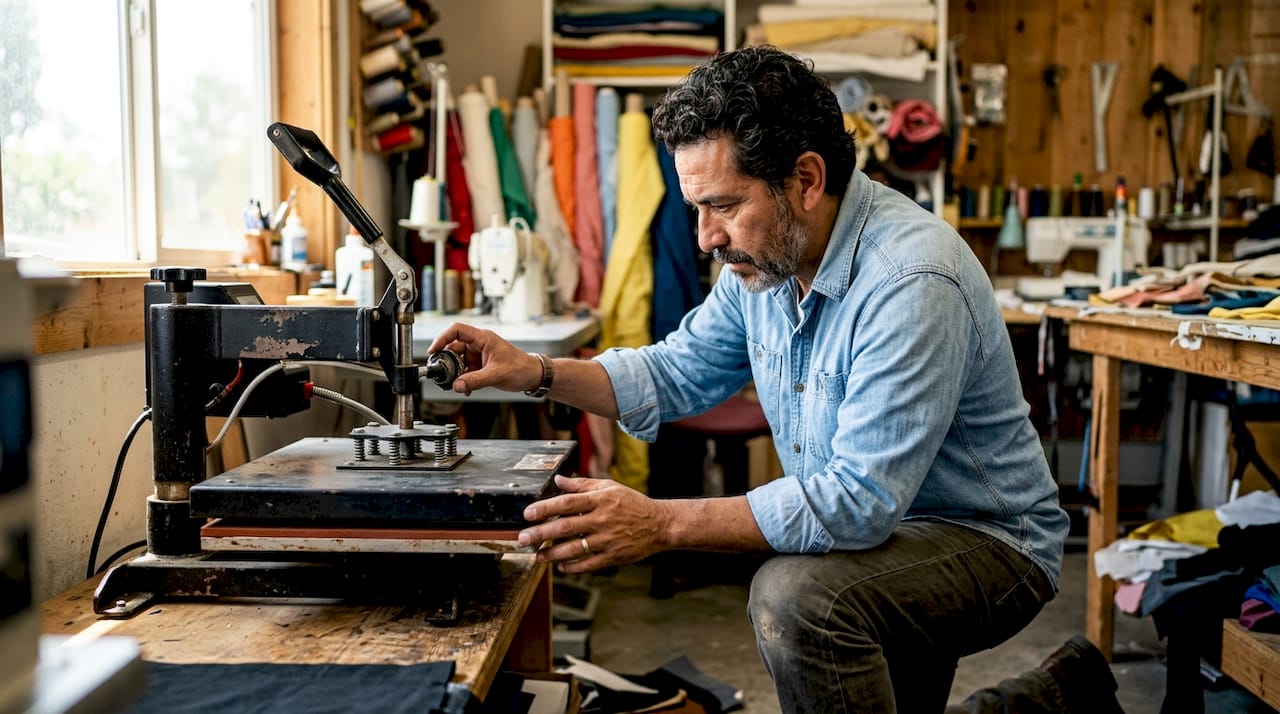
Dye migration is the specific risk with polyester. When heat exceeds roughly 320°F, the dye in the fabric can bleed upward into your transfer, turning a white design pink or gray. Keeping polyester at 280–300°F and limiting press time to 10–15 seconds is the standard fix. Using low-temp transfer materials designed for polyester adds another layer of protection.
For blended fabrics, always press at the temperature the most heat-sensitive fiber requires. A 60/40 poly-cotton blend gets treated closer to polyester settings, not cotton settings. The fabric pressing tips from the University of Kentucky extension confirm this: for any blend, set to the fiber requiring the lower temperature.
Caps and hats need a dedicated cap press attachment to apply even pressure across the curved surface. A flat platen on a curved hat creates pressure dead zones at the edges, which shows up as peeling corners within a few washes.
Weekly and monthly heat press maintenance checklist
A heat press that drifts 15°F off its set temperature will ruin transfers before you notice anything is wrong. Regular maintenance keeps the machine honest and catches problems before they cost you product.
Weekly tasks:
- Wipe the platen with a damp cloth while it’s still warm to lift adhesive residue before it hardens.
- Inspect your Teflon sheet for burns, bubbles, or thinning spots. Replace it when you see any of those.
- Check that the press closes and locks smoothly with no wobble in the hinge.
Monthly tasks:
- Use an infrared thermometer to measure five points on the platen: all four corners plus the center. A deviation above 10°F from your set temperature means the machine needs calibration or the heating element is starting to fail.
- Check that the pressure adjustment knob turns smoothly. A sticky or rough knob often means the internal spring needs lubrication, and imprecise pressure adjustment follows.
- Inspect hinges and linkages for looseness or play. A loose hinge causes uneven platen contact.
- Perform the paper slide test to confirm pressure uniformity across the entire platen.
How to do the paper slide test: Place a sheet of regular copy paper in the center of the platen, close and lock the press, then gently pull the paper from four directions: front, back, left, and right. The paper should meet consistent light resistance in every direction. If one corner pulls out easily, pressure is low there. If a corner won’t move at all, pressure is too high on that side.
Most users only check pressure at the center and never touch the corners. That’s exactly where uneven transfers come from.
Pro Tip: If one corner of the platen consistently reads low on your infrared thermometer, that’s an early sign of heating element failure. Catch it now and you replace an element. Miss it and you replace the machine.
Common heat press mistakes and how to avoid them
The most expensive mistakes in heat pressing are the ones that look fine until the garment goes through a wash. Here’s what actually goes wrong and why.
Sliding the press head instead of lifting it. This is the single most common beginner error. Sliding stretches and distorts fabric, particularly on curves, bias cuts, and knit materials. The correct motion is lift and place: raise the platen completely, reposition, then lower. Every time.
- Never drag the platen across the garment to cover a larger area.
- On larger designs, lift, shift, and re-press in sections rather than sliding.
Incorrect pressure. Too little pressure and the transfer won’t bond fully. Too much and you damage the fabric or create unwanted shine on polyester. Testing pressure on a sample piece before production is the only reliable way to dial it in for a new material or blank type.
Pressing damp fabric without pre-pressing. Moisture trapped in a garment turns to steam under the platen. That steam pushes back against the transfer adhesive and causes adhesion failures, bubbling, or uneven bonding. Pre-pressing for 3–5 seconds removes that moisture before you apply the transfer.
- Pre-press cotton for 3–5 seconds.
- Pre-press caps and hats for 10 seconds, since headwear holds more moisture in its structure.
Skipping the test press. Running straight into a production batch without a test on a scrap or a sacrificial blank is how you ruin 50 shirts at once. Settings that worked last week on a different brand of blank may not work today.
Not documenting successful settings. When you find the right combination for a specific blank and transfer type, write it down. Memory is unreliable across a busy production day.
Pro Tip: Adopt the lift-and-place habit from your very first press. It takes about three sessions to make it automatic, and it eliminates an entire category of fabric distortion problems.
Best practices for getting professional heat press results
Consistent results come from consistent process, not from pressing harder or longer when something looks off. These practices separate production-quality output from trial-and-error pressing.
Control moisture before you control temperature. Fabric moisture directly affects how much heat the transfer actually receives. Damp fabric absorbs heat differently than dry fabric, which means your set temperature isn’t delivering what you think it is. Pre-pressing to dry the fabric standardizes the starting condition of every garment, making your temperature settings reliable and repeatable.
- Pre-press every garment, even if it feels dry to the touch.
- Work in a space where humidity is controlled when possible.
- Store blanks flat in a dry area, not stacked on a damp floor.
Adjust settings incrementally, not dramatically. If a transfer isn’t bonding, raise the temperature by 5°F or extend the time by 2 seconds before making a larger change. Jumping 20°F at once makes it impossible to know which variable fixed the problem.
Use a beginner heat press checklist as your pre-production routine. Confirm temperature, pressure, and pre-press before every session, not just when something goes wrong.
Pressure uniformity directly affects transfer success. Uneven pressure across the platen produces transfers that bond in the center but peel at the edges, or vice versa. The paper slide test described in the maintenance section is the fastest way to catch this before it shows up in your finished product.
Cooling and peeling timing matters as much as pressing. For most DTF transfers, peel cold: let the garment cool completely before removing the film. Hot peeling a cold-peel transfer tears the ink layer. For hot-peel HTV, peel immediately while the material is still warm. Getting this backwards ruins an otherwise perfect press.
| Transfer Type | Peel Timing | Notes |
|---|---|---|
| DTF | Cold peel | Wait until fully cooled |
| Standard HTV | Hot peel | Peel immediately after pressing |
| Glitter / Specialty HTV | Follow manufacturer spec | Varies by product |
| Sublimation | Hot peel | Remove paper while warm |
Safety during operation. The platen surface reaches temperatures that cause serious burns on contact. Keep a silicone heat-resistant mat nearby for resting the press head during adjustments. Never reach under the platen while the press is locked. When pressing small items, use a heat-resistant glove to position the blank without putting fingers near the platen edge.
Key Takeaways
Correct temperature, time, and pressure settings for each specific material are the foundation of every successful heat press transfer.
| Point | Details |
|---|---|
| Material-specific settings | Cotton presses at 320–350°F for 15 sec at 40–50 PSI; polyester needs 305°F for 10–12 sec to prevent dye migration. |
| Pre-press every garment | A 3–5 second pre-press removes moisture from cotton, preventing adhesion failures and fabric distortion. |
| Monthly platen check | Use an infrared thermometer on five platen points; any deviation above 10°F signals calibration or element issues. |
| Lift, never slide | Sliding the press head distorts fabric; the lift-and-place motion protects garment integrity on every press. |
| Transferkingz DTF transfers | Transferkingz DTF transfers apply at 320–350°F for 10–15 sec on cotton and blends, with no minimum order required. |
Why the checklist alone won’t save a bad habit
Most heat press failures aren’t equipment failures. They’re technique failures that happen on a perfectly calibrated machine.
The checklist approach to heat pressing is genuinely useful, but it creates a false sense of security when people treat it as a substitute for understanding what’s actually happening under the platen. Temperature, time, and pressure interact. A garment that’s slightly damp changes the effective heat delivery. A platen that reads 350°F at the center might be 335°F at the corners, which is exactly the kind of thing the paper slide test and infrared thermometer checks are designed to catch.
What separates operators who get consistent results from those who don’t is the habit of treating every session as a calibration opportunity. Document what worked. Note the blank brand, the transfer type, the ambient humidity if it’s a factor in your shop. That log becomes more valuable than any chart after a few months of production.
The lift-and-place motion is the one technique change that produces immediate, visible improvement for most people. It feels slower at first. It isn’t. Fixing a distorted garment or re-pressing a failed transfer takes far longer than the extra half-second it takes to lift cleanly.
Textile care professionals who work with heat-sensitive fabrics at scale, including those in the textile care sector, apply the same principle: match the process to the material, not the other way around.
The checklist is the map. Technique is the driving.
Transferkingz makes high-quality DTF transfers easy to apply
Getting the settings right is only half the equation. The transfer itself has to be worth pressing.
Transferkingz produces custom DTF transfers with premium inks and films that apply cleanly at 320–350°F on cotton and blends, with no minimum order and fast turnaround. Whether you’re running a single custom piece or a full production batch, the quality is consistent from the first transfer to the last.

The Transferkingz gang sheet builder lets you pack multiple designs onto one sheet, cutting material costs without sacrificing print quality. Application guidance is built into the ordering process, so you always have the right settings for the specific transfer you’re pressing. For shops in Texas, local DTF printing means faster shipping and easier reorders when a production run scales up.
0 comments