

A pressing pillow is a heat-resistant cushion you place inside or beneath a garment so the platen contacts your DTF transfer evenly, not just the raised edges around a pocket or zipper. Without one, hardware and seams act like tiny stilts, lifting the transfer area away from the platen and leaving you with patchy adhesion or blank rings around every button. The single most important habit: hang all bulk (hoods, straps, extra fabric) off the platen, center the pillow directly under the transfer zone, and then dial pressure down to compensate for the pillow’s give. Stahls’ guidance notes that when you add a flexible silicone application pad on top, you should add additional dwell time to your press cycle to maintain full transfer activation.
Pro Tip: Always prepress the garment with the pillow already in place for 5 seconds before laying down the transfer. This removes moisture and flattens the fabric exactly as it will sit during the real press.
Table of Contents
- What a pressing pillow is and when you actually need one
- How pressing pillows change effective pressure and what to adjust
- Exact placement: where to put the pillow for even DTF contact
- When to use a pillow vs. a silicone pad vs. a flexible application pad
- Step-by-step checklist: applying a DTF transfer with a pressing pillow
- How to test settings and fix common DTF problems
- Maintenance, safety, and when to replace your pressing pillow
- Key Takeaways
- Why small adjustments matter more than most decorators expect
- Your DTF transfers, ready to press
- Useful sources
What a pressing pillow is and when you actually need one
A pressing pillow has a heat-resistant foam core wrapped in a Teflon or nonstick cover. That combination survives hundreds of press cycles without compressing permanently or scorching. The Teflon shell also protects your platen from scratches caused by metal snaps or zipper pulls.
You need one any time the garment surface under your transfer isn’t flat:
- Hoodies and sweatshirts with thick front pockets or kangaroo pouches
- Button-front shirts where a placket runs through the design area
- Jeans and cargo pants with heavy seams or rivets
- Canvas tote bags where thick straps prevent the platen from sitting flush
- Baby onesies with metal snaps at the bottom
- Zip-up hoodies where the zipper cuts through the chest area
- Structured hats or caps with curved crowns
A folded towel or mouse pad might seem like a quick fix, but neither is designed for repeated heat cycles. They compress unevenly, retain moisture, and can scorch. A purpose-built pillow gives you consistent compression every time.
How pressing pillows change effective pressure and what to adjust
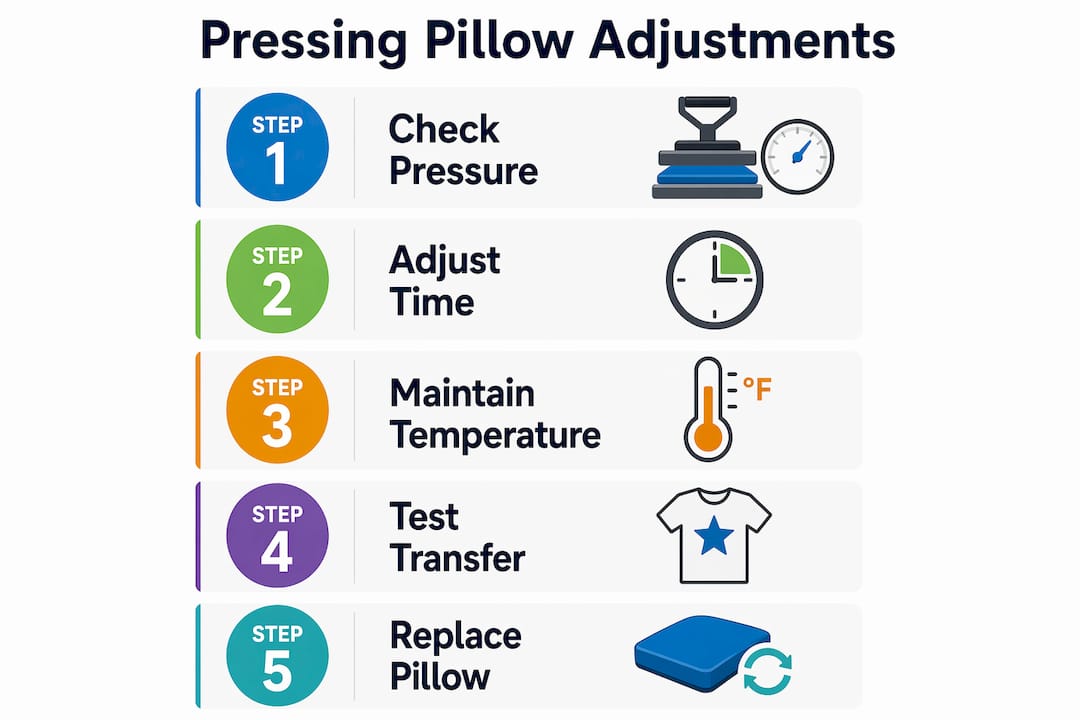
Here’s the physics: when you place a compressible layer under the garment, the platen closes against something that gives. Your press may not register the same resistance it would on a flat surface, which means the actual clamping force on the transfer drops unless you compensate.
The fix is straightforward. Turn the pressure knob toward minus until the platen closes fully against the pillow’s resistance. You want the press locked down with real contact, not floating above the design. On many hobby-grade clamshell presses, a visual gap of about 0.5 inches between platens when locked with a pillow inside is a reasonable starting reference, but verify this against your specific model.
Industry rule of thumb: When you add a flexible silicone application pad for thermal protection on top of a pressing pillow, increase dwell time by approximately 10 seconds to ensure the DTF adhesive fully activates through the added layer.
Temperature itself rarely needs changing when you introduce a pillow alone. Time and pressure are the two variables to watch. Always check your heat press temperature settings against the substrate first, then layer in the pillow adjustments.
Exact placement: where to put the pillow for even DTF contact
Getting placement right takes thirty seconds and prevents most adhesion failures. Follow this sequence:
- Slide the pillow inside the garment so it sits directly beneath the intended transfer area.
- Pull the garment onto the lower platen, centering the transfer zone over the pillow.
- Let hoods, pockets, and straps hang off the platen edges. Bulk on the platen creates tilt.
- Smooth the fabric over the pillow so there are no folds or creases under the design.
- Prepress for 5 seconds to remove moisture and lock the fabric in position.
- Place the DTF transfer, cover with a Teflon sheet if your ink system calls for it, and press.
For sizing, choose a pillow slightly larger than your transfer area so the edges of the design are fully supported. A 6×8-inch pillow handles most standard chest prints; a 4×4-inch works for left-chest logos and small pockets.
Placement rule: The pillow goes under the transfer area only. Bulk hangs off. A pillow that extends under a thick seam on one side will tilt the platen and create uneven pressure across the design.
On canvas totes, place the pillow on the lower platen first, then lay the tote flat over it with the strap hanging off each side. The bag lies flat, the strap sinks into the cushion, and the platen contacts the print area cleanly.
When to use a pillow vs. a silicone pad vs. a flexible application pad
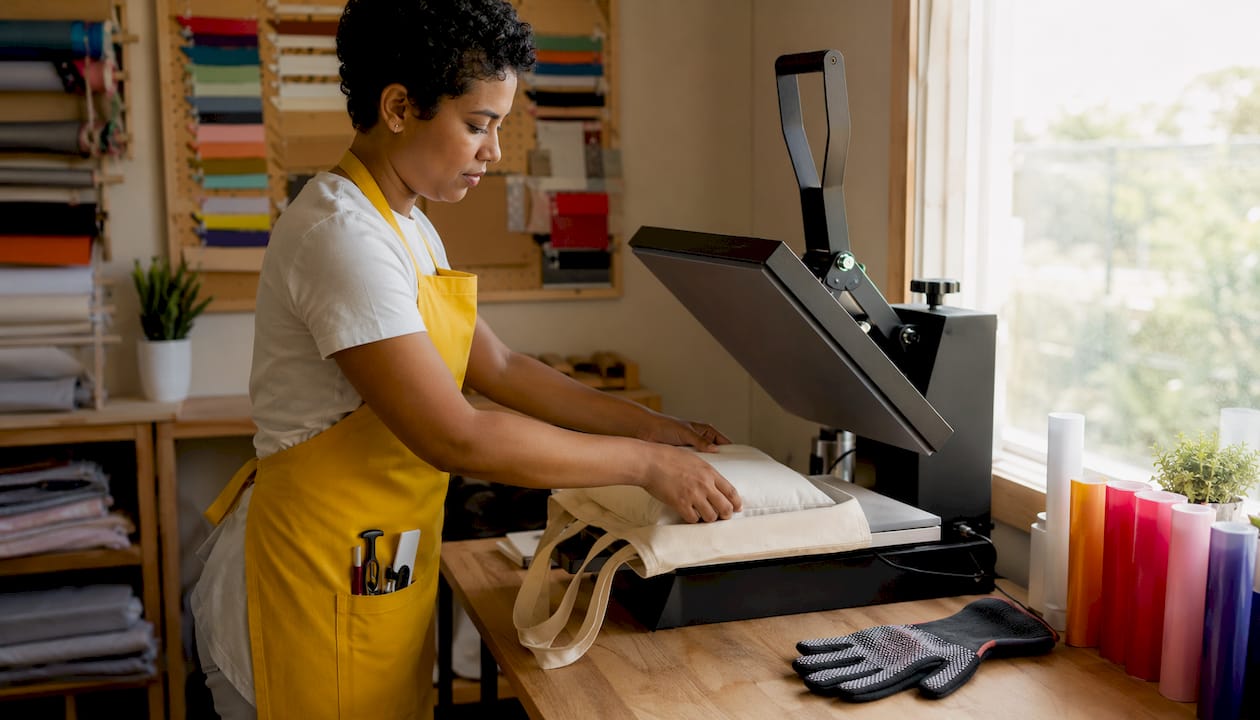
These three tools solve different problems, and the best production shops keep all three on hand rather than forcing one tool to do every job.
Pressing pillows are your go-to for contour relief: buttons, snaps, zippers, straps, and thick seams. The compressible core lets hardware sink in so the platen contacts the fabric around it.
Firm silicone rubber elevation pads work better when you need solid, consistent lift without compression. Think structured blanks, thick foam-backed items, or situations where a compressible pillow would give too much and let the platen rock.
Flexible application pads (sometimes called silicone application sheets) protect heat-sensitive fabrics like nylon or tri-blends from scorching. They sit between the Teflon sheet and the transfer, not beneath the garment.
Pro Tip: Combine a pressing pillow for leveling with a thin flexible application pad for thermal protection when working on polyester-heavy garments. Just remember to test first and add that extra dwell time.
Production shop standard: Keeping a small toolkit of pressing pillows, silicone elevation pads, and flexible application pads lets you adapt to any blank quickly, without guessing or improvising with towels.
The heat transfer printing process rewards preparation. A decorator who reaches for the right tool immediately presses faster and wastes fewer transfers than one who troubleshoots after a failed press.
Step-by-step checklist: applying a DTF transfer with a pressing pillow
- Preheat your press to the correct temperature for your fabric and DTF ink system.
- Insert the pillow inside the garment, centered under the transfer area.
- Load the garment onto the platen; hang all bulk off the edges.
- Prepress for 5–10 seconds to remove moisture and flatten the fabric.
- Adjust pressure toward minus to account for pillow compression; verify the platen closes with real resistance.
- Position the transfer face-down on the fabric; cover with a Teflon sheet if recommended.
- Press for the dwell time specified in your Transferkingz application guidelines.
- Peel according to the transfer spec (hot or cold peel as indicated).
- Record your settings on a test card: pillow size, fabric type, temperature, time, pressure, peel method.
That test card is what separates a one-off success from a repeatable production result. Check the beginner heat press checklist for a printable version of this workflow.
How to test settings and fix common DTF problems
Always run your first press on a scrap of the same fabric before committing to a finished garment. This is non-negotiable when you change pillow size, fabric weight, or add a new protective layer.
| Problem | Likely Cause | Fix |
|---|---|---|
| Poor adhesion / lifting edges | Insufficient time or pressure | Increase dwell time by 5 seconds; recheck pressure |
| Ghosting or design shift | Transfer moved during press | Secure transfer with heat-resistant tape; recheck positioning |
| Scorching or sheen change | Too much heat or no protection layer | Add a Teflon sheet or flexible application pad; reduce temperature |
| Blank rings around hardware | Pillow too small or miscentered | Use a larger pillow; recenter under transfer area |
| Uneven adhesion across design | Bulk on platen tilting the press | Hang all bulk off platen; recheck pillow placement |
Diagnostic tip: When contacting Transferkingz support about an adhesion issue, include a photo of your press setup, the transfer order ID, and your test card results. That information cuts troubleshooting time significantly.
Document every test. Record dwell time adjustments alongside pillow size and fabric type so you can reproduce a successful press on the next order without starting from scratch.
Maintenance, safety, and when to replace your pressing pillow
Pressing pillows are low-maintenance, but they do wear out and can contaminate transfers if neglected.
- After each session: Wipe the Teflon cover with a damp cloth once it cools. Avoid abrasive scrubbers that scratch the nonstick surface.
- Storage: Lay pillows flat in a cool, dry place. Storing them folded or under weight causes permanent compression set.
- Safety: Let pillows cool fully before handling. Never expose them to open flame or solvents.
- Inspect before use: Check for visible indentations, tears in the cover, or transfer residue that won’t wipe off. Any of these signals it’s time to replace.
- Cross-contamination: Keep separate pillows for light and dark garments if you notice ink residue transferring to fabric.
A pillow that has lost its even compression will tilt your platen just as badly as no pillow at all. Replace it before performance drops, not after a ruined order.
Key Takeaways
Pressing pillows solve the single biggest cause of uneven DTF adhesion: an obstructed platen that can’t contact the transfer area uniformly.
| Point | Details |
|---|---|
| Center the pillow under the transfer | Hang all bulk off the platen; the pillow supports only the design area. |
| Reduce pressure to compensate | Turn the knob toward minus so the platen closes with real resistance against the pillow. |
| Add ~10 seconds with application pads | When stacking a flexible thermal pad on top, increase dwell time to maintain adhesion. |
| Record every test on a card | Log pillow size, fabric, time, temperature, pressure, and peel method for repeatable results. |
| Transferkingz transfers are press-ready | Order DTF transfers sized to your design area and follow the included application guidelines for settings. |
Why small adjustments matter more than most decorators expect
The conventional wisdom treats pressing pillows as a niche accessory, something you grab only when a zipper gets in the way. That undersells them badly. Uneven pressure is the leading cause of DTF adhesion failures that decorators blame on the transfer itself, when the real problem is a platen that never made full contact with the design.
The test card habit is where most decorators leave money on the table. Recording settings takes ninety seconds. Reprinting a failed order takes hours and costs real money. Small shops that document their pillow size, pressure, and dwell time for each blank type stop repeating the same troubleshooting cycle on every new order.
Transferkingz application guidelines exist precisely because the transfer is only half the equation. The press setup, the pillow, the pressure adjustment, and the peel method all determine whether a great-looking transfer stays on after fifty washes or lifts at the edges after five.
Your DTF transfers, ready to press

Transferkingz prints production-ready custom DTF transfers sized to your design, with no minimum order and same-day local pickup available. Every order ships with application guidelines covering recommended time, temperature, pressure, and peel method for common substrates, so you’re not guessing at settings when you sit down at the press. If you’re applying transfers to a tricky blank or running a new fabric for the first time, the support team can walk you through the setup. Browse the full DTF transfer catalog and place your order when you’re ready.
Useful sources
- Heat Press Pillows and Pads: Essential Heat Press Accessories — Stahls’ guidance on tool selection, dwell time adjustments, and maintaining a decorator’s toolkit
- Tutorial: How to Use Pressing Pillows in Your Heat Press — Cutting for Business step-by-step on pressure adjustment, prepress, and test cards
- The ONE Tool Every Heat Press Owner Should Never Skip — Silhouette School practical notes on tote bags, bulk placement, and pillow positioning
- Heat Press Pillow Guide: Buttons and Zippers — Construction details, platen protection benefits, and use-case overview
- Heat Press Temperature Settings: A Practical Guide — Transferkingz reference for substrate-specific time and temperature settings
- Dwell Time in Heat Pressing: Get It Right Every Time — Transferkingz guide on modifying dwell time when using accessories like pillows and silicone pads
- Heat Press Application Basics — Core application steps and common setup mistakes from Transferkingz
0 comments