

Use 300 DPI at final print size for raster sticker artwork. That is the industry standard, and it holds whether you’re printing a single die-cut sticker or a full DTF gang sheet. Vector files don’t play by DPI rules at all since they scale infinitely without losing detail. A few exceptions exist for specialty processes and tiny, simple designs, which we’ll walk through below.
TL;DR:
- Files should be exported at 300 DPI with the actual pixel dimensions based on the final print size to ensure sharp, detailed stickers.
- Vector files are resolution-independent, but embedded raster images must meet the 300 DPI at true size standard for quality consistency.
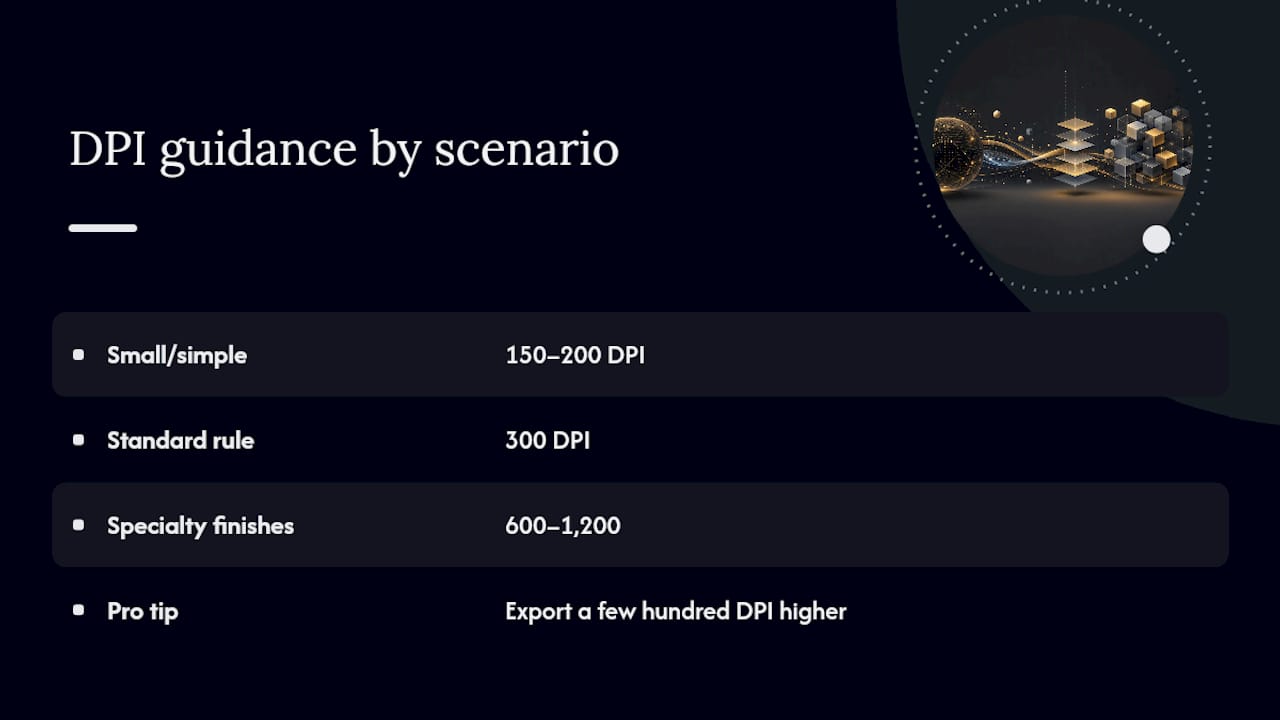
- Lower DPI can be acceptable for small, simple designs or certain DTF workflows where 150 to 200 DPI may suffice, especially for bold or minimal artwork.
- Always check pixel dimensions in Photoshop or Illustrator before exporting, and avoid enlarging low-resolution images to prevent blurriness or loss of detail.
- Proper file setup includes using CMYK color mode, adding safe margins, outlining fonts, and designing at final size to reduce printing errors and trims.
Table of Contents
- Why 300 DPI Is the Sticker Printing Quality Baseline
- How to Calculate Required Pixel Dimensions for a Sticker
- Raster vs. Vector: When DPI Actually Matters
- When You Can Break the 300 DPI Rule
- File-Setup Checklist for Print-Ready Sticker Files
- Checking and Changing DPI in Photoshop and Illustrator
- Sticker Size to Pixel Dimensions Cheat Sheet
- Transfer Kingz’s Take on Pixel Math and DTF Sharpness
- A Simple Workflow That Prevents Most Sticker Printing Mistakes
- Get Your Sticker Files Checked Before You Order
Why 300 DPI Is the Sticker Printing Quality Baseline
DPI (dots per inch) refers to a printer’s output resolution. PPI (pixels per inch) describes how many pixels your image actually contains at a given size. People use the terms interchangeably in casual conversation, but what actually determines sticker printing quality is PPI at final size, not the DPI label sitting in your file’s metadata.
Here’s the math that makes this concrete. A 3-inch by 3-inch sticker exported at 72 DPI, the standard web resolution, only has 216 pixels across. That same sticker at 300 DPI needs 900 pixels across. Print that 216 pixel image at 3 inches and you get soft edges, muddy text, and blurry gradients, because the printer is stretching a fraction of the pixel data across the same physical space.
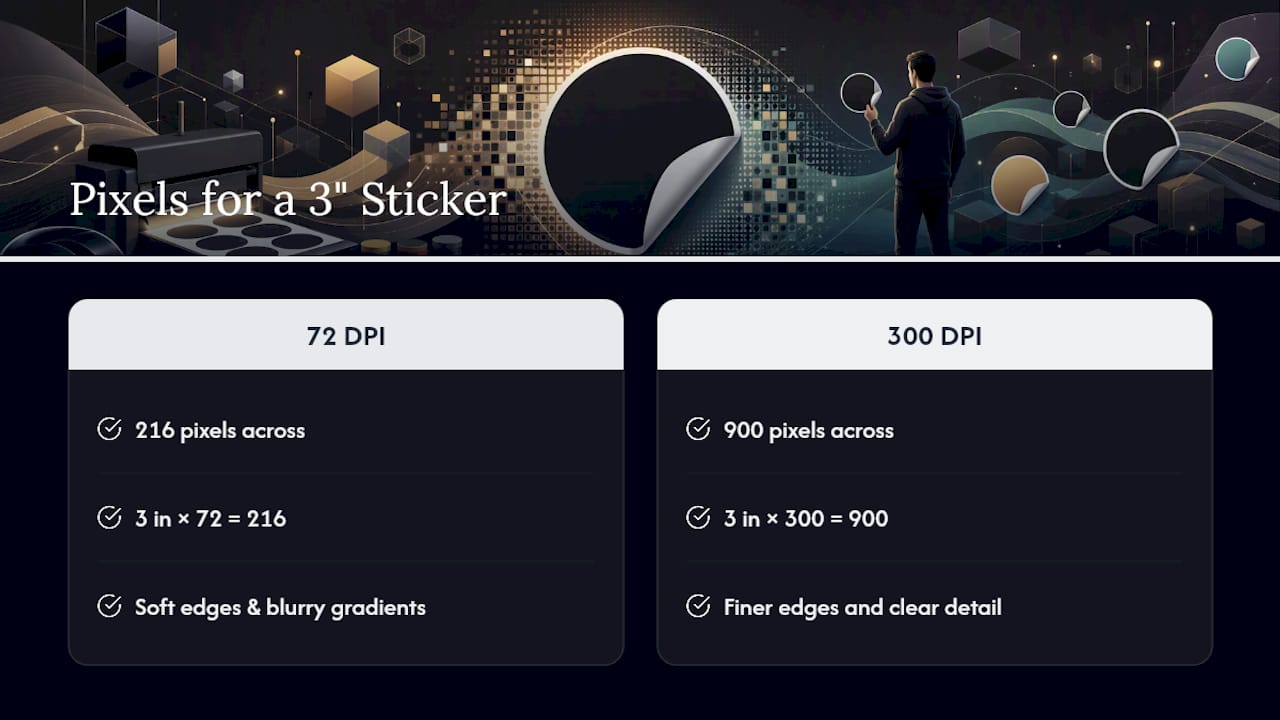
A statistic worth remembering: that 900 pixel figure isn’t arbitrary. It’s simply 3 inches multiplied by 300, and it’s the exact benchmark most print shops check before approving a file. Bumping the DPI number in your software’s metadata field afterward does nothing. It relabels pixels that don’t exist; it doesn’t create them.
How to Calculate Required Pixel Dimensions for a Sticker
The formula is simple: inches × target DPI = pixels needed, calculated separately for width and height.
- Measure your final print size in inches. A standard circle sticker might be 3 inches in diameter.
- Multiply each dimension by 300. A 3-inch by 3-inch sticker needs 900 × 900 pixels. A 4-inch by 4-inch sticker needs pixel dimensions calculated by multiplying each inch by the target DPI, typically several hundred pixels per side. A 2 inch by 3 inch rectangle needs 600 × 900 pixels.
- Reverse it when you already have an image. Divide your existing pixel count by 300 to find the maximum safe print size. A 1,500 × 1,500 pixel image can be safely printed at a size derived by dividing pixels by 300 DPI, which is around a few inches by a few inches. Push it larger and you’re guessing, not printing.
Keep a calculator open while you design. It takes ten seconds and it catches problems before they turn into a reprint.
Raster vs. Vector: When DPI Actually Matters
Vector files (AI, EPS, SVG, and vector PDF) store shapes as mathematical paths rather than fixed pixel grids. Scale a vector logo from a business card to a billboard and the edges stay crisp, because there’s no pixel count to run out of. DPI simply doesn’t apply to pure vector artwork.
The catch is that most “vector” files aren’t purely vector. Designers routinely embed a raster photo, a scanned texture, or a gradient bitmap inside an Illustrator file, and that embedded element still needs 300 DPI at final scale or it’ll look soft even inside an otherwise sharp vector composition.
A practical rule that covers most sticker jobs:
- Logos, wordmarks, and typography: build them in vector.
- Photos, painterly textures, and smooth gradients: raster, minimum 300 DPI at true size.
- Mixed files: check every embedded raster layer individually before export.
When You Can Break the 300 DPI Rule
Small, simple designs tolerate more flexibility than a photorealistic print. A very small, simple design like a half-inch die-cut logo with few colors can appear similar at somewhat lower DPI values compared to 300 DPI, because there’s so little detail for the eye to resolve in the first place. The rule bends further for certain DTF workflows, where pixel-math guidance shows 150 to 200 DPI can work for specific transfer setups depending on print size and design complexity.
On the other end, specialty finishes like fine-line engraving or high-detail foil sometimes call for 600 to 1,200 DPI source files, since the finishing process can reveal edge irregularities that standard printing hides.
Pro Tip: If you’re ordering DTF or UV DTF stickers with lots of small text or fine linework, export a few hundred DPI higher than you think you need. Sharpness on film transfers depends on both pixel density and how the design translates onto fabric or hard surfaces, so a little headroom protects you.
File-Setup Checklist for Print-Ready Sticker Files
Run through this before you upload anything to a print supplier:
- Color mode: Convert to CMYK before export, or confirm your printer’s preferred profile. RGB files often shift in color once they hit a printing press.
- File format: Vector PDF, AI, or EPS for logo-based work. High-quality TIFF or PNG for raster art. Avoid heavily compressed JPEGs, since compression artifacts get baked permanently into the print.
- Bleed and safety margin: Add a typical small safety and bleed margin around your final cut line, keeping critical elements safely inside the edge to avoid trimming issues. Sticker sheets in particular need this margin because multiple cut lines increase the risk of shifted trims.
- Scale and resolution: Design at 1:1, actual final size, and export at 300 DPI. Never design small and scale up in software.
- Line weights and fonts: Outline all fonts before export, and keep fine lines above roughly 0.25 point so they survive cutting.
Checking and Changing DPI in Photoshop and Illustrator
- In Photoshop: Go to Image > Image Size. Uncheck “Resample” first to see your file’s true pixel dimensions at any given DPI without Photoshop inventing new pixels. If the width and height are already correct at 300 DPI, you’re set. If not, you need to start from higher resolution source art, not stretch what you have.
- In Illustrator: Keep artwork vector wherever possible; there’s no DPI setting to manage. When you do export to raster (File > Export > Export As), set the resolution field to 300 PPI and choose “High (300 PPI)” if using the Export for Screens panel’s raster options.
- On upscaling tools: AI upscalers can smooth pixelation, but they invent detail rather than recover it, since simply enlarging a low-resolution image can’t restore missing information. Use them as a last resort, not a substitute for proper source resolution.
Sticker Size to Pixel Dimensions Cheat Sheet
Here’s what to target at standard and high-detail resolution for the sizes designers order most often:
These minimums match the pixel benchmarks print shops publish for standard order sizes. When you’re unsure which size you’ll land on, export larger than needed and build in bleed. It’s much easier to scale a file down than to manufacture pixels that were never there.
Transfer Kingz’s Take on Pixel Math and DTF Sharpness
DTF printing behaves a little differently than standard sticker stock, because ink sits on film before it transfers onto the final material. Transfer Kingz’s pixel-math guidance shows that certain DTF jobs hold up fine at 150 to 200 DPI rather than the full 300, particularly on bold, simple designs printed at smaller sizes. Fine detail and small text still benefit from pushing resolution higher.
For UV DTF products specifically, file prep matters even more since the finish and dimensional coating amplify whatever sharpness (or softness) is already in your source art. Before ordering, check the file setup guide for DTF prints and browse the UV DTF PermaStickers page to see resolution and finish expectations for that specific product line.
A Simple Workflow That Prevents Most Sticker Printing Mistakes
Build logos and type in vector first. For any raster element, work at 300 DPI at final size from the start, never scaled up after the fact.
The most common mistake isn’t ignorance of the 300 DPI rule. It’s designers pulling images straight from a website or a phone screenshot without checking actual pixel dimensions first. Check the pixel count before you check anything else.
— Anthony
Get Your Sticker Files Checked Before You Order
The print provider accepts both vector and high-resolution raster files, and the file-prep guidance in this article reflects the same standards used on real production orders, not a generic textbook rule. If you’re working with intricate linework, fine text, or detailed gradients, a guide on handling detailed print work walks through what the film can actually reproduce at your target size.

There’s no minimum order requirement, so you can test a single sticker sheet before committing to a bigger run. If your file doesn’t check out against the pixel math in this guide, or you’re not sure which resolution setting to use, visit the Print Point resource page and get your artwork reviewed before you place an order.
0 comments