

TL;DR:
- A craft heat press is a compact machine that controls heat, pressure, and time to bond transfer designs onto fabric. It offers consistent results for hobbyists and small businesses, outperforming irons but with less size and features than commercial presses. Proper use involves pre-pressing, precise temperature, pressure, and peel methods to achieve durable, professional-quality transfers.
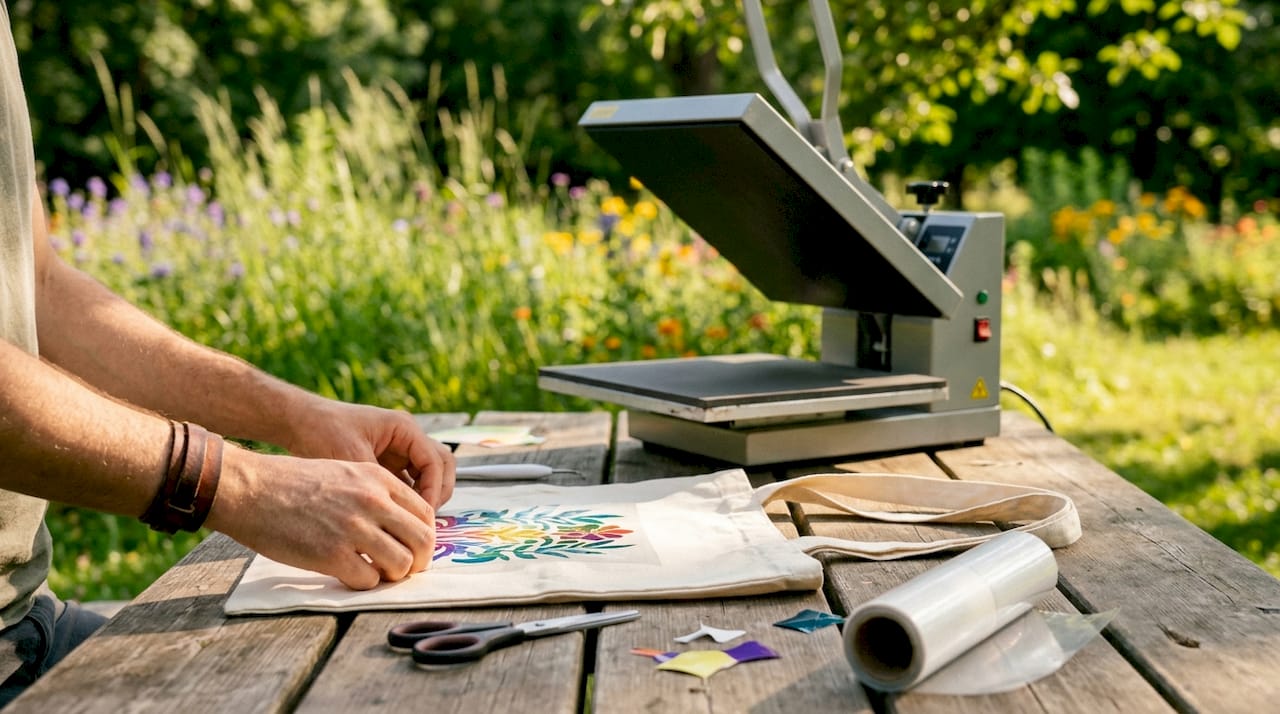
A craft heat press is defined as a compact machine that applies controlled heat, pressure, and time to bond transfer designs onto fabric and small items. Unlike a household iron, a heat press controls all three variables simultaneously, creating a molecular-level bond that holds through repeated washing. That consistency is what separates professional-looking results from the peeling, cracked designs most crafters have experienced with iron-on shortcuts. Whether you’re personalizing a tote bag, decorating a T-shirt, or building a small custom apparel business, understanding what a craft heat press does is the first step toward getting it right.
What is a craft heat press and what can it do?
A craft heat press is the smaller, hobbyist-friendly version of the industrial heat press machines used in commercial garment decoration. The industry term for the broader category is “heat transfer press,” and craft models sit at the entry level of that spectrum. They are built for home studios, small workshops, and anyone producing custom items in low to moderate quantities.
The defining feature is the platen, the flat heated surface that contacts your material. Craft presses typically feature a 9" x 12" platen, which comfortably fits a standard adult T-shirt front, a youth shirt, or a tote bag panel. That size is large enough for most hobby projects but small enough to sit on a kitchen table or craft desk without dominating the space.
Craft heat presses work with three main transfer types:
- Heat Transfer Vinyl (HTV): Cut vinyl designs pressed at 305–320°F for 10–15 seconds onto cotton, polyester, or blended fabrics.
- Sublimation transfers: Dye-based prints pressed at 385–400°F for 45–60 seconds, requiring polyester-coated materials for the ink to bond correctly.
- Direct-to-Film (DTF) transfers: Full-color printed films applied to virtually any fabric type, including cotton, without special coating requirements.
Common projects include custom T-shirts, hoodies, tote bags, hats (with a cap attachment), pillow covers, and iron-on patches. The range is wide enough to support both personal gifting and small-batch product sales.
Pro Tip: Start with HTV on a 100% cotton T-shirt. Cotton is forgiving, HTV is beginner-friendly, and the settings are straightforward. Once you nail that combination, expanding to DTF or sublimation is a natural next step.
How does a craft heat press differ from commercial machines?
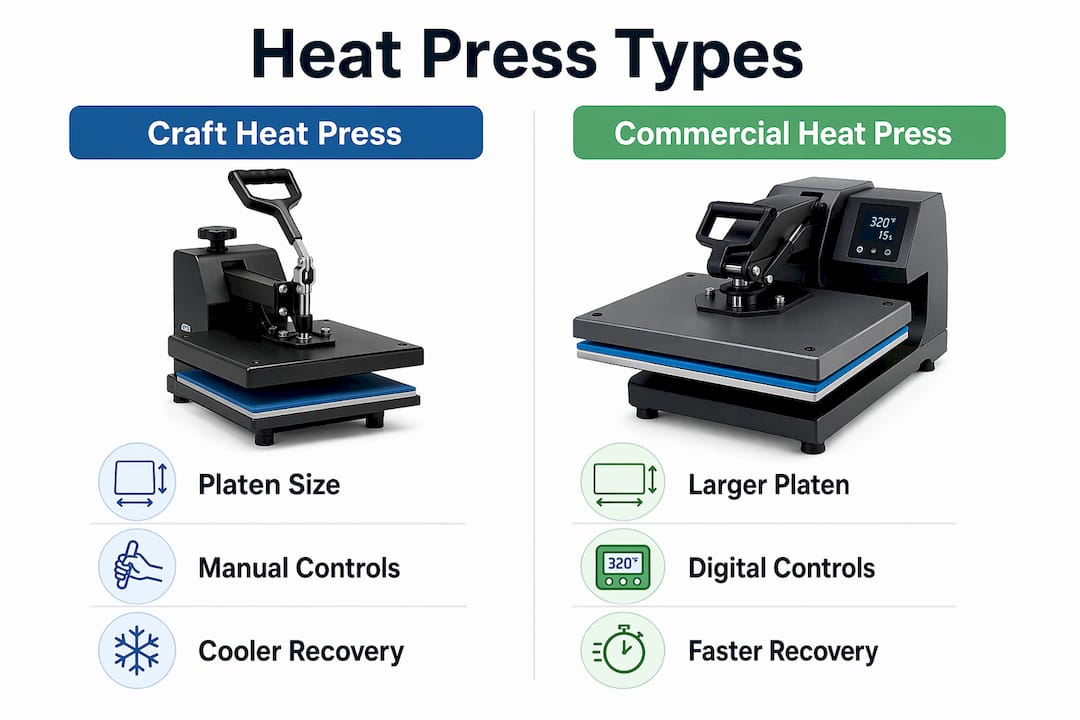
The gap between a craft press and a commercial heat press is not just about price. It reflects fundamentally different production goals.
| Feature | Craft heat press | Commercial heat press |
|---|---|---|
| Platen size | 9" x 12" (typical) | 15" x 15" to 16" x 20" and larger |
| Footprint | Compact, desk-friendly | Large, floor-standing or heavy bench units |
| Pressure control | Manual knob adjustment | Digital or pneumatic precision control |
| Production volume | Low to moderate (hobby to small batch) | High-volume continuous production |
| Price range | Entry-level to mid-range | Mid-range to industrial pricing |
| Best suited for | Hobbyists, small businesses | Print shops, large-scale decorators |
The pressure and temperature controls on craft presses are functional but manual. You turn a knob to increase or decrease pressure and set a digital timer and temperature dial. Commercial machines often use pneumatic (air-powered) pressure systems that deliver perfectly even force across the entire platen every single time. That matters less when you’re pressing ten shirts a week. It matters a great deal when you’re pressing five hundred.
Craft presses also run cooler in terms of recovery time. After a press cycle, a commercial machine returns to target temperature almost instantly. A craft press may take a few extra seconds between cycles. For a hobbyist, that pause is irrelevant. For a production shop, it’s a bottleneck.
The practical takeaway: a craft heat press is ideal for anyone producing custom items for personal use, gifts, local markets, or small online orders. The moment you’re pressing dozens of garments daily, a larger commercial unit becomes worth the investment.
How do you use a craft heat press step by step?
Using a craft heat press correctly follows a clear sequence. Skipping any step, especially the pre-press, is the most common reason beginners get bubbling, poor adhesion, or uneven transfers.
-
Power on and set parameters. Turn on the machine and dial in your temperature and time based on your transfer type. HTV presses at 305–320°F for 10–15 seconds; sublimation requires 385–400°F for 45–60 seconds. DTF transfers typically fall in the 300–320°F range for 10–15 seconds. Always check the specific instructions that come with your transfer material.
-
Pre-press the fabric. Place your blank garment on the lower platen and close the press for 3–5 seconds with no transfer in place. This step removes moisture and pre-stretches the fabric, which prevents bubbling and adhesive failure during the actual press. Most beginners skip this. Most beginners also wonder why their transfers bubble.
-
Align your design. Position your transfer exactly where you want it on the garment. Use a ruler or T-shirt alignment tool for consistency across multiple pieces. Lay a protective sheet (parchment paper or a Teflon sheet) over the transfer to protect both the design and the platen.
-
Set the pressure. Close the press and check the resistance. The handle should require moderate effort to close fully. Too loose and the transfer won’t bond evenly. Too tight and you risk scorching the fabric or crushing the design texture.
-
Apply heat for the full duration. Close the press and let the timer run. Do not lift the platen early. The full dwell time is what creates a complete bond between the transfer adhesive and the fabric fibers.
-
Peel correctly. This step depends entirely on your transfer type. HTV is typically a hot peel, meaning you pull the carrier sheet away immediately after pressing while the material is still warm. DTF transfers are usually a cold peel, meaning you wait until the transfer cools completely before removing the film. Peeling at the wrong temperature is one of the top causes of design damage.
Pro Tip: Always do a test press on a scrap piece of the same fabric before pressing your final item. Manufacturer settings are starting points, not guarantees. Humidity, fabric thickness, and even altitude can shift the ideal settings slightly.
Heat press varieties also affect workflow. Clamshell models open like a jaw and are the most compact and affordable option. Swing-away models pivot the top platen to the side, giving you full access to the lower platen for precise alignment without the risk of burning your hand. Most beginners start with a clamshell for the price and footprint, then upgrade to swing-away as their volume grows.
What practical tips improve your craft heat press results?
Consistent results come from consistent habits. These practices separate crafters who get professional-looking output from those who waste transfers and blank garments.
- Lint roll every blank before pressing. Debris bonded into a design creates permanent bumps and texture defects. A quick pass with a lint roller takes five seconds and prevents ruined transfers.
- Always use a protective sheet. A Teflon sheet or parchment paper between the platen and your transfer protects both surfaces. Teflon sheets are reusable and distribute heat more evenly than parchment.
- Adjust pressure for material thickness. A thin polyester shirt needs less pressure than a thick hoodie or a layered garment with a pocket. Adjust the pressure knob between projects, not just between transfer types.
- Test on scrap fabric first. Especially when switching to a new transfer brand, fabric type, or ambient condition. A scrap test costs almost nothing. A ruined finished garment costs time, material, and frustration.
- Handle the peel slowly and evenly. Pull the carrier sheet back at a low angle, not straight up. A slow, steady peel at roughly 45 degrees reduces the risk of lifting the design edges.
- Check your DTF vs. sublimation compatibility before ordering transfers. Sublimation only works on polyester or polymer-coated substrates. DTF works on almost any fabric. Ordering the wrong transfer type for your fabric is an expensive and avoidable mistake.
Keeping a simple log of your settings for each material and transfer combination also pays off quickly. After a few sessions, you’ll have a personal reference sheet that eliminates guesswork on every project.
Key Takeaways
A craft heat press produces professional-quality transfers by applying precise heat, pressure, and time, making it the most reliable tool for DIY apparel customization.
| Point | Details |
|---|---|
| Core definition | A craft heat press bonds transfers to fabric using controlled heat, pressure, and time simultaneously. |
| Platen size matters | A 9" x 12" platen suits most hobby and small-batch projects without requiring large workspace. |
| Pre-press is non-negotiable | Closing the empty press for 3–5 seconds removes moisture and prevents bubbling or adhesive failure. |
| Peel method depends on transfer type | HTV uses a hot peel; DTF transfers require a cold peel after the material cools completely. |
| Test before you press | Scrap fabric tests account for humidity, fabric thickness, and transfer brand variables that affect bond quality. |
Why craft heat presses changed how I think about DIY
The first time I used a craft heat press instead of an iron, the difference was immediate and almost embarrassing. I had spent months blaming my designs for peeling edges and uneven color. The press fixed all of it in the first session. The iron was never the right tool. It was just the most available one.
What I’ve come to appreciate most is the repeatability. When you nail a setting combination for a specific fabric and transfer type, you can reproduce that result fifty times without thinking about it. That consistency is what makes a craft press a genuine business tool, not just a hobby gadget. I’ve seen crafters go from pressing custom gifts for friends to running a profitable Etsy shop, all using a compact 9" x 12" press on a folding table.
The balance between size, cost, and capability in a craft press is genuinely well-suited to the way most small creators actually work. You don’t need a pneumatic commercial press to make beautiful, durable custom apparel. You need the right transfer material, the right settings, and the discipline to pre-press and test. The machine itself is almost secondary once you understand the process.
My advice: don’t wait until you have a “real” setup to start. A craft press, a good heat press application guide, and quality transfers are enough to produce work you’d be proud to sell.
— Anthony
Ready to press with transfers that actually perform?
The craft heat press gives you the machine. Transferkingz gives you the transfers worth pressing.

Transferkingz specializes in premium custom DTF transfers printed with vibrant inks on high-quality film, designed to bond cleanly with any craft heat press setup. There are no minimum order requirements, so you can order exactly what your project needs. Whether you’re pressing one shirt or a hundred, Transferkingz delivers fast turnaround and print quality that holds up through repeated washing. Upload your design, choose your size, and have professional transfers ready to press in days.
FAQ
What is the standard platen size for a craft heat press?
Most craft heat presses feature a 9" x 12" platen. That size fits a standard adult T-shirt front and most small-batch hobby projects comfortably.
Can a craft heat press work with DTF transfers?
Yes. DTF transfers work on virtually any fabric type and apply cleanly with a craft heat press at 300–320°F for 10–15 seconds, making them one of the most versatile options for crafters.
What is the difference between a hot peel and a cold peel?
A hot peel means removing the carrier sheet immediately after pressing while the material is still warm, used with most HTV. A cold peel means waiting until the transfer cools completely before removing the film, required for most DTF transfers.
Why does pre-pressing matter before applying a transfer?
Pre-pressing removes moisture from the fabric and pre-stretches the fibers. Skipping it causes bubbling and adhesive failure during the main press cycle.
Is a craft heat press better than an iron for transfers?
A craft heat press controls heat, pressure, and time simultaneously, producing consistent, repeatable bonds. An iron applies heat only and cannot maintain even pressure, which leads to peeling edges and uneven adhesion.
0 comments