

Cricut machines cut Heat Transfer Vinyl into shapes you weed by hand, then press onto fabric. DTF printing produces full-color, ready-to-press film transfers with no cutting or weeding required. If your designs are simple and your volume is low, Cricut HTV works fine. If you’re running a small apparel business, handling complex artwork, or pressing more than a few dozen shirts a month, DTF printing advantages become hard to ignore.
Here’s the core comparison at a glance:
- Color and detail complexity: Cricut HTV handles one or two colors cleanly; DTF supports full-color photos, gradients, and fine detail with no extra effort
- Labor intensity: HTV requires cutting, weeding, and layering; DTF transfers press directly with no prep beyond positioning
- Material compatibility: HTV works best on cotton and polyester; DTF bonds to almost any fabric including blends, nylon, and dark garments
- Cost per transfer: HTV costs less per sheet upfront but carries hidden labor time; DTF has a clear per-sheet cost that scales predictably
- Application complexity: HTV involves multiple steps and layers; DTF is place, press, peel
Table of Contents
- What is Cricut DTF and how it differs from traditional Cricut HTV
- How the DTF printing process actually works
- Price and labor comparison between Cricut transfers and DTF printing
- How to apply Cricut DTF transfers step by step
- Pros and cons of Cricut vinyl versus DTF printing
- Why small US businesses are shifting toward DTF printing
- Transferkingz makes DTF transfers simple for your business
- Key Takeaways
What is Cricut DTF and how it differs from traditional Cricut HTV
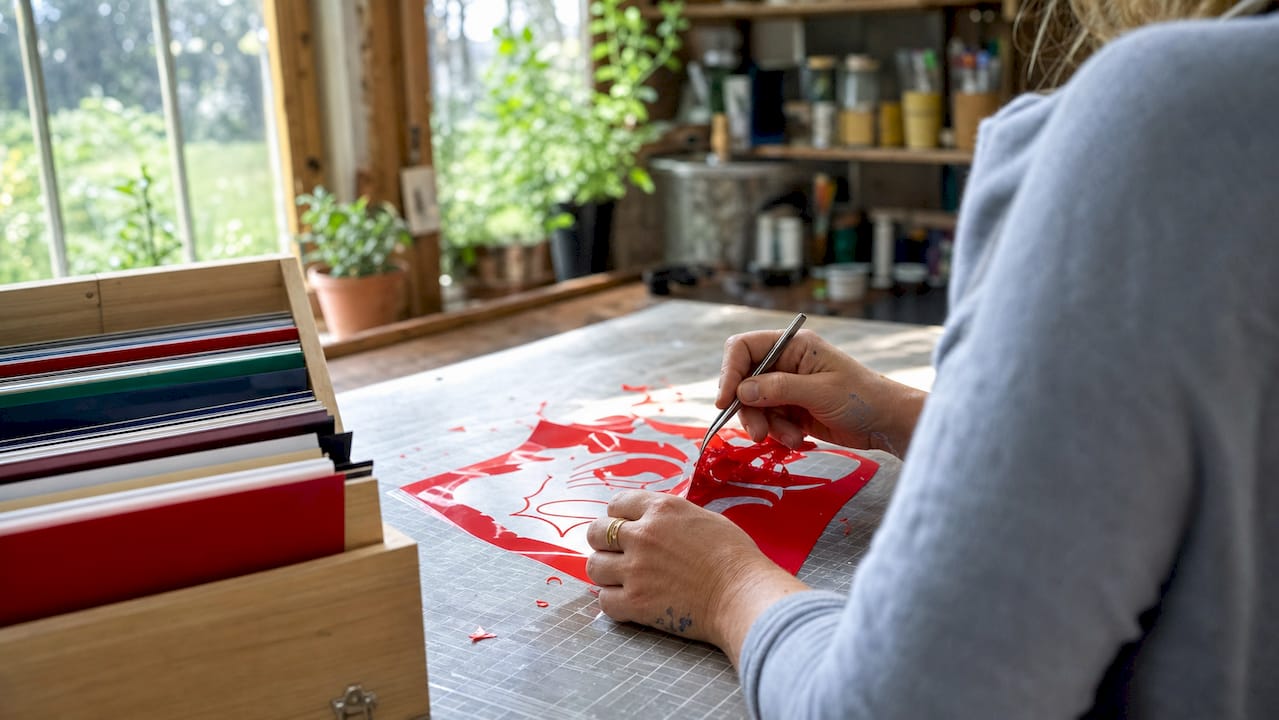
Most people know Cricut as a vinyl cutter. You load a sheet of Heat Transfer Vinyl, send your design to the machine, and it cuts the shape. Then you weed out the negative space by hand, layer colors one at a time, and heat press each layer onto the garment. It works well for text, logos, and simple graphics. The limitation shows up fast when your design has more than two colors or fine detail.
Cricut’s standard HTV process, step by step:
- Design your artwork in Cricut Design Space
- Load HTV into the Cricut machine and cut
- Weed away the excess vinyl manually
- Position the transfer on the garment
- Heat press at the recommended temperature and time
- Peel the carrier sheet and repeat for each color layer
Cricut DTF transfers are a different animal. Rather than cutting vinyl, you apply a pre-printed adhesive film transfer to the garment. Cricut DTF transfers combine the Cricut ecosystem’s design tools with printed film transfers, but the actual DTF printing happens on specialized equipment, not the Cricut cutter itself. The Cricut machine can cut the transfer to shape, but the full-color print comes from a DTF printer.
Key differences worth knowing:
- Weeding: Required for HTV, completely eliminated with DTF transfers
- Color layers: HTV needs a separate press per color; DTF delivers all colors in one press
- Design complexity: HTV suits simple designs; DTF handles photographic detail without extra labor
- Material range: HTV has limitations on stretch fabrics; DTF adheres to nearly any textile
How the DTF printing process actually works
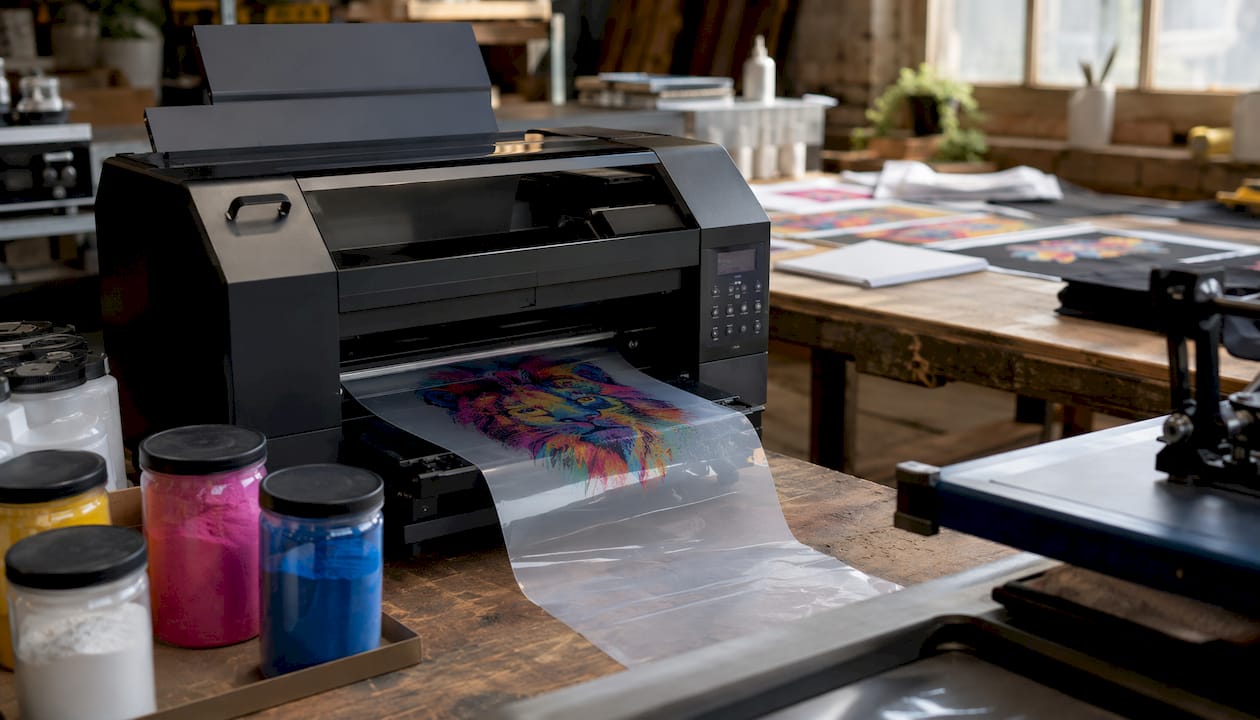
DTF printing is a digital garment decoration process that prints a design onto a PET film using a white ink underbase, coats it with hot-melt adhesive powder, cures it, and produces a press-ready transfer. No pre-treatment of the fabric is needed. No screens. No weeding.
The process breaks down like this:
- A DTF printer lays color ink onto the PET film first, then prints a white underbase layer on top to keep colors opaque on dark fabrics
- While the ink is still wet, hot-melt adhesive powder is applied and sticks only to the inked areas
- The film passes through a curing oven that melts the powder into a smooth, even adhesive layer
- The finished transfer is pressed onto fabric with a heat press, then peeled while warm
| Step | What Happens | Equipment Needed |
|---|---|---|
| Full-color design + white underbase printed on PET film | DTF printer | |
| Powder | Hot-melt adhesive powder applied to wet ink | Powder shaker or manual application |
| Cure | Powder melted into smooth adhesive layer | Curing oven or heat tunnel |
| Press | Transfer bonded to fabric with heat and pressure | Heat press |
| Peel | Film removed, design stays on garment | None |
The result is a transfer that lasts through many washes without cracking, feels softer than traditional vinyl, and works on cotton, polyester, blends, and even nylon. That fabric versatility is one of the biggest practical advantages over HTV.
Price and labor comparison between Cricut transfers and DTF printing
The upfront cost of a Cricut machine runs from roughly $200 to $400 depending on the model. HTV sheets are inexpensive per roll. On paper, it looks like the budget option. The real cost is time.
Weeding HTV is a significant hidden labor cost. A complex design with fine text or multiple colors can take 15–30 minutes to weed for a single shirt. At any reasonable hourly rate, that labor erases the material savings quickly. DTF transfers eliminate that step entirely: the work is already done before the transfer reaches your hands.
| Metric | Cricut HTV | DTF Transfers |
|---|---|---|
| Equipment cost | $200–$400 (Cricut machine) | $0 if ordering ready-to-press; $5,000–$20,000 to own a DTF printer |
| Material cost per shirt | Low per sheet | Clear per-sheet pricing, scales predictably |
| Weeding time | 5–30 min per design | None |
| Colors per press | One layer at a time | All colors in one press |
| Best volume | Under 50 shirts/month | 50+ shirts/month |
| Design complexity | Simple, 1–2 colors | Full color, photos, gradients |
For small runs of simple designs, HTV is genuinely cost-effective. But at volumes above 50 shirts per month, the manual labor of weeding becomes cost-prohibitive. DTF reduces production time dramatically because pressing time stays roughly the same regardless of how complex the artwork is.
The hidden math: Weeding HTV takes much longer per design compared to DTF preparation time, so at moderate monthly volumes, DTF can save many hours of labor.
How to apply Cricut DTF transfers step by step
Applying a Cricut DTF transfer is straightforward, but getting the temperature and peel timing right makes the difference between a clean result and a peeling edge.
What you need before you start:
- Pre-pressed garment (remove moisture and wrinkles)
- Heat press set to the correct temperature (typically 300–320°F)
- Firm, even pressure setting
- DTF transfer sheet, trimmed to size
Application steps:
- Pre-press the garment for 3–5 seconds to remove moisture and flatten the surface
- Position the DTF transfer face-down on the garment in the desired location
- Cover with a Teflon sheet or parchment paper to protect the transfer
- Press at 300–320°F for 10–15 seconds with firm, even pressure
- Peel the carrier film while still warm (hot peel) for most DTF transfers; check the supplier’s instructions since some require a cold peel
- If edges lift slightly, re-press for 5 seconds with a cover sheet
- Allow the garment to cool fully before folding or stacking
Key tips for best results:
- Always pre-press. Moisture in the fabric is the most common cause of adhesion failures
- Use consistent pressure across the entire transfer area; uneven pressure creates weak spots
- Check your specific transfer’s peel instructions. Hot peel and cold peel transfers behave differently
- Wash the finished garment inside-out in cold water to extend print life
For a deeper look at the full DTF printing workflow, the process from design file to finished garment follows a consistent set of steps worth understanding before you scale.
Pros and cons of Cricut vinyl versus DTF printing
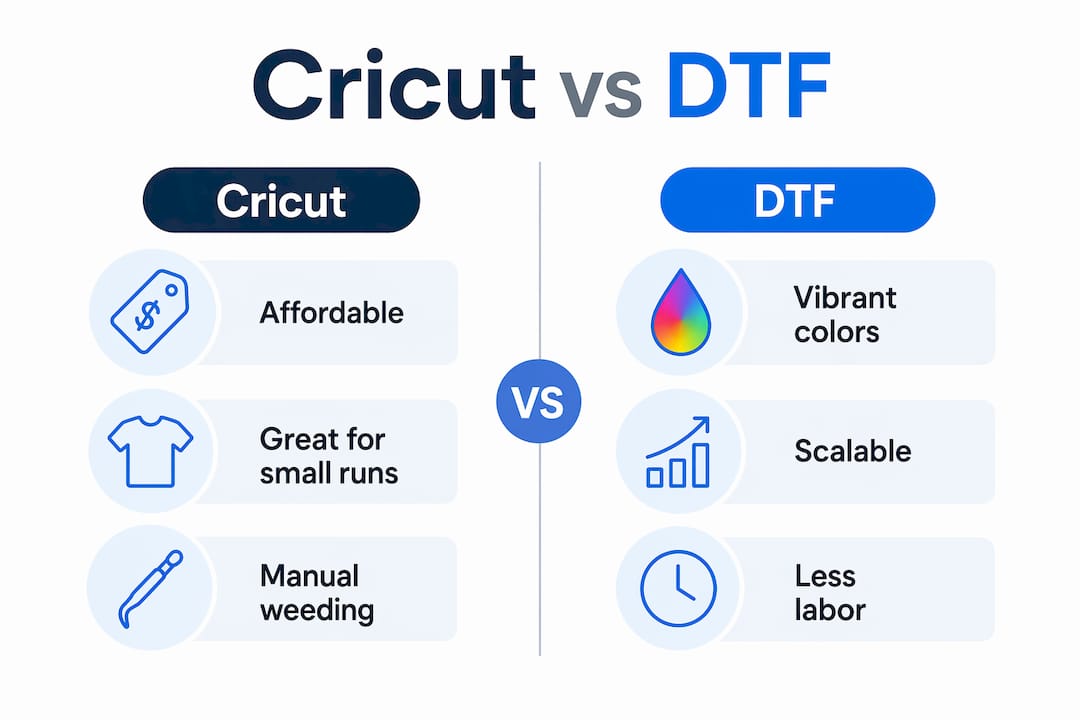
Neither method is universally better. The right choice depends on your volume, design style, and how much production time you can absorb.
Cricut HTV advantages:
- Low barrier to entry with affordable equipment
- Specialty finishes like glitter, flock, and metallic vinyl effects that DTF cannot replicate with the same texture
- Good for simple personalization and one-off custom names or numbers
- No printer maintenance required
Cricut HTV disadvantages:
- Weeding is time-consuming and scales poorly with volume
- Limited to simple, low-color designs for practical production
- Multiple press steps for multi-color artwork
- Vinyl sits on top of fabric and can feel stiff, especially on thicker materials
DTF printing advantages:
- Full-color, photographic-quality designs in a single press
- No weeding, no layering, no pre-treatment of fabric
- Works on virtually any fabric type and color, including dark garments
- Durable, flexible prints that hold up through repeated washing without cracking
- Faster production per shirt at any design complexity
DTF printing disadvantages:
- Owning a DTF printer requires a significant upfront investment and ongoing maintenance
- White ink settles and clogs printheads if the machine sits unused, leading to costly repairs
- No specialty texture finishes like glitter or flock
The texture finish point is worth noting for niche markets. If your brand sells glitter or metallic designs as a signature look, HTV gives you something DTF genuinely cannot match. For everything else at production scale, DTF wins on efficiency.
Why small US businesses are shifting toward DTF printing
The shift is about labor math. As order volume grows, weeding vinyl stops being a minor inconvenience and becomes the bottleneck that limits how much a small shop can produce. As order volumes increase, the manual labor of weeding vinyl becomes cost-prohibitive, making DTF the preferred method for scalability.
DTF also removes the design complexity ceiling. A shop running HTV has to simplify artwork to keep production manageable. A shop using DTF transfers can offer full-color, photo-realistic designs without adding a single extra minute of production per shirt. That opens up more product options, higher price points, and broader customer appeal.
The equipment investment question is where most small business owners land on ordering ready-to-press transfers rather than buying a printer. Owning a DTF printer requires technical skill and regular maintenance, and equipment costs run $5,000–$20,000 before you print a single shirt. Ordering professional transfers sidesteps all of that while still delivering consistent color vibrancy and wash durability.
Benefits small businesses gain by switching to DTF transfers:
- Faster turnaround per order without adding staff
- Ability to offer complex, full-color designs without extra labor
- Predictable per-transfer costs that are easy to price into margins
- No printer maintenance or white ink clog risk
Pro Tip: If you’re not ready to invest in a DTF printer, ordering ready-to-press transfers from a supplier like Transferkingz gives you professional DTF quality without the equipment overhead. You handle the pressing; they handle the printing.
For apparel sellers looking to understand how custom DTF transfers fit into a broader product strategy, the economics become clear quickly once you factor in labor savings at moderate volumes. And if you’re curious about selling apparel in niche markets, understanding how to price and position printed tees can sharpen your margin strategy regardless of which method you use.
Transferkingz makes DTF transfers simple for your business
Skip the printer investment and the maintenance headaches. Transferkingz prints professional-grade DTF transfers and ships them ready to press, so your job is placing and pressing, not troubleshooting equipment.

Every order at Transferkingz comes with no minimum quantity requirement, meaning you can order a single transfer or a full gang sheet depending on what your production run needs. Designs come out with vibrant, full-color accuracy and hold up through repeated washes. Same-day local pickup is available in Dallas, and nationwide shipping gets transfers to your door fast. Whether you’re a hobbyist testing a new design or a shop pressing hundreds of shirts a week, the process is the same: upload your artwork, configure your sheet, and press when it arrives.
Order custom DTF transfers from Transferkingz and start pressing professional-quality apparel without the equipment overhead.
Key Takeaways
DTF printing outperforms Cricut HTV on color complexity, labor efficiency, and scalability, making it the stronger choice for small businesses producing more than a handful of shirts per month.
| Point | Details |
|---|---|
| Cricut HTV best use | Simple 1–2 color designs, low volume, specialty texture finishes like glitter or metallic vinyl |
| DTF printing advantage | Full-color designs press in one step with no weeding, cutting, or layering required |
| Labor cost reality | Weeding HTV at volume becomes a production bottleneck; DTF eliminates that step entirely |
| Durability edge | DTF transfers last 50+ washes without cracking, outperforming traditional vinyl on longevity |
| Transferkingz option | Order ready-to-press DTF transfers with no minimums, fast shipping, and no printer investment needed |
0 comments