
Struggling with DTF transfers that peel, fade, or fail to adhere properly? You’re not alone. Many small clothing business owners and hobbyist printers face frustrating quality issues that waste materials and time. The good news is that most DTF transfer problems stem from a handful of fixable causes. This comprehensive guide walks you through proven troubleshooting steps to diagnose and solve common issues in 2026. You’ll learn how to prepare your equipment, execute transfers correctly, and verify results for consistently flawless prints that meet professional standards.
Table of Contents
- Understanding Common DTF Transfer Problems And Causes
- Preparing Your Materials And Equipment To Avoid Transfer Issues
- Step-By-Step Troubleshooting Process To Fix DTF Transfer Issues
- Verifying Your DTF Transfer Quality And Maintaining Consistent Results
- Enhance Your DTF Printing With Transfer Kingz Solutions
- Frequently Asked Questions About Troubleshooting DTF Transfer Issues
Key takeaways
| Point | Details |
|---|---|
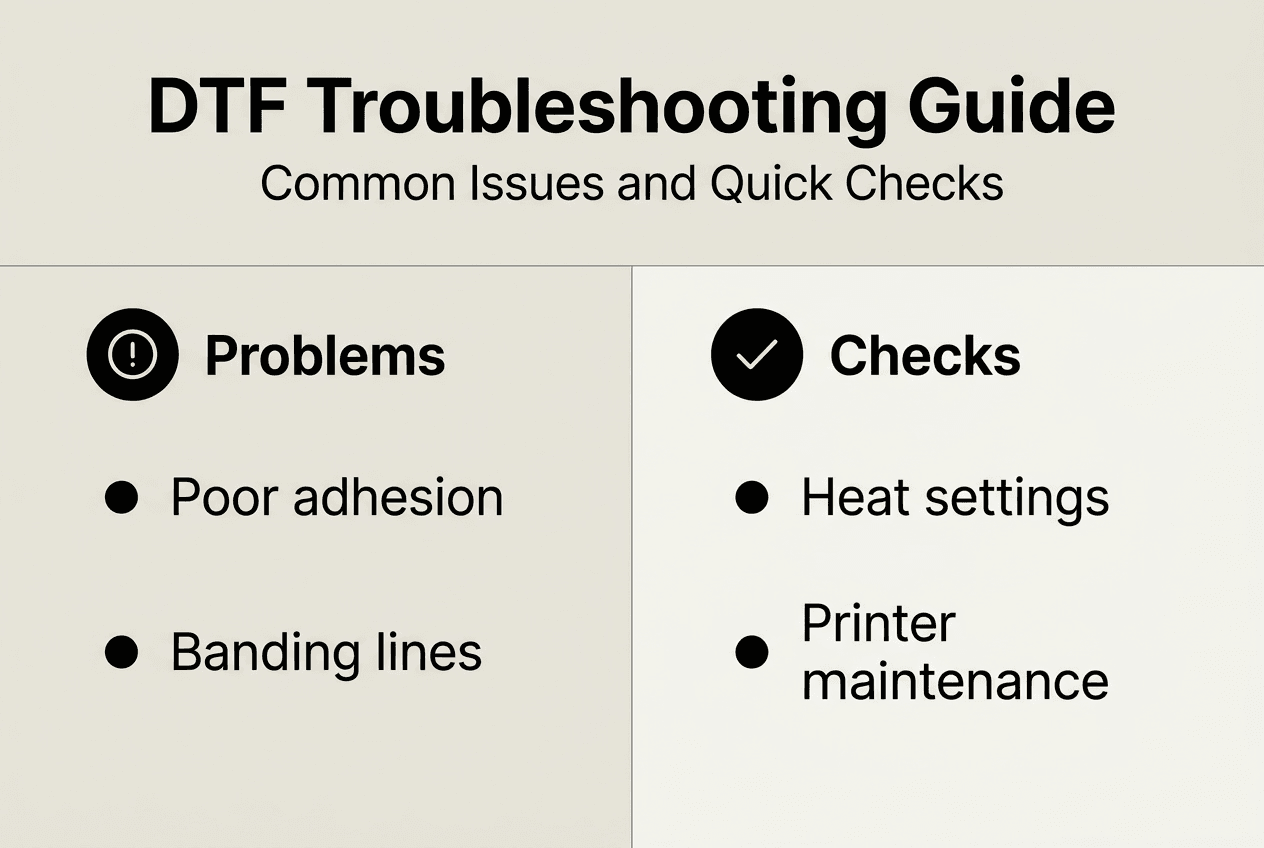
| Poor adhesion often results from incorrect heat press settings or substrate issues | Adjusting temperature, pressure, and time can resolve most adhesion failures |
| Proper printer maintenance and transfer setup are crucial to prevent print defects | Regular cleaning and calibration eliminate many common quality problems |
| Identifying common mistakes early saves time and improves print consistency | Systematic troubleshooting helps you catch issues before wasting materials |
| Using high-quality transfer materials enhances durability and appearance | Premium films and powders deliver superior results and customer satisfaction |
| Following a consistent workflow from printing to pressing ensures optimal results | Standardized processes reduce variability and improve production efficiency |
Understanding common DTF transfer problems and causes
Before you can fix DTF transfer issues, you need to recognize what’s going wrong and why. Typical DTF printing issues include adhesion failure, color inconsistencies, and peeling, all of which frustrate even experienced printers. These problems don’t appear randomly. They follow predictable patterns tied to specific workflow breakdowns.
Adhesion failure is the most common complaint. Your transfer looks perfect coming off the printer, but after heat pressing it lifts away from the fabric or washes off after a few cycles. This typically happens when heat press temperature is too low, pressure is insufficient, or pressing time is too short. Substrate compatibility matters too. Some synthetic blends require different settings than 100% cotton.
Color fading and inconsistency signal different root causes. If your vibrant design comes out dull or patchy, you’re likely dealing with clogged printer nozzles, incorrect ink settings, or degraded transfer film. Uneven powder application also creates color variations because the adhesive layer doesn’t bond uniformly.
Peeling and cracking usually develop after the initial press. These issues point to incomplete curing of the adhesive powder, incompatible fabric preparation, or excessive heat that degrades the film. Texture problems like rough or sticky surfaces indicate powder overload or inadequate melting during the pressing phase.
Understanding the relationship between symptoms and causes is essential. Each defect tells a story about where your workflow broke down, and fixing it requires addressing the root cause rather than just the visible symptom.
Printer maintenance neglect compounds all these problems. When you skip regular cleaning, nozzles clog and create banding or missing colors. Improper film loading causes wrinkles that transfer to your final print. Even small calibration drift in your heat press can turn consistent results into unpredictable failures. Recognizing these patterns helps you troubleshoot systematically instead of guessing.
Preparing your materials and equipment to avoid transfer issues
Prevention beats troubleshooting every time. Setting up your materials and equipment correctly eliminates most quality issues before they start. Your DTF transfer setup guide determines whether you’ll spend your day fixing problems or producing profitable prints.
Start with compatible materials. You need DTF transfer film designed for your printer model, quality adhesive powder that melts at your heat press temperature range, and fabric substrates that match your transfer specifications. Not all films work equally well on all fabrics. Cotton handles heat differently than polyester blends, and stretchy materials require flexible adhesive formulations.
| Fabric Type | Recommended Film | Temperature Range | Press Time |
|---|---|---|---|
| 100% Cotton | Standard DTF film | 300-320°F | 15-20 seconds |
| Cotton/Poly Blend | Medium adhesive film | 280-300°F | 12-18 seconds |
| 100% Polyester | Low-temp DTF film | 260-280°F | 10-15 seconds |
| Stretch/Athletic | Flexible adhesive film | 270-290°F | 12-16 seconds |
Equipment checks prevent surprises mid-production. Inspect your printer for dried ink around nozzles, verify that your heat press reaches and maintains target temperature, and confirm pressure settings with a test press. Many quality issues trace back to equipment that’s technically working but performing below specification.
Printer maintenance deserves special attention. Run nozzle checks before each printing session to catch clogs early. Clean printheads weekly using manufacturer-recommended solutions. Replace worn parts like wiper blades before they damage your prints. Using the right film and garment type is essential for durable, high-quality prints, but even premium materials can’t compensate for poorly maintained equipment.
Pro Tip: Create a daily checklist that covers printer nozzle checks, heat press temperature verification, and material inventory. This five-minute routine catches problems before they consume hours of troubleshooting time and wasted materials.
Garment preparation matters as much as equipment. Pre-press fabrics to remove moisture and wrinkles that interfere with adhesion. Avoid fabric softeners that create barriers between transfer and textile. Store transfer films in climate-controlled environments because humidity affects powder adhesion and print quality.
Step-by-step troubleshooting process to fix DTF transfer issues
When problems appear despite proper preparation, systematic troubleshooting identifies and fixes the issue efficiently. Following a systematic troubleshooting workflow significantly improves DTF print quality and consistency by eliminating guesswork and preventing repeated mistakes.
-
Verify printer settings and output quality. Run a nozzle check to confirm all colors fire correctly. Print a test pattern and examine it for banding, missing colors, or inconsistent density. Adjust printhead alignment if patterns show misregistration.
-
Inspect film application and powder coverage. Check that transfer film loaded correctly without wrinkles or tension issues. Examine powder distribution for even coating. Shake off excess powder and verify complete coverage over all ink areas.
-
Confirm heat press calibration. Use an infrared thermometer to verify actual platen temperature matches your display setting. Test pressure using transfer paper that shows contact patterns. Inconsistent pressure creates partial adhesion failures.
-
Execute a controlled test press. Use scrap fabric matching your production material. Press at your standard settings and evaluate results. If adhesion fails, increase temperature by 10°F increments or extend time by 2-3 seconds per adjustment.
-
Analyze failure patterns. Does peeling occur at edges or center? Edge failures suggest insufficient pressure. Center failures often indicate low temperature. Color shifts point to incorrect film type or contaminated platens.
-
Document successful settings. Once you achieve good results, record exact temperature, pressure, and time values for each fabric type. This reference eliminates trial and error for future jobs.
| Common Error | Symptom | Corrective Action |
|---|---|---|
| Temperature too low | Poor adhesion, easy peeling | Increase heat press temp by 10-20°F |
| Pressure insufficient | Edge lifting, incomplete bond | Adjust pressure or increase press time |
| Time too short | Weak adhesion, wash failure | Extend pressing time by 3-5 seconds |
| Powder overload | Rough texture, sticky surface | Reduce powder application, shake thoroughly |
| Film incompatibility | Color shift, premature cracking | Switch to fabric-specific transfer film |
Pro Tip: Keep a production log with fabric type, settings used, and results achieved. After 10-15 jobs, patterns emerge that help you dial in perfect settings faster than manufacturer recommendations alone.
When adjusting settings, change only one variable at a time. If you simultaneously increase temperature, pressure, and time, you won’t know which adjustment fixed the problem. This methodical approach builds reliable knowledge about your specific equipment and materials.
Verifying your DTF transfer quality and maintaining consistent results
Producing a transfer is only half the job. Verification ensures your prints meet quality standards before they reach customers. Regularly ensuring transfer adhesion and wash durability helps keep print quality consistent over time, protecting your reputation and reducing costly reprints.
Inspect every finished transfer using consistent criteria. Check adherence by gently pulling at transfer edges after the garment cools. Quality transfers resist lifting and feel integrated with the fabric surface. Examine color vibrancy under good lighting to confirm it matches your original design. Look for texture uniformity across the entire print area, with no rough patches or sticky residue.
Durability testing reveals problems that aren’t visible immediately. Perform wash tests on sample prints using hot water and regular detergent. Quality transfers survive 25-30 wash cycles without significant fading or peeling. Rub tests simulate wear by firmly rubbing the transfer surface with a cloth for 30 seconds. The print should show no color transfer to the cloth and no visible degradation.
Establish maintenance routines that prevent quality drift over time:
- Clean heat press platens weekly to remove adhesive residue that affects temperature transfer
- Run printer maintenance cycles according to manufacturer schedules, not just when problems appear
- Calibrate temperature and pressure monthly using standardized test methods
- Rotate through material inventory to use older stock before it degrades
- Review production logs quarterly to identify emerging patterns or gradual setting drift
Environmental factors influence results more than many printers realize. Humidity above 60% affects powder adhesion and drying times. Temperature swings in your workspace change how inks flow and cure. Consistent climate control delivers consistent results.
Quality control isn’t optional when your business reputation depends on every transfer you produce. Regular testing and verification catch problems while they’re still fixable, before customers discover them.
Document your quality standards in writing. Define acceptable color variation ranges, minimum adhesion strength, and wash durability requirements. Train anyone who operates your equipment on these standards. Consistency across operators matters as much as consistency from your machines.
When quality issues do appear, trace them back through your workflow. Did settings change? Did you switch material suppliers? Has equipment performance degraded? Most problems have identifiable causes that, once found, become preventable going forward.
Enhance your DTF printing with Transfer Kingz solutions
Troubleshooting becomes easier when you start with superior materials designed for consistent results. Transfer Kingz offers high-quality transfers for apparel printing that eliminate many common quality issues through premium film formulations and precise powder specifications.

Our transfer films are engineered for optimal adhesion across fabric types, reducing the trial and error that wastes your time and materials. Whether you’re printing vibrant designs on cotton tees or detailed graphics on performance wear, our digital transfer film for detailed prints delivers the clarity and durability your customers expect. Pair quality materials with the detailed troubleshooting guides available through our blog, and you’ll spend less time fixing problems and more time growing your custom printing business.
Frequently asked questions about troubleshooting DTF transfer issues
What causes peeling after heat pressing and how to fix it?
Peeling typically results from insufficient heat, pressure, or pressing time during application. Increase your heat press temperature by 10-20°F, verify pressure is firm and even across the platen, or extend pressing time by 3-5 seconds. Also check that your fabric is properly pre-pressed to remove moisture and that you’re using transfer film compatible with your specific textile type.
How often should I maintain my DTF printer to prevent issues?
Perform daily nozzle checks before printing sessions and weekly deep cleaning of printheads using manufacturer-recommended solutions. Monthly calibration of color profiles and quarterly inspection of mechanical components keeps your printer performing at peak quality. Consistent maintenance prevents most quality issues and extends equipment lifespan significantly.
Can regular fabric washing affect DTF transfer durability?
Yes, washing conditions directly impact transfer longevity. Hot water above 140°F, harsh detergents, and high-heat drying accelerate degradation. Quality DTF transfers withstand 25-30 normal wash cycles when properly applied, but aggressive washing reduces this significantly. Instruct customers to wash inside out in cold water and tumble dry on low heat for maximum durability.
Is it necessary to use specific heat press settings for different fabrics?
Absolutely. Cotton tolerates higher temperatures (300-320°F) than polyester blends (280-300°F) or pure synthetics (260-280°F). Using cotton settings on polyester can scorch fabric or cause dye migration. Always test press on scrap material when switching fabric types and document successful settings for future reference.
How to tell if low print quality is due to transfer film or printer problems?
Print a test pattern directly from your printer onto standard paper. If the pattern shows banding, missing colors, or inconsistent density, your printer needs maintenance. If the test pattern looks perfect but transfers still fail, the issue lies with film quality, powder application, or heat press settings. This diagnostic approach isolates the problem source quickly.
What should I do if transfers work perfectly on some garments but fail on others?
Fabric composition and preparation vary between garment brands and styles. Test your standard settings on each new garment type before production runs. Some fabrics require modified temperature, pressure, or time settings. Keep detailed records of which settings work for specific garment brands to build a reliable reference library that prevents future failures. For comprehensive guidance, review how to troubleshoot DTF printing issues for fabric-specific recommendations.
0 comments